Introduction to SketchUp Intersect faces
SketchUp Intersect faces is techniques through which we can create complex 3D model geometries that means if you want to make any complex shape in very quick way then you can go with different options of Solid tools of this software. In Solid Tools you will have some options through which you can intersect two or more solid components for different type of purposes. The solid tool of this software will not work on any ungrouped geometry or component that means you have to combine geometry (faces and edges) of any model so that it work as solid object and then you can use this solid tool on it.
How to Intersect Faces in SketchUp?
Intersecting faces in SketchUp is not big deal you just have an idea about which part will intersect from different options of solid tool of this software and i am going to tell about all aspects of solid tools so that you can have good understanding about Intersect Faces operation in SketchUp.
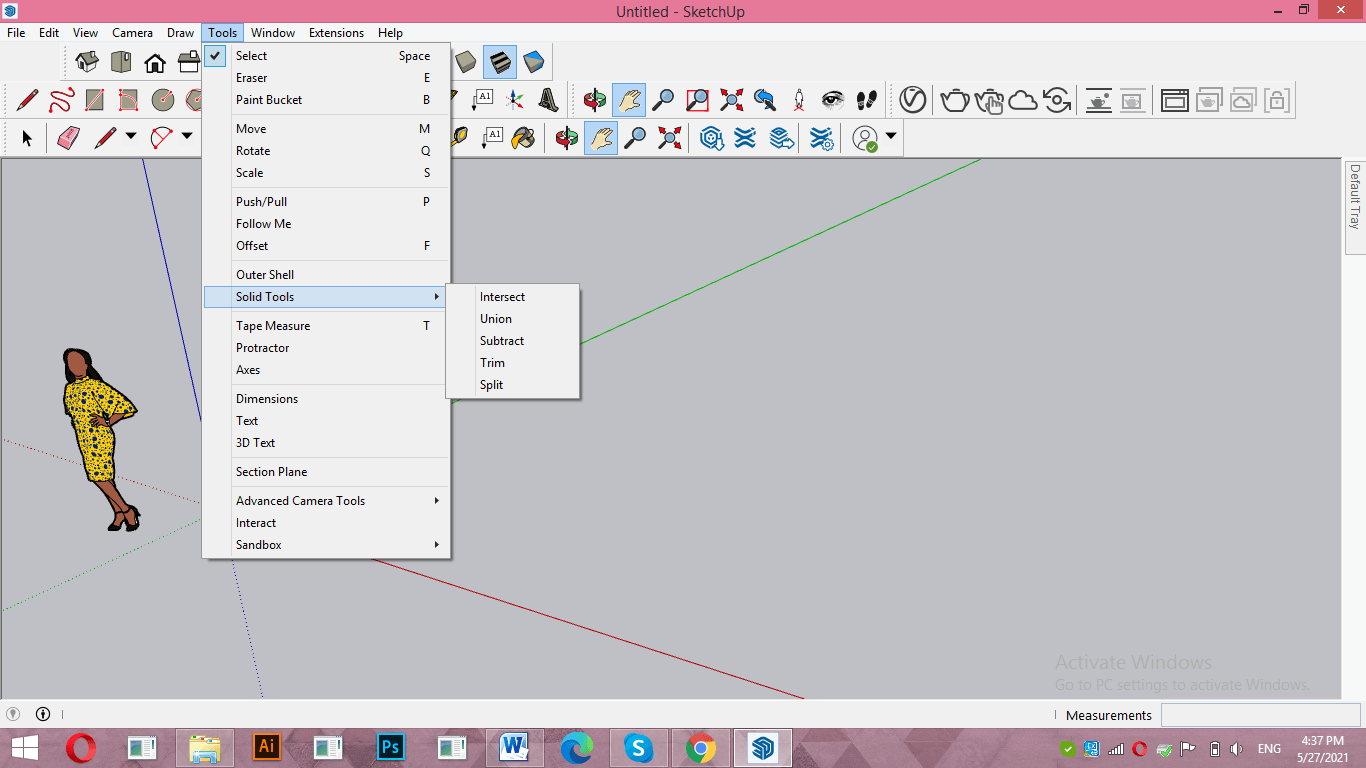
You can find Solid Tools’ option in the scroll down list of Tools menu which is at the top of the User Interface. In Solid tools we have 5 option for perform intersect faces operation in different manner and these options are Intersect, Union, Subtract, Trim and Split. But there is one more option which you will find in Solid Tools panel.
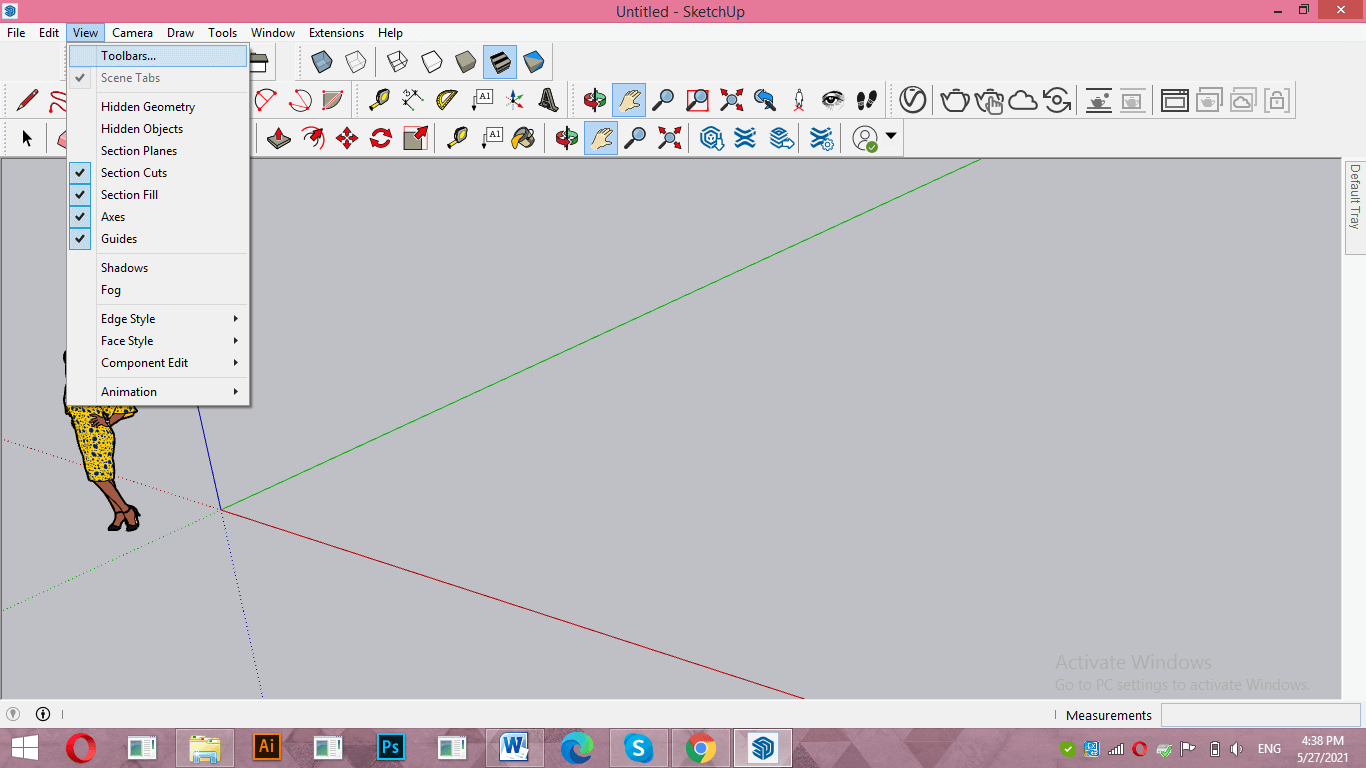
For having Solid tools panel go to View menu of menu bar and click on Toolbars option of scroll down list of it.
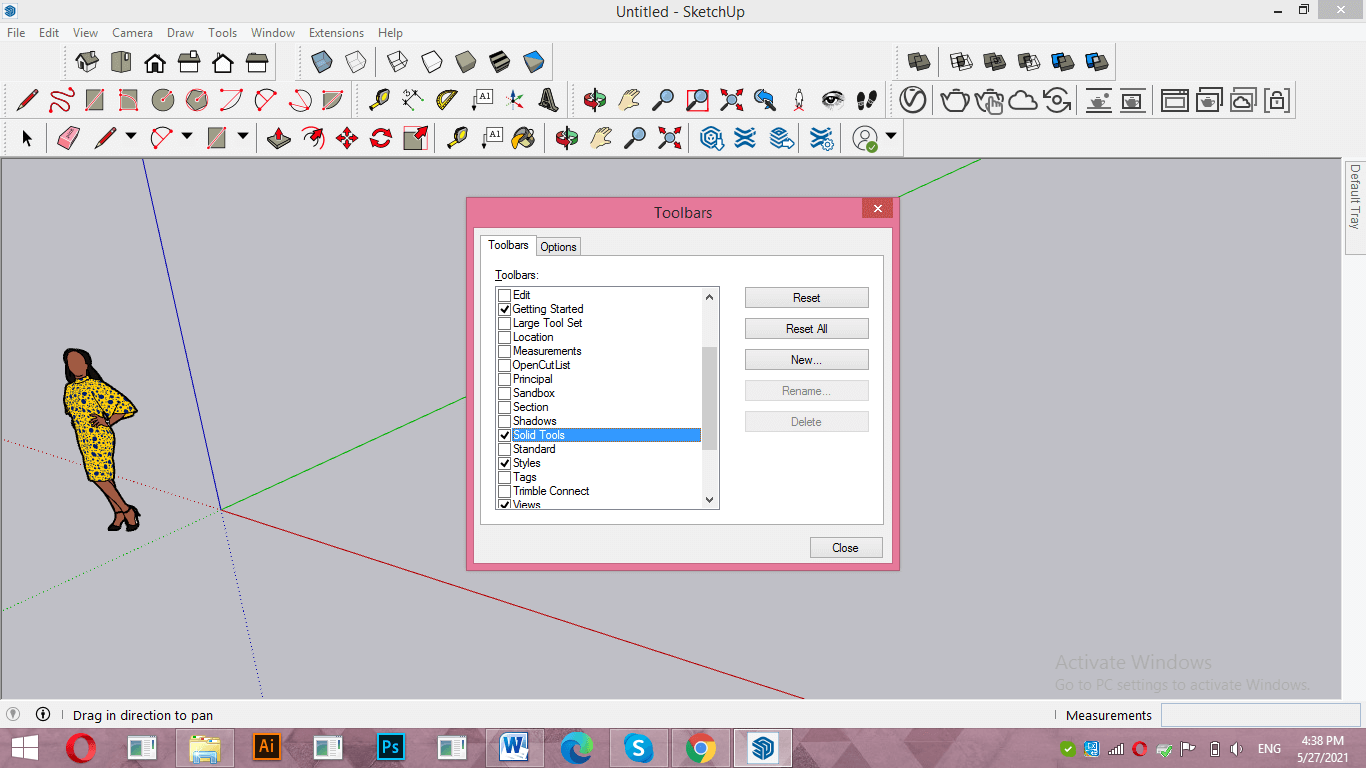
Here in the dialog box of Toolbar you will find Solid tools option. Make tick on the check box of it for enabling its panel.
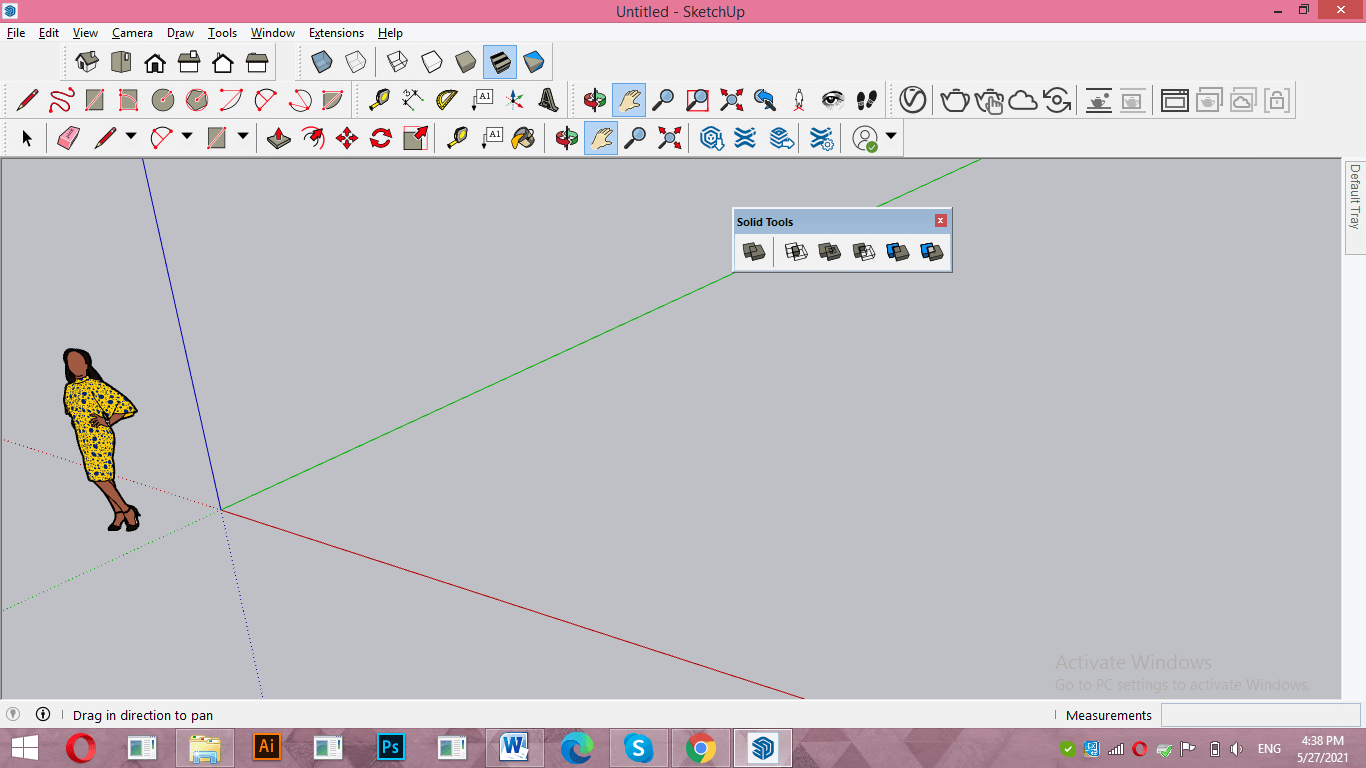
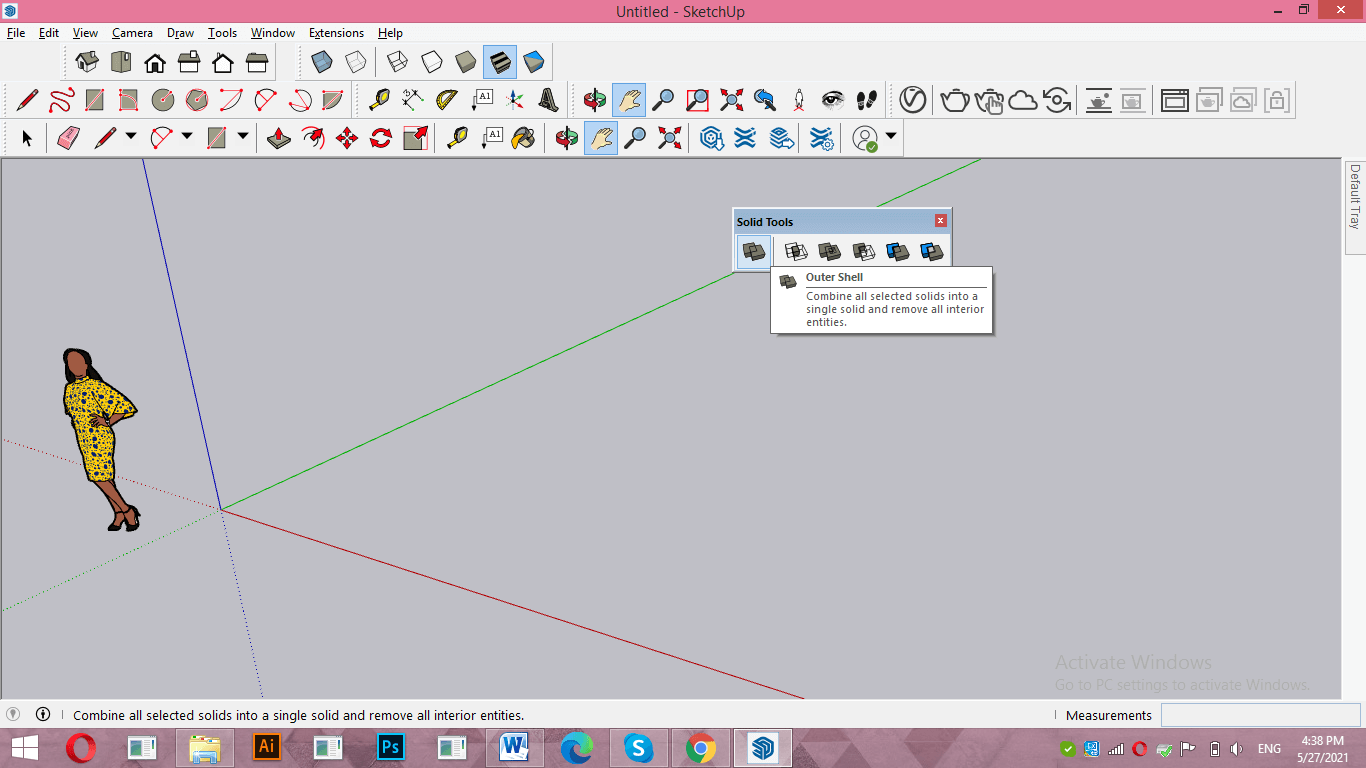
You will find its panel like this and you can easily move it anywhere on working screen. I will place it in the tools bar section. You can place it as per your choice.
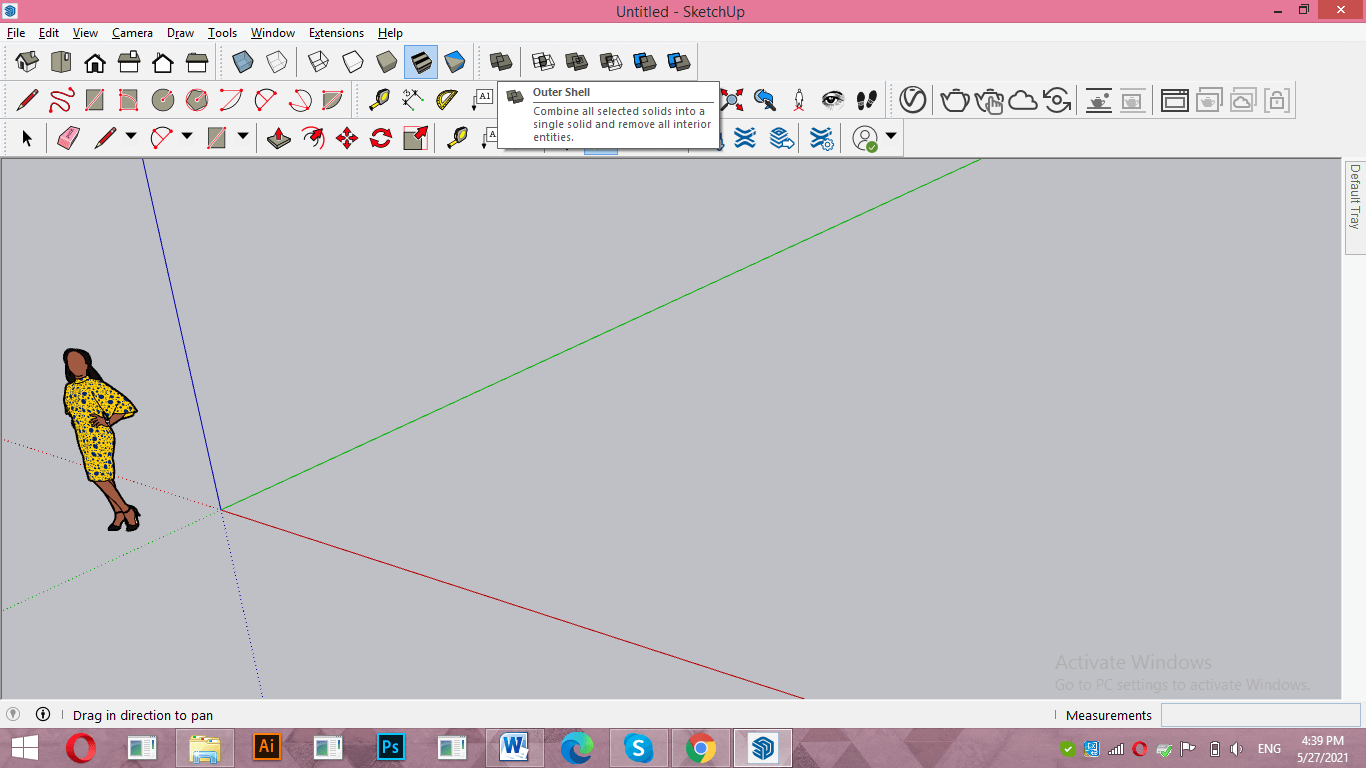
In this panel you will find one more option which is Outer Shell. So let us understand all the options of this panel one by one.
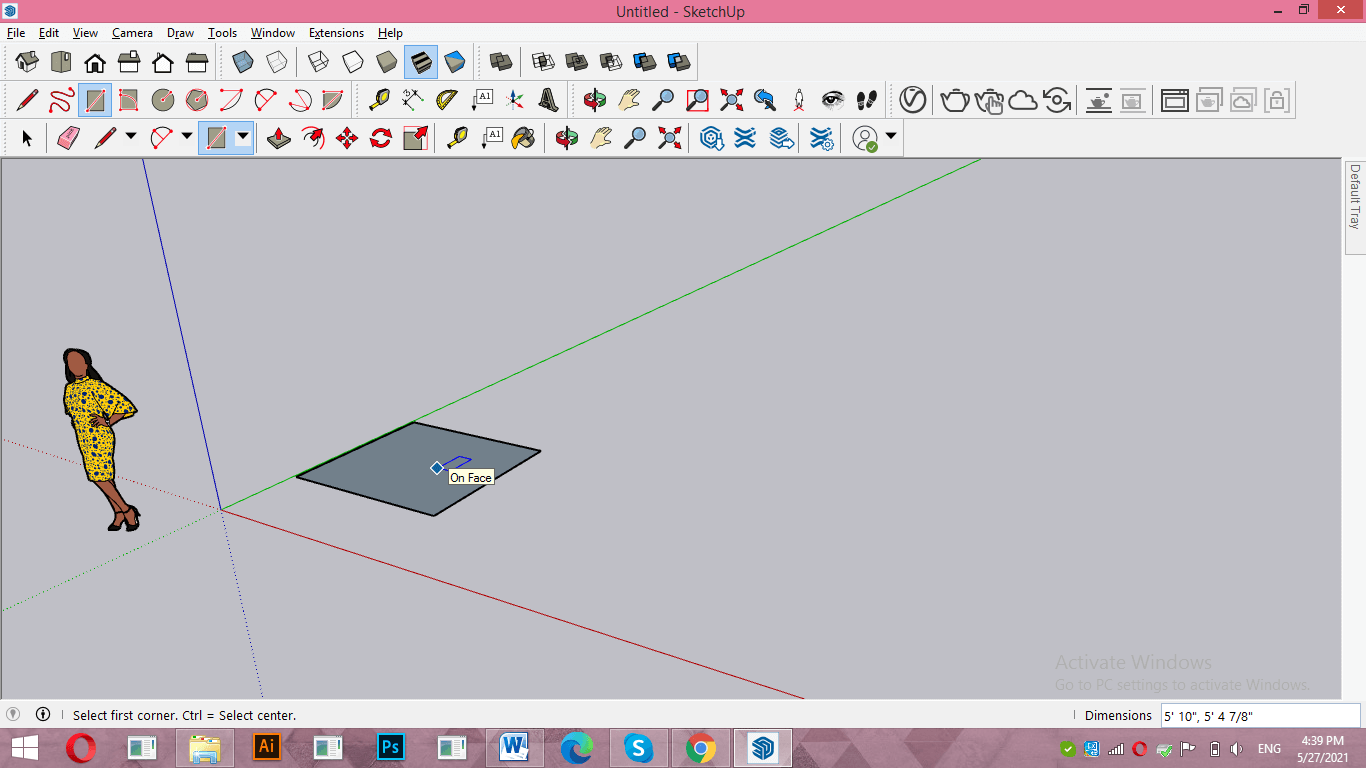
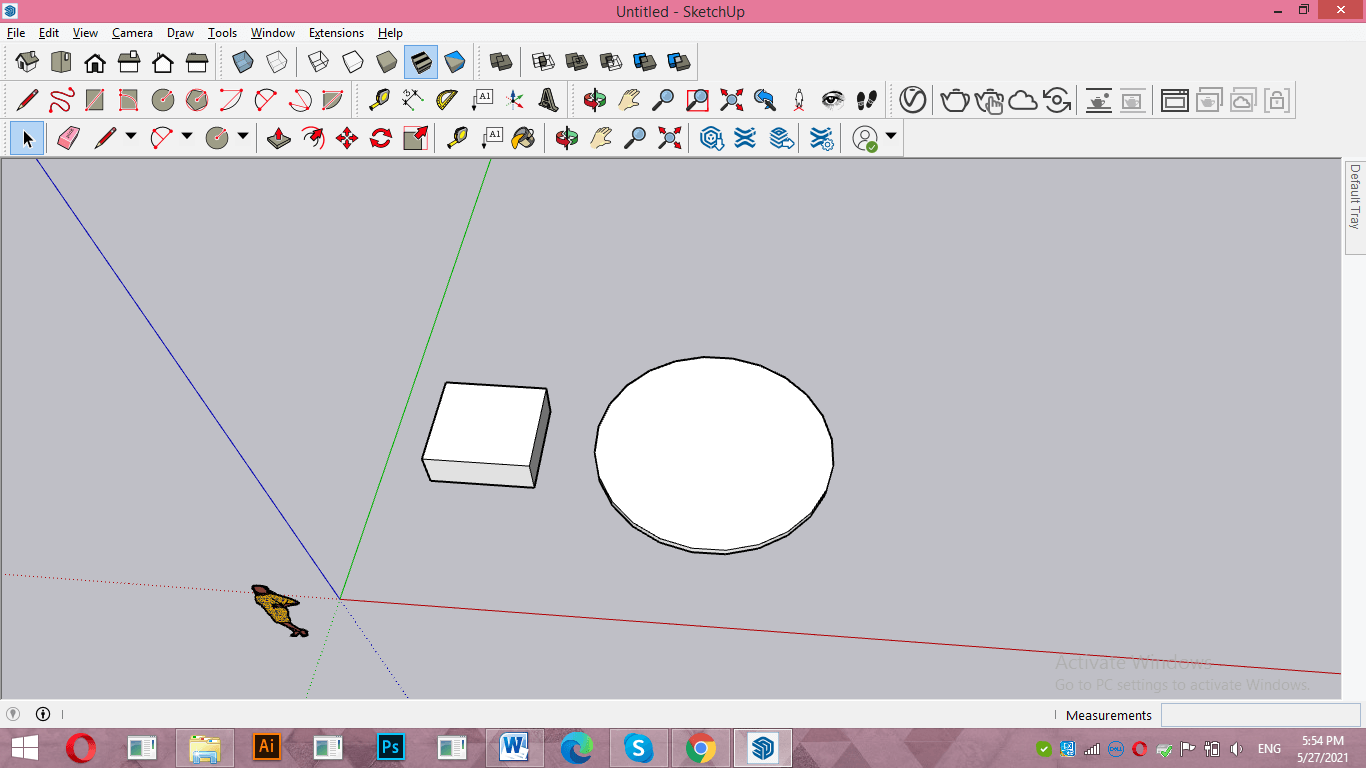
For exampling you about these options i will create some 3D components. So take Rectangle tool from tool panel and draw a rectangle like this.
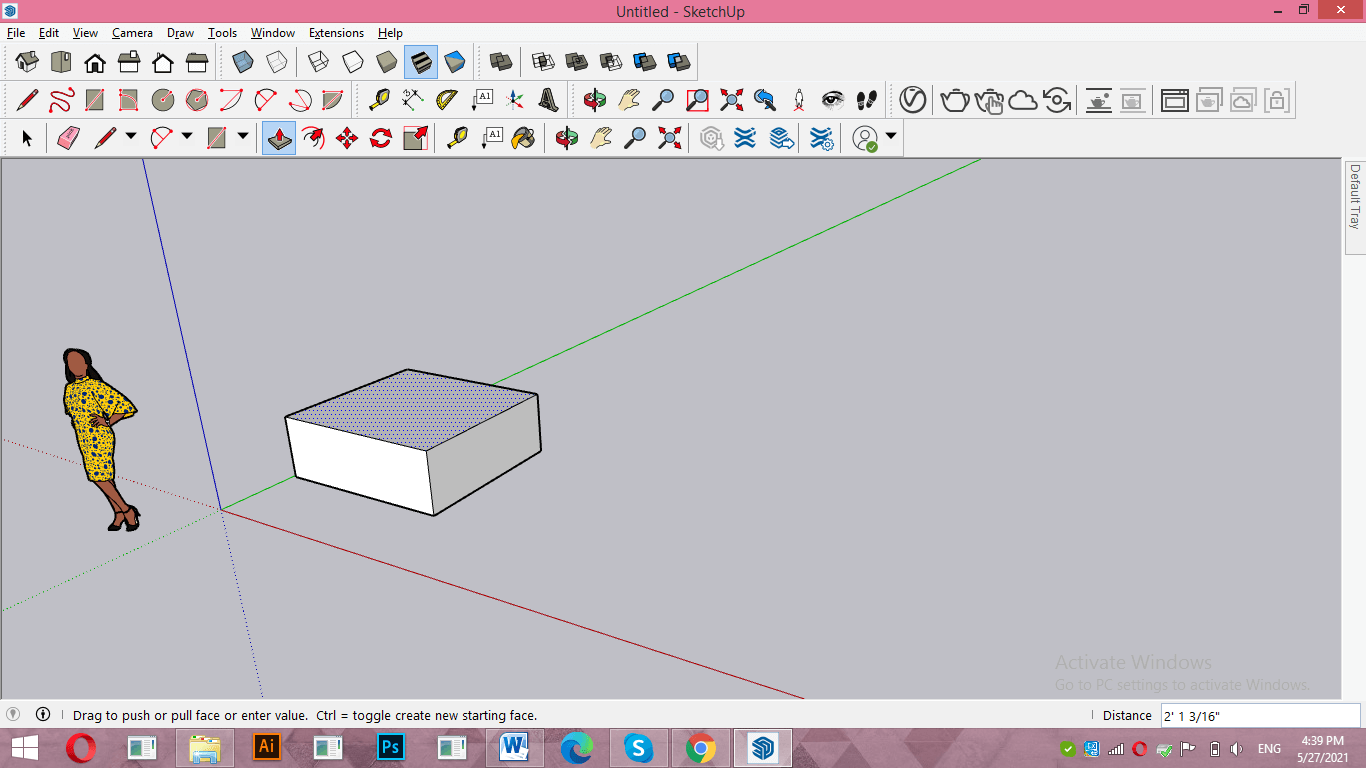
Now add some height to it with the help of push/pull tool.
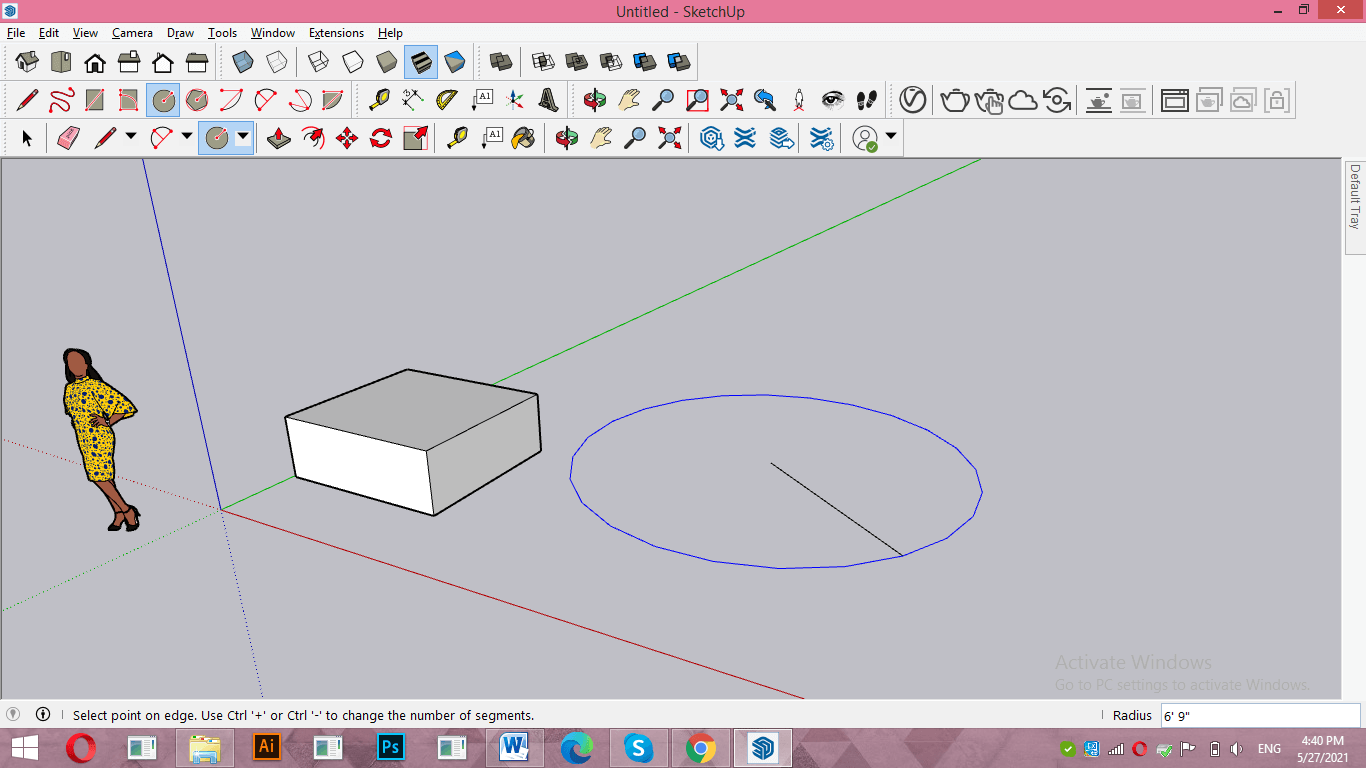
Now i will take a circle tool from tool panel and draw a circle like this.
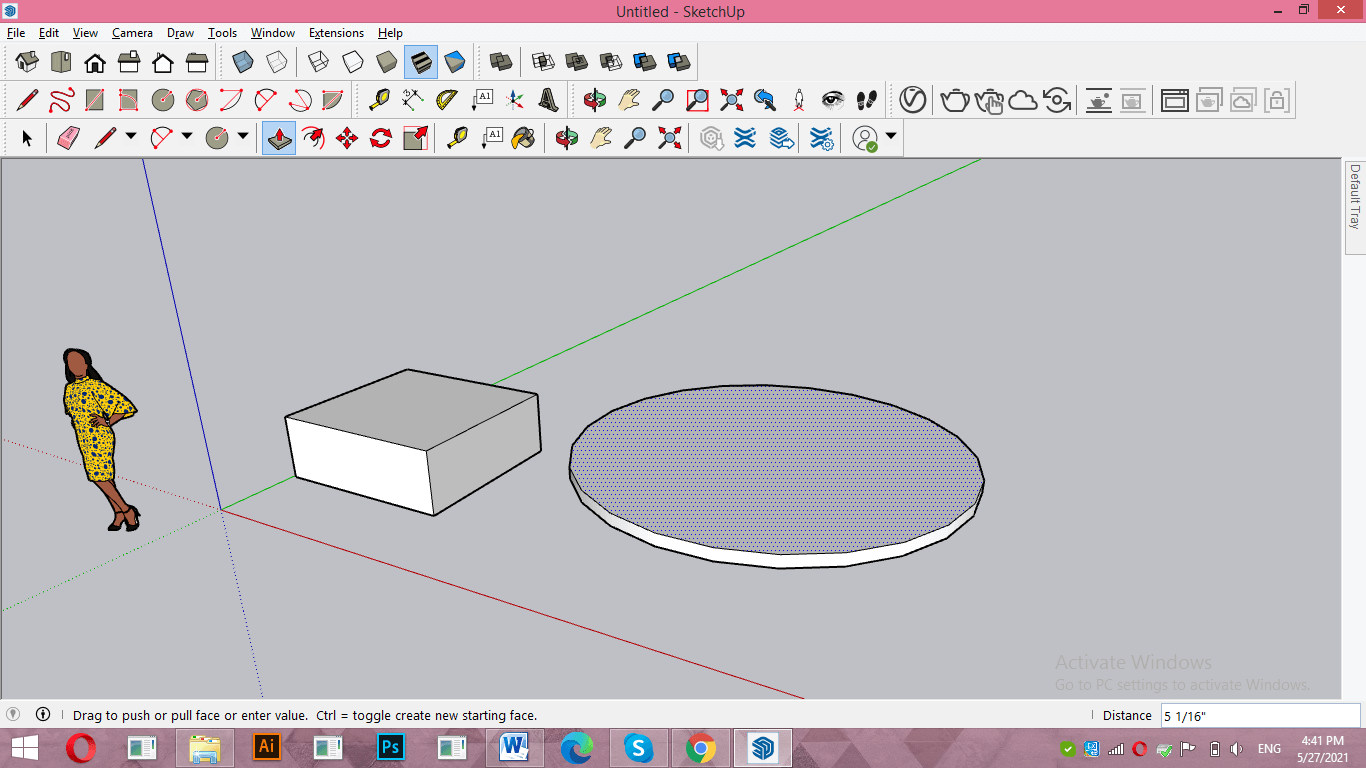
I will add height to it also by the same way.
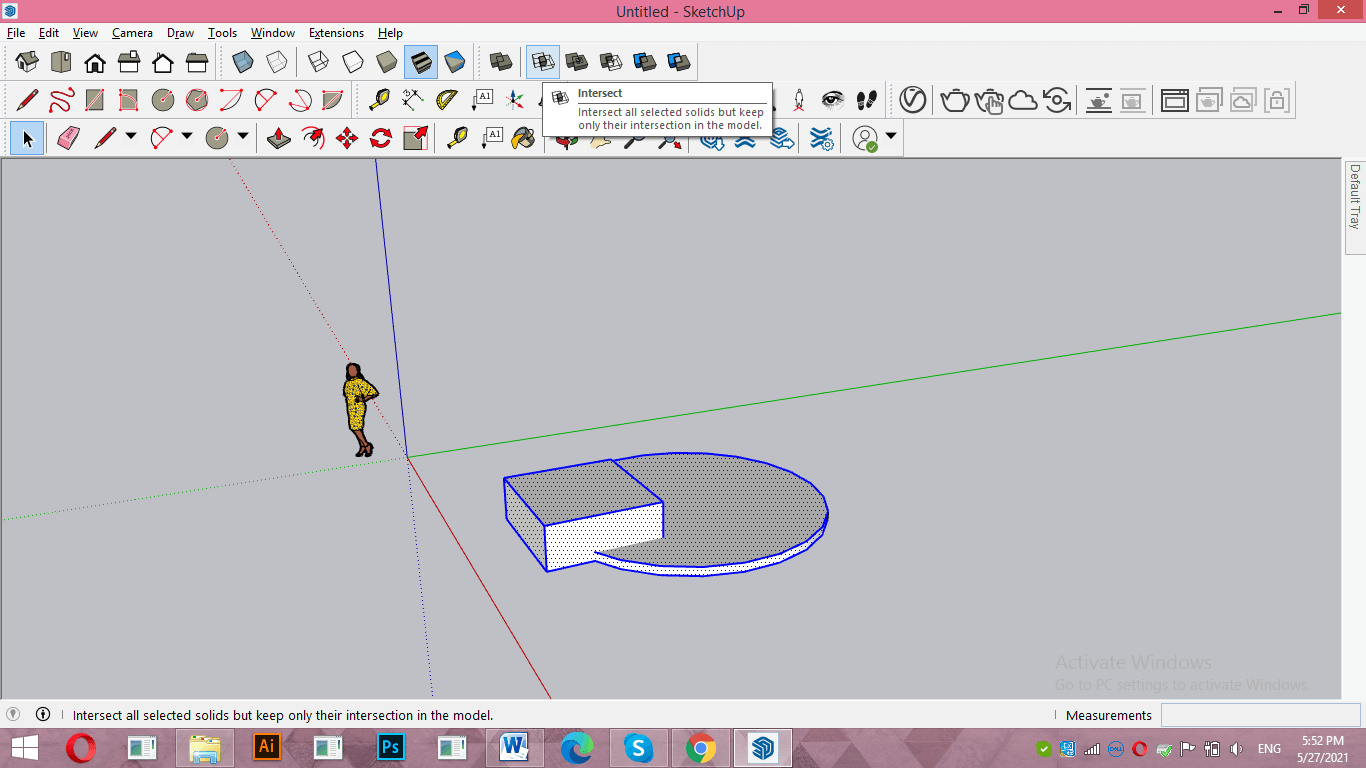
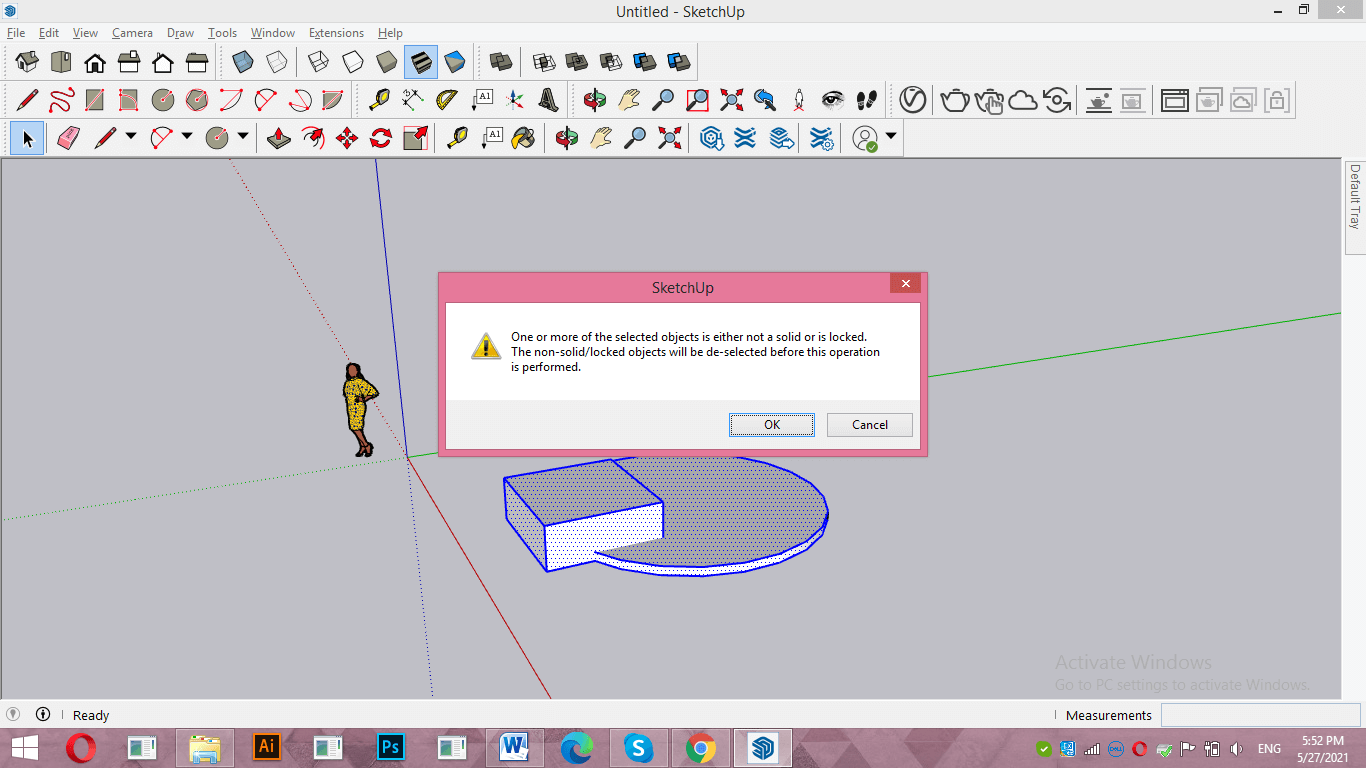
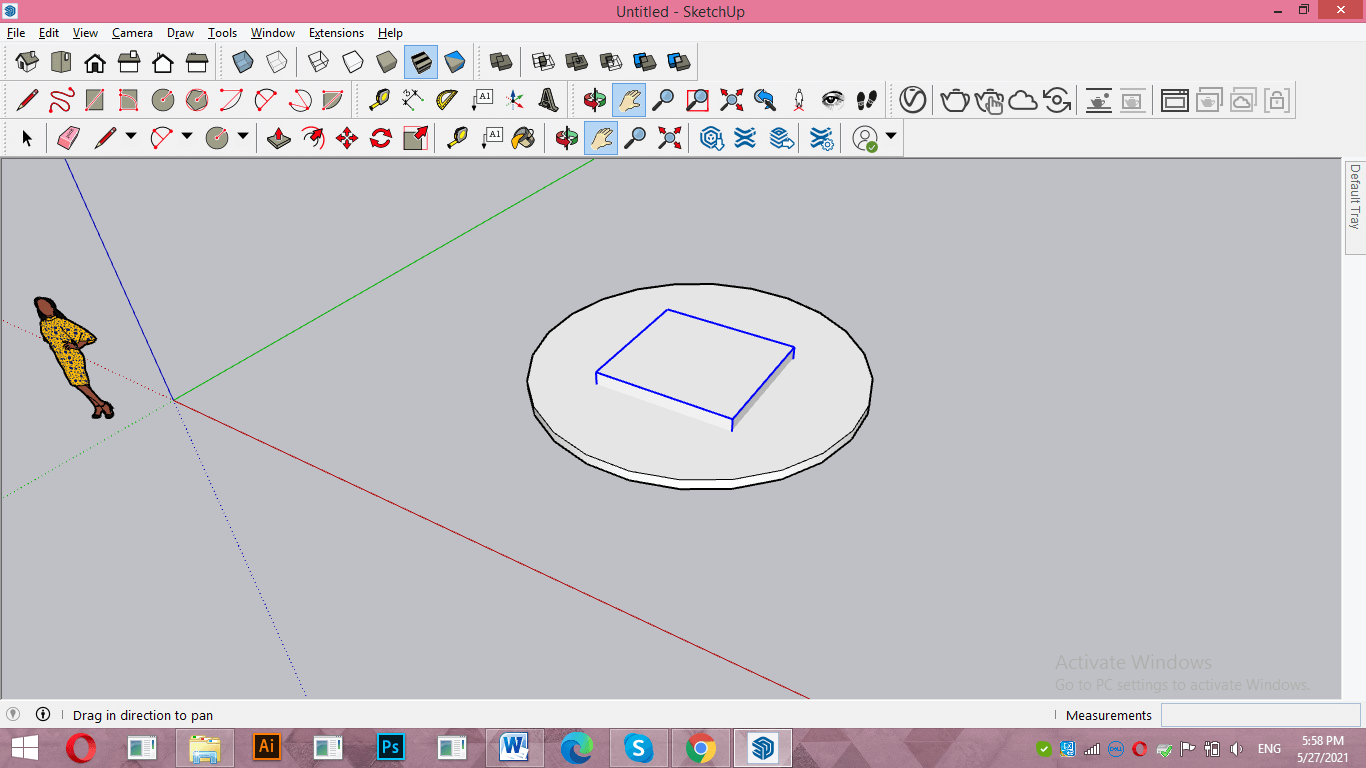
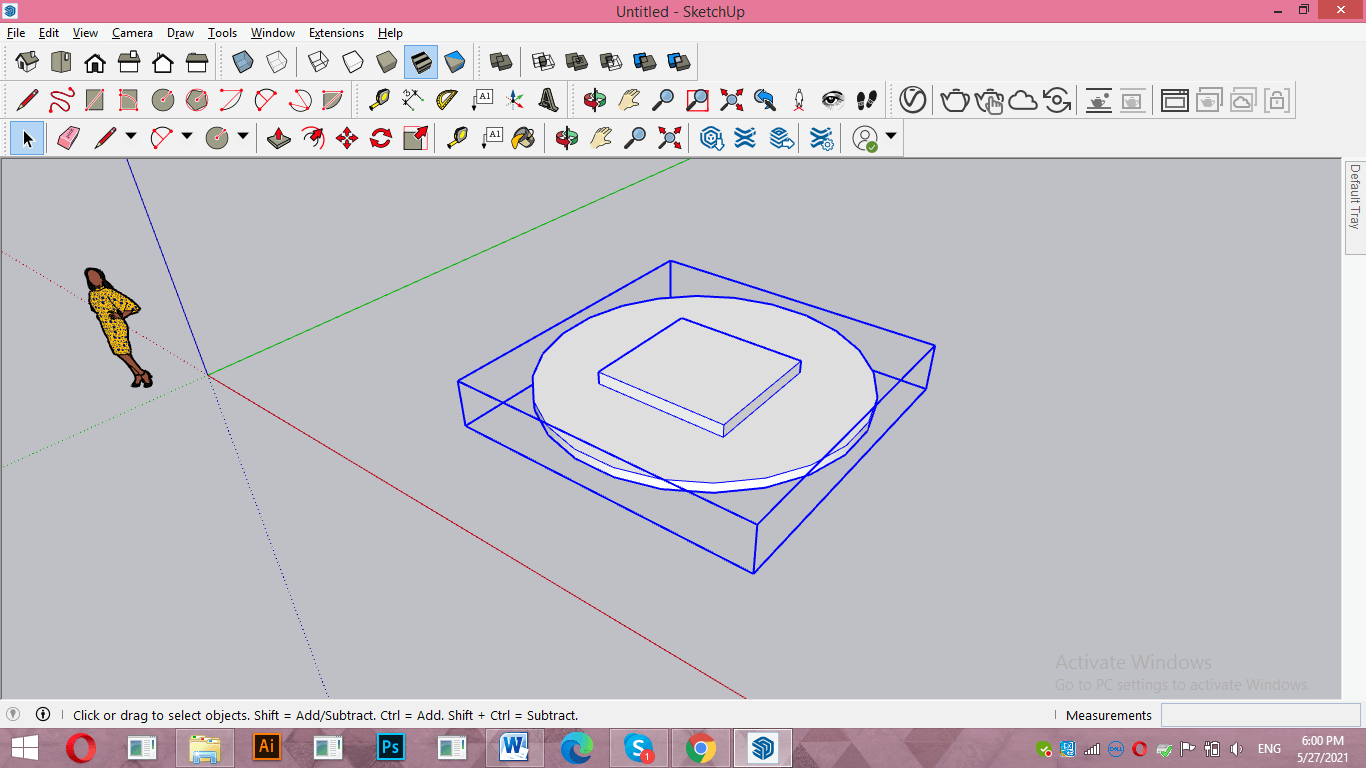
Now i place them like this so that they can overlap to each other and select them then i will click on one of the options of Solid tool panel such as i click on Intersect option.
But it will not apply this operation on these objects because this is open geometry and faces as well as edges of these two objects are not grouped with each other. So for using solid tools on any component you have to first group them.
Now i will place both object separately.
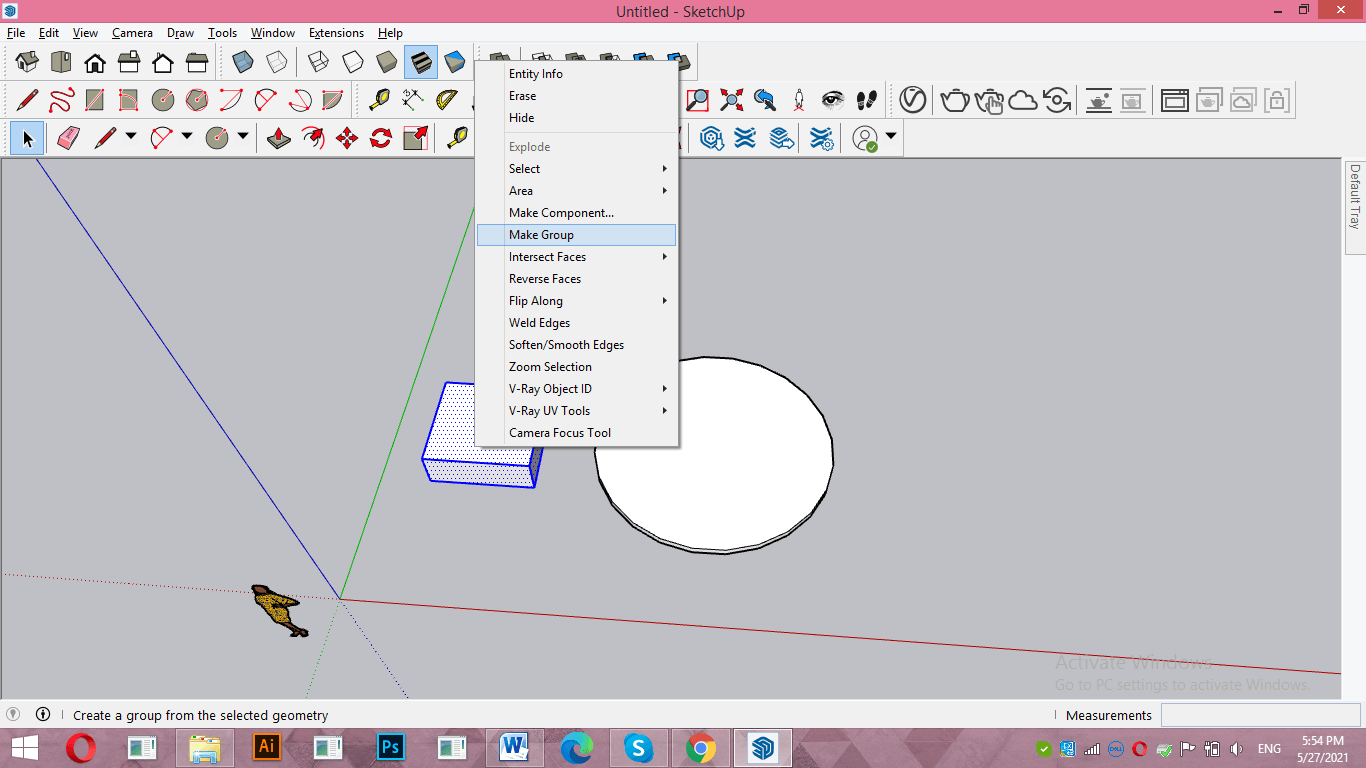
Then make triple click on first object for selecting it completely then make right click and choose ‘Make Group’ option from drop down list.
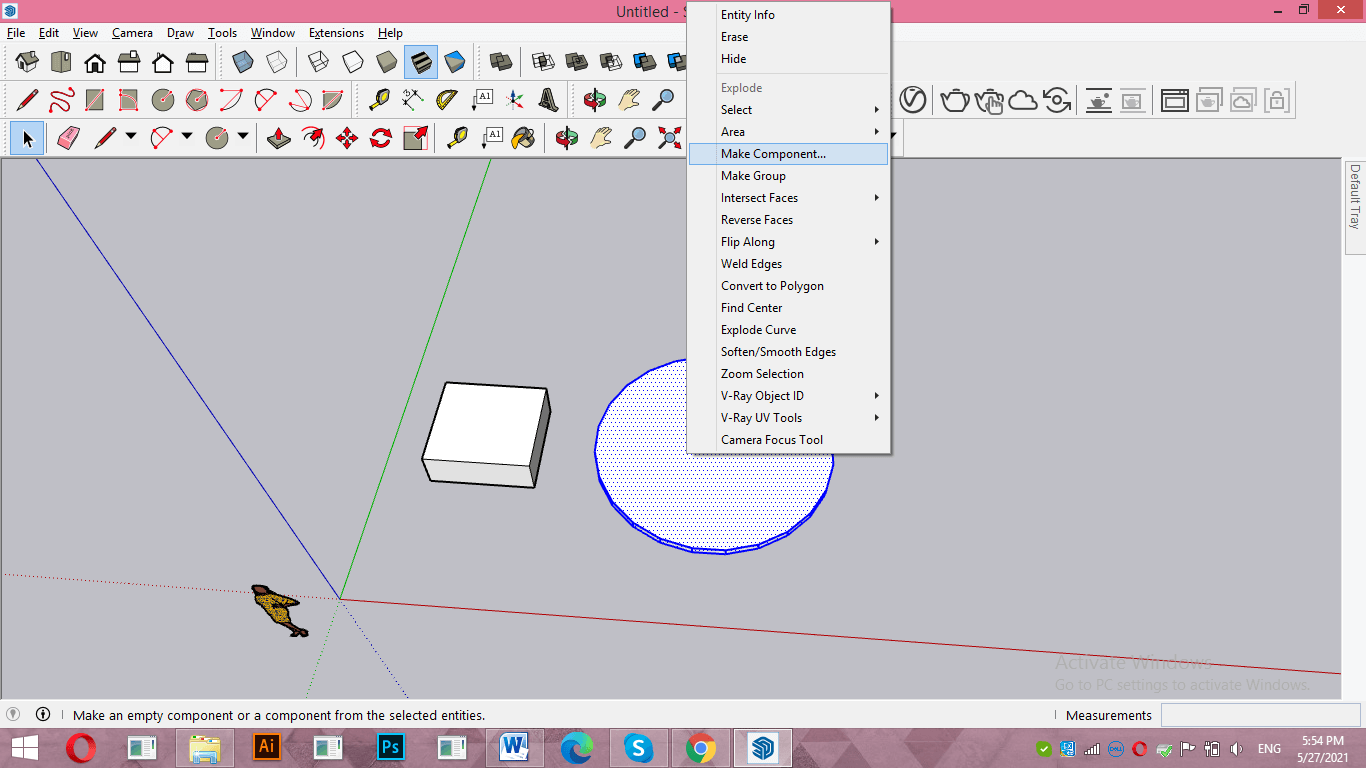
Do the same for next object.
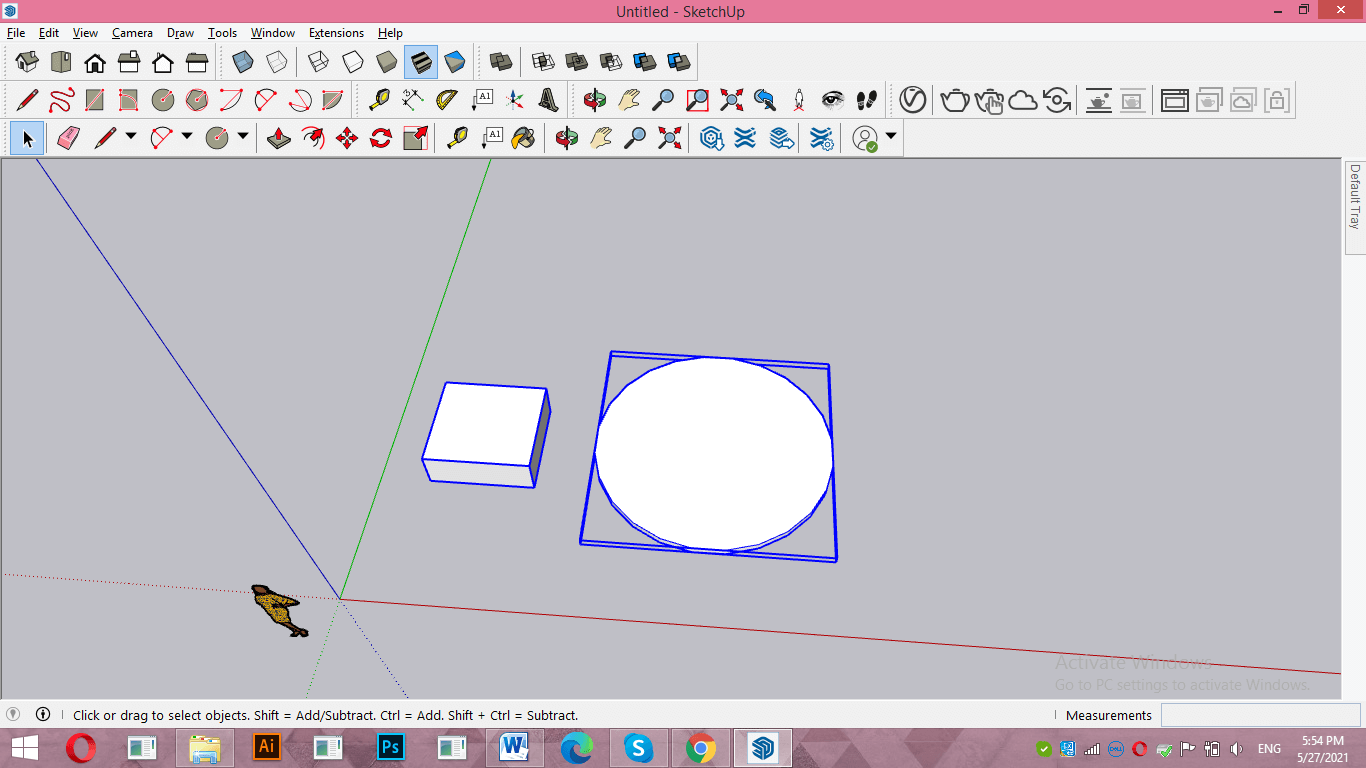
Now both are grouped object.
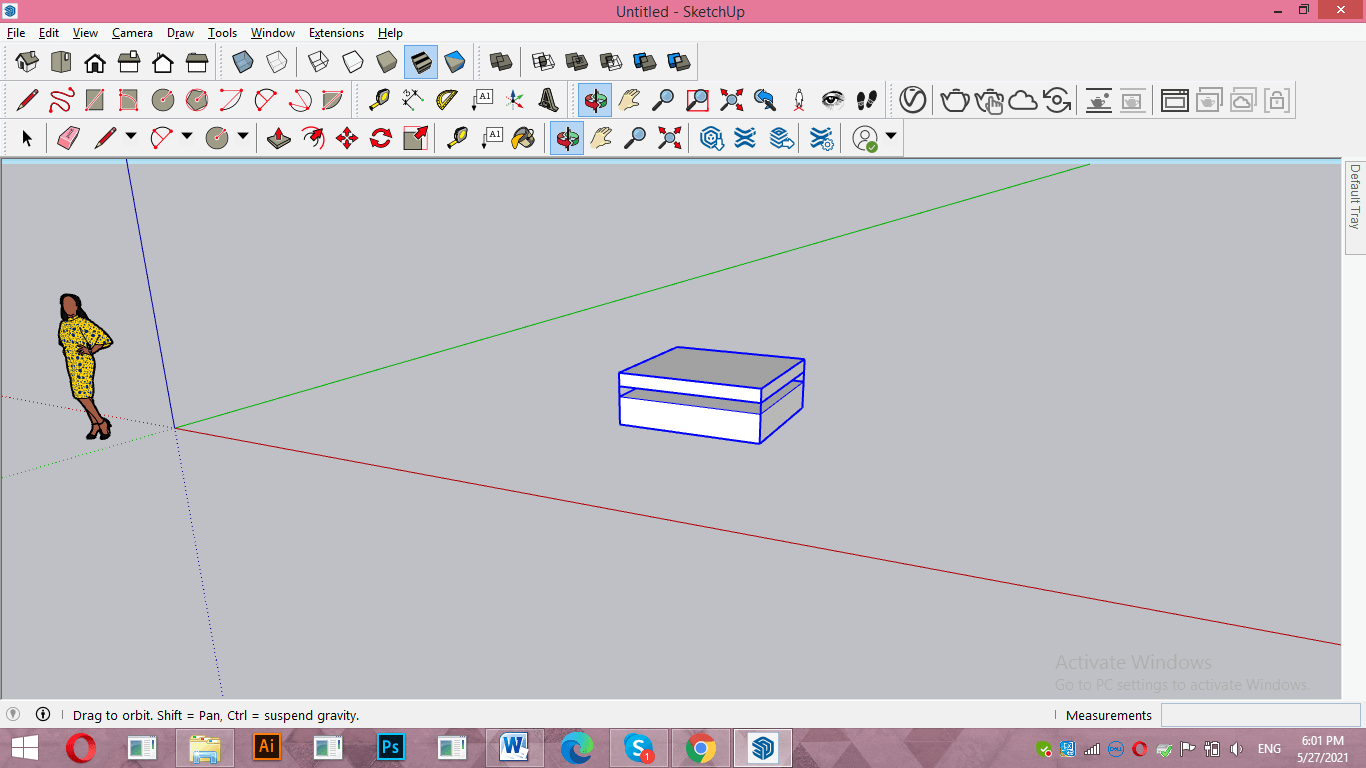
Now i will move these components and overlap them to each other.
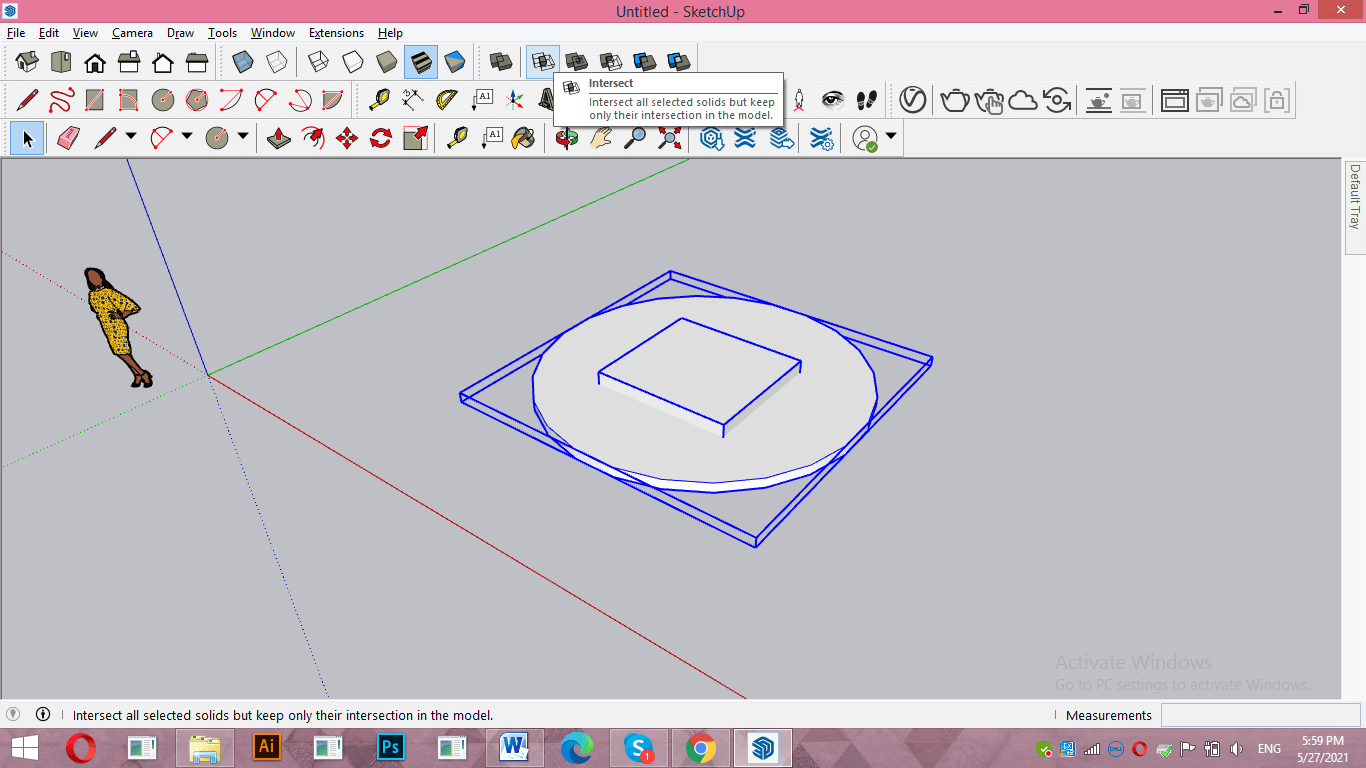
Now select both object and click on Intersect option of Solid tools.
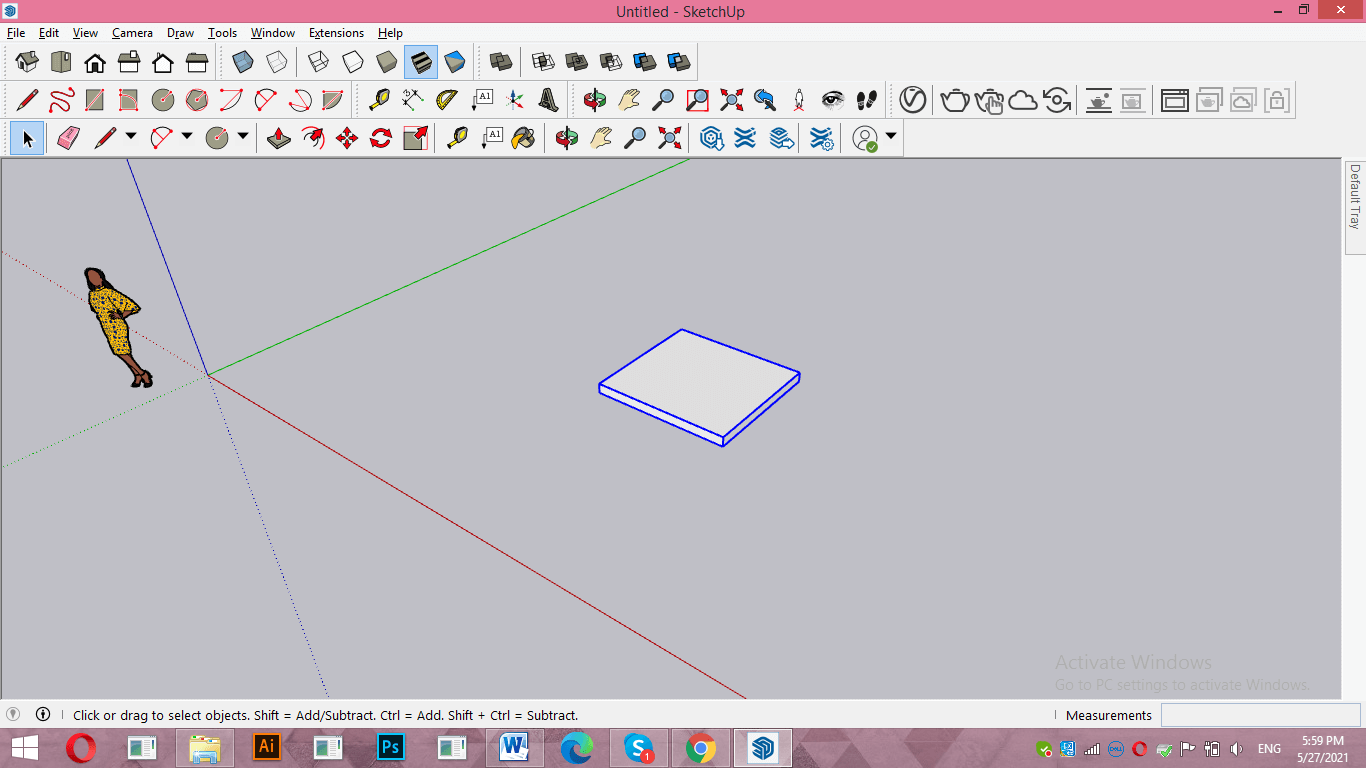
Intersect operation will give you common area of selected object in the result of intersecting. For example, here the common area of both objects is this center cuboid shape so it will left after intersecting operation.
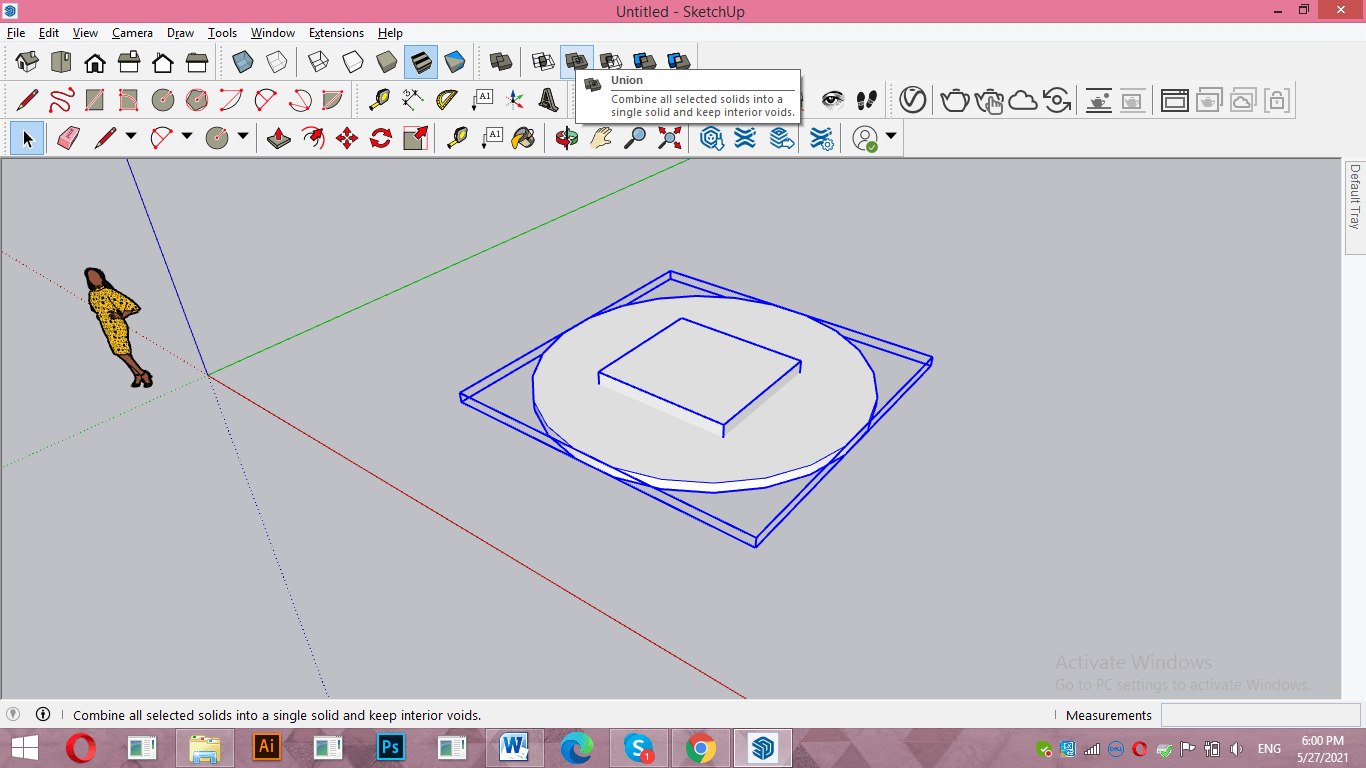
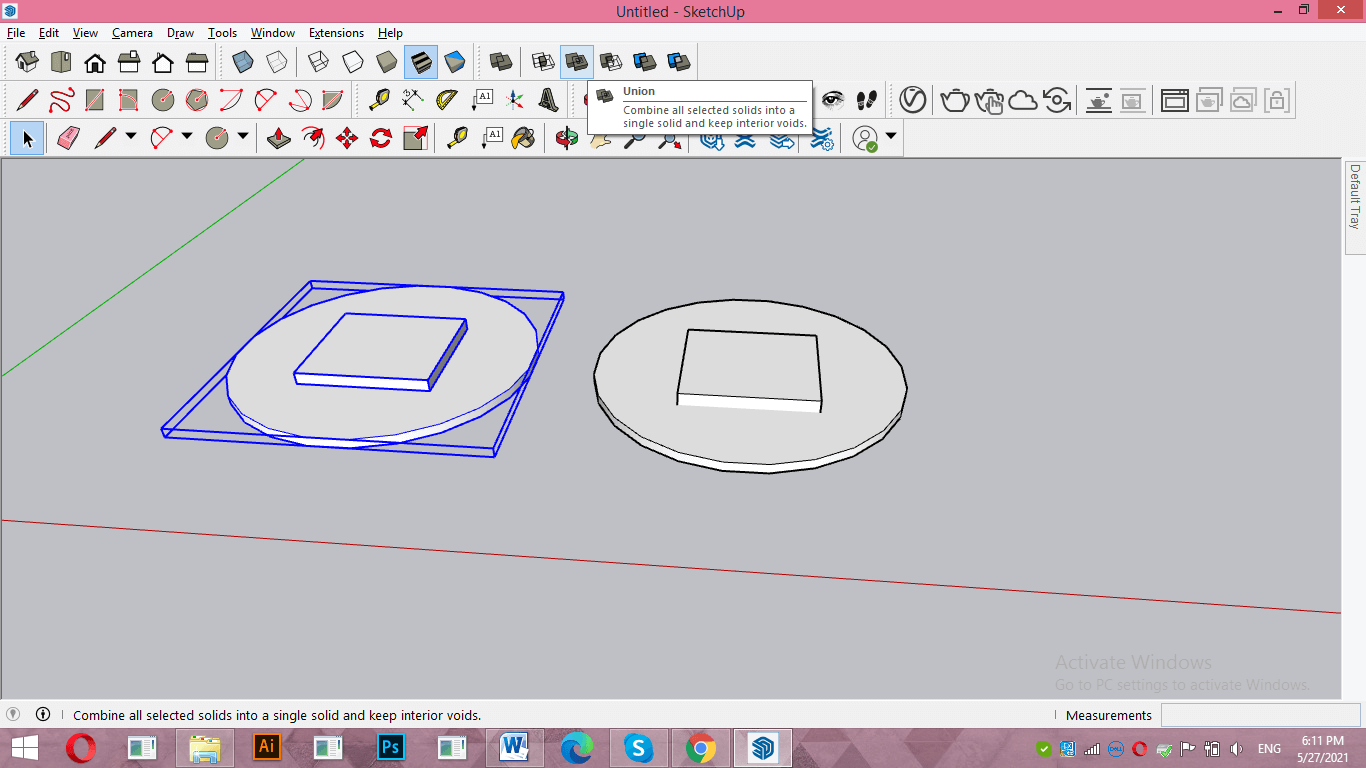
Now select both object again and this time click on Union options of solid tools.
This will make all selected object as one object and didn’t damage internal geometry (if any) of the selected object. Here in this example you can see this is one object now.
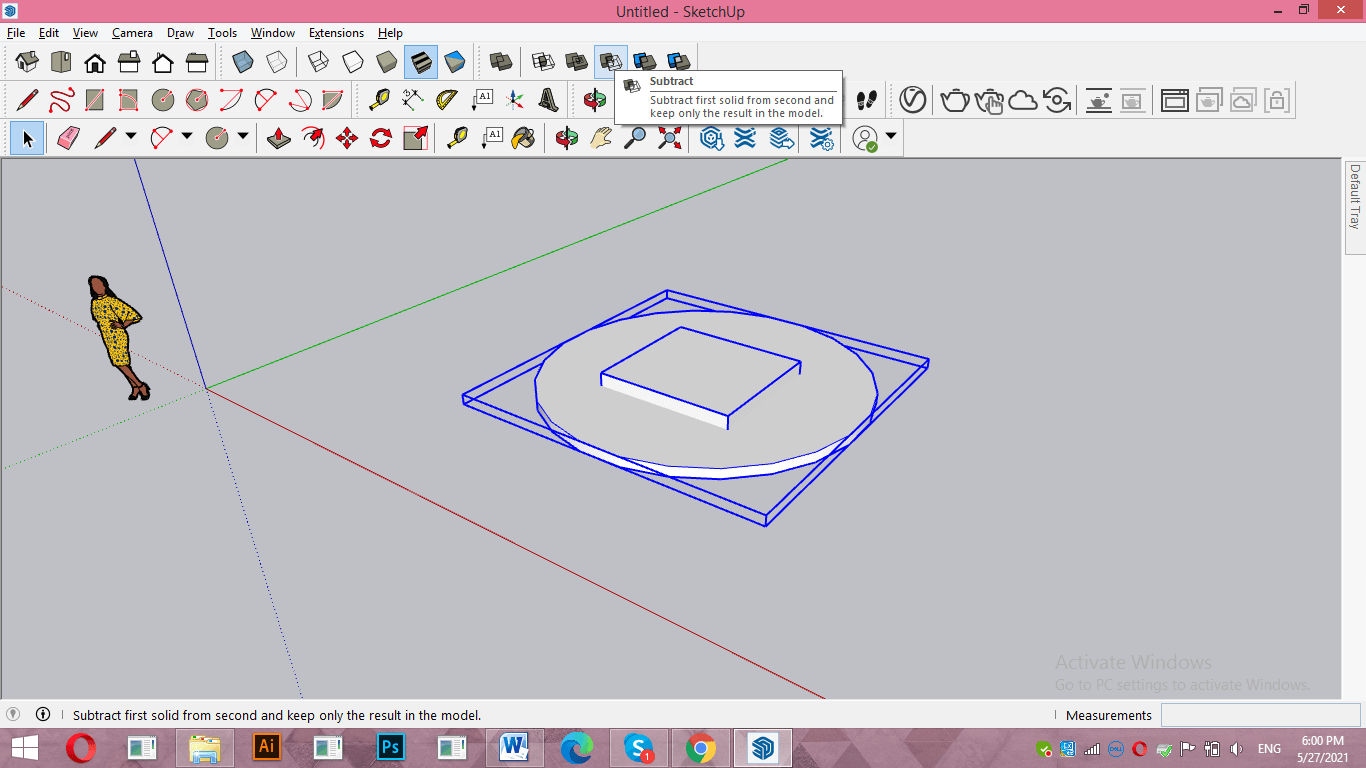
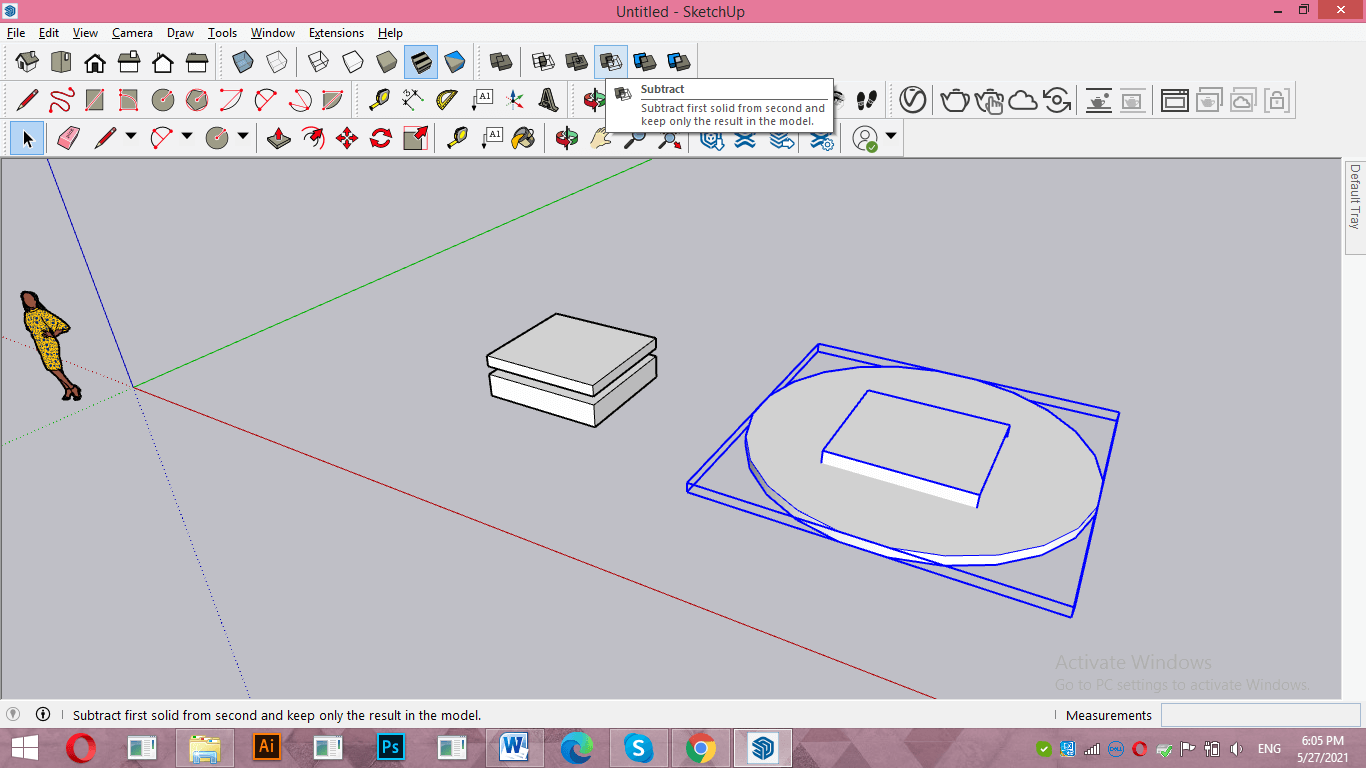
Again select the objects and click on Subtract option of solid tools.
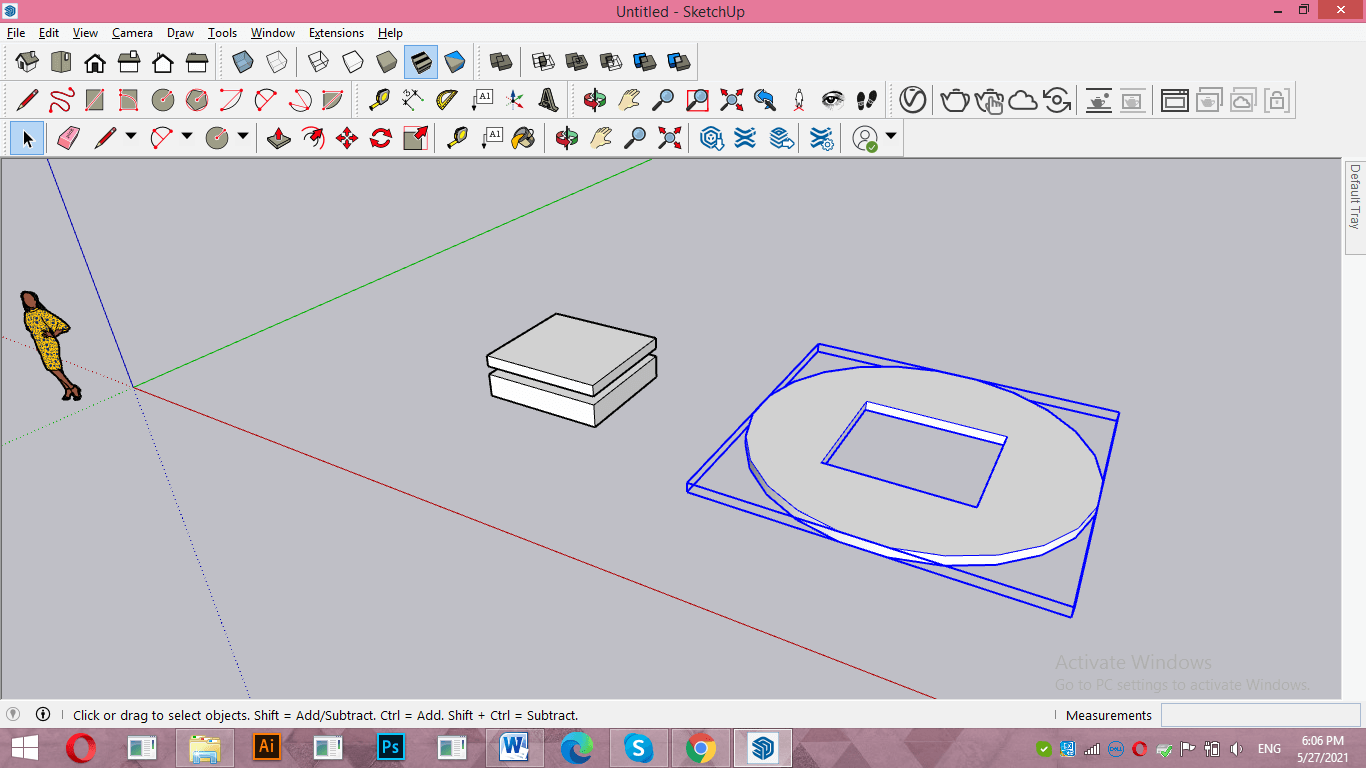
And it will subtract one object from other like this.
You can define which object will subtract from which object and for that select that object first which you want to subtract and then holding Ctrl button of keyboard click on the second object from which you want to subtract first object.
Let us make a copy of this object.
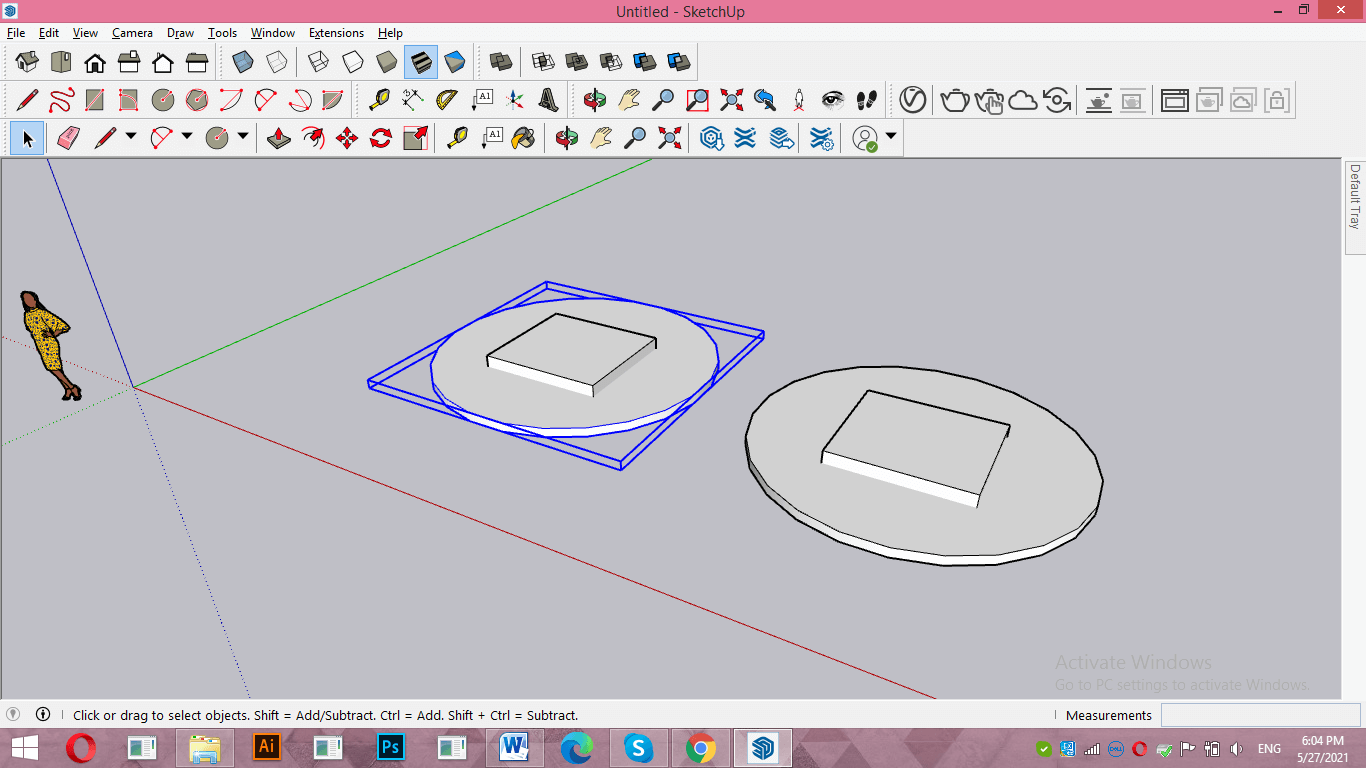
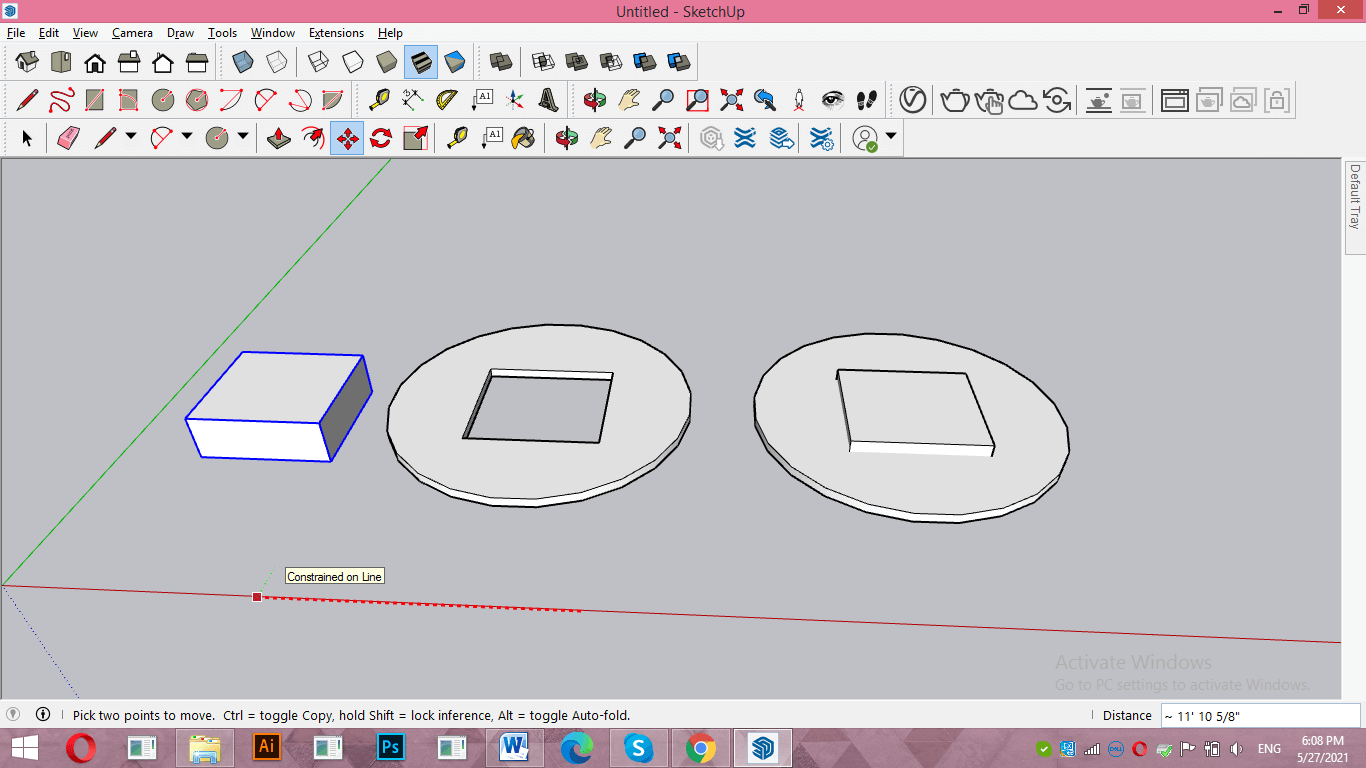
Now i will select circular object first then holding Ctrl click on second object then click on Subtract option.
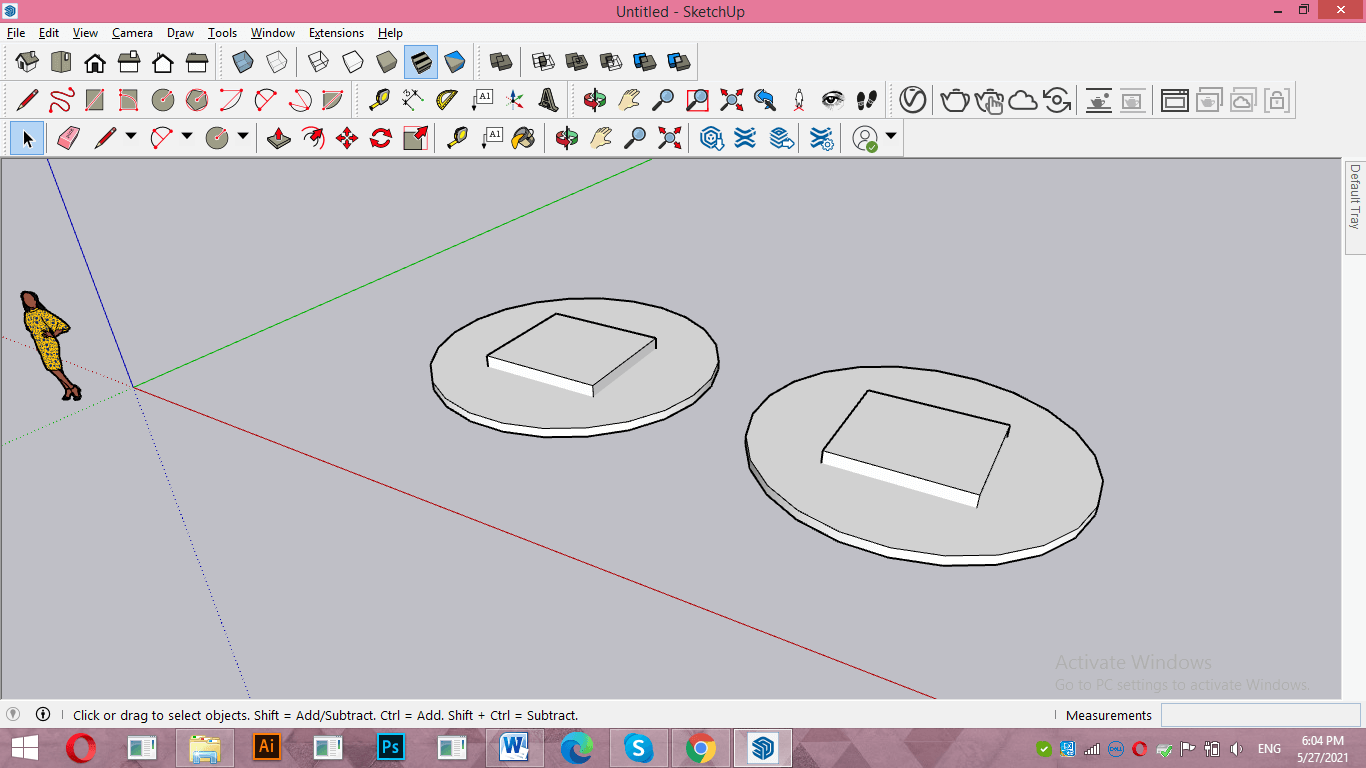
You can see the circular object subtracted from cuboid object. Now in the copy of these objects i will first select cuboid then Circular object by holding Ctrl button of keyboard.
And you can see cuboid subtracted from circular object.
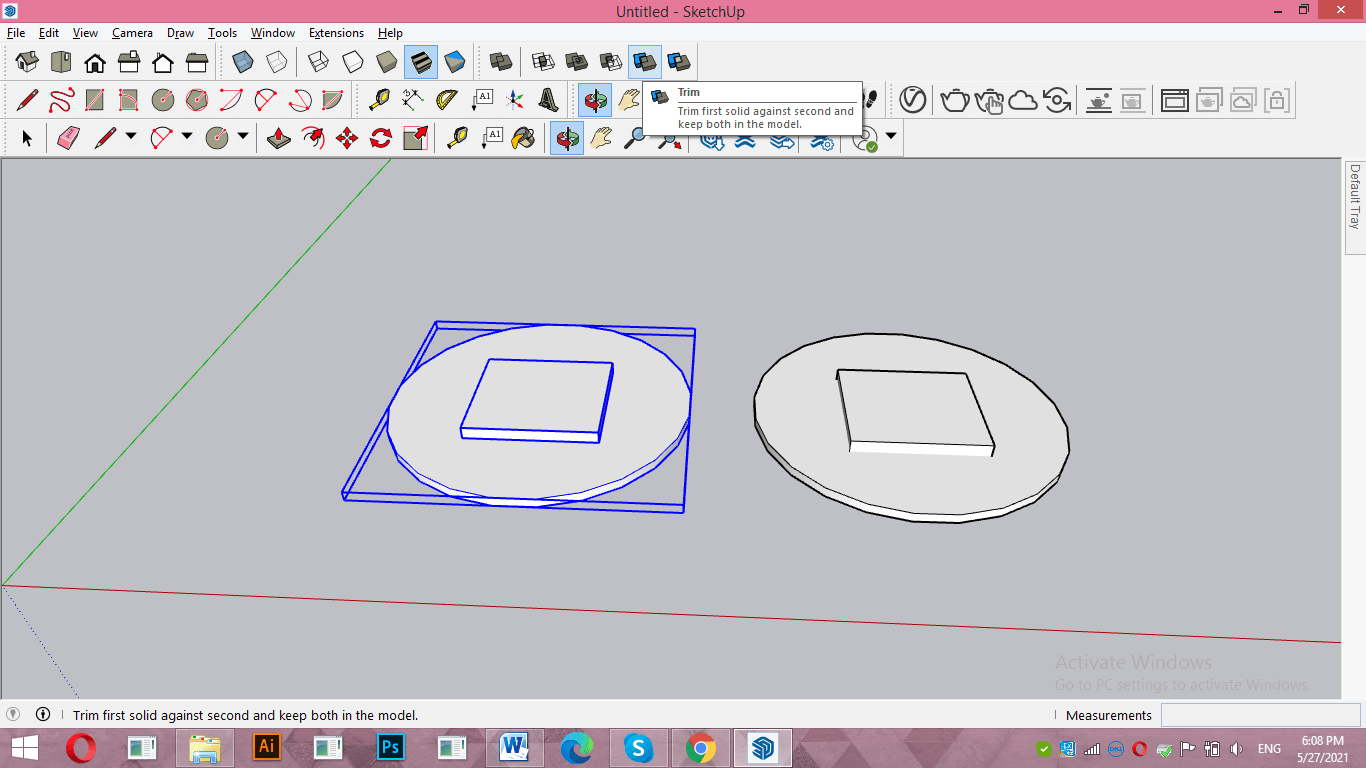
Now let us go through other option. Select the objects then click on Trim option.
It will delete the common area of intersecting objects. For example there the center cuboid is the common area between both objects and after trim operation it will delete like this and intersecting object will be as it is.
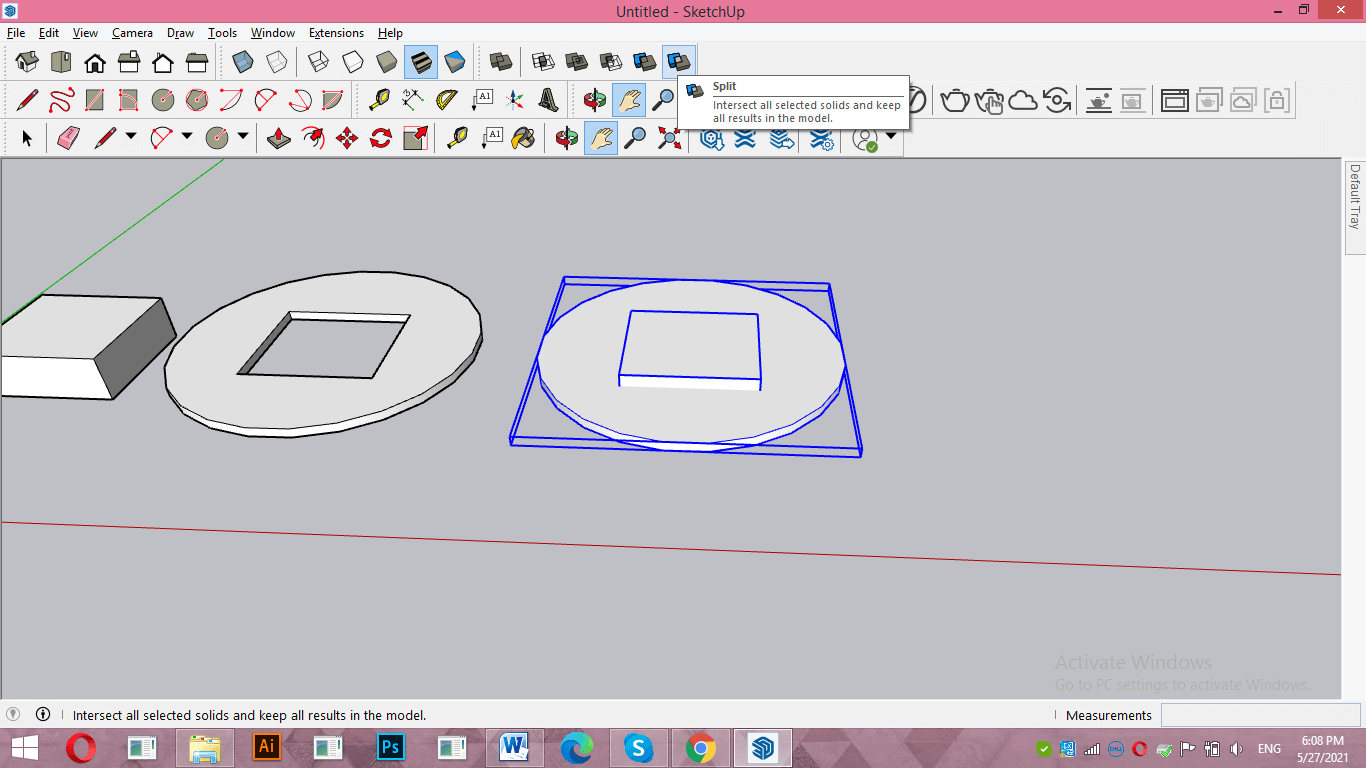
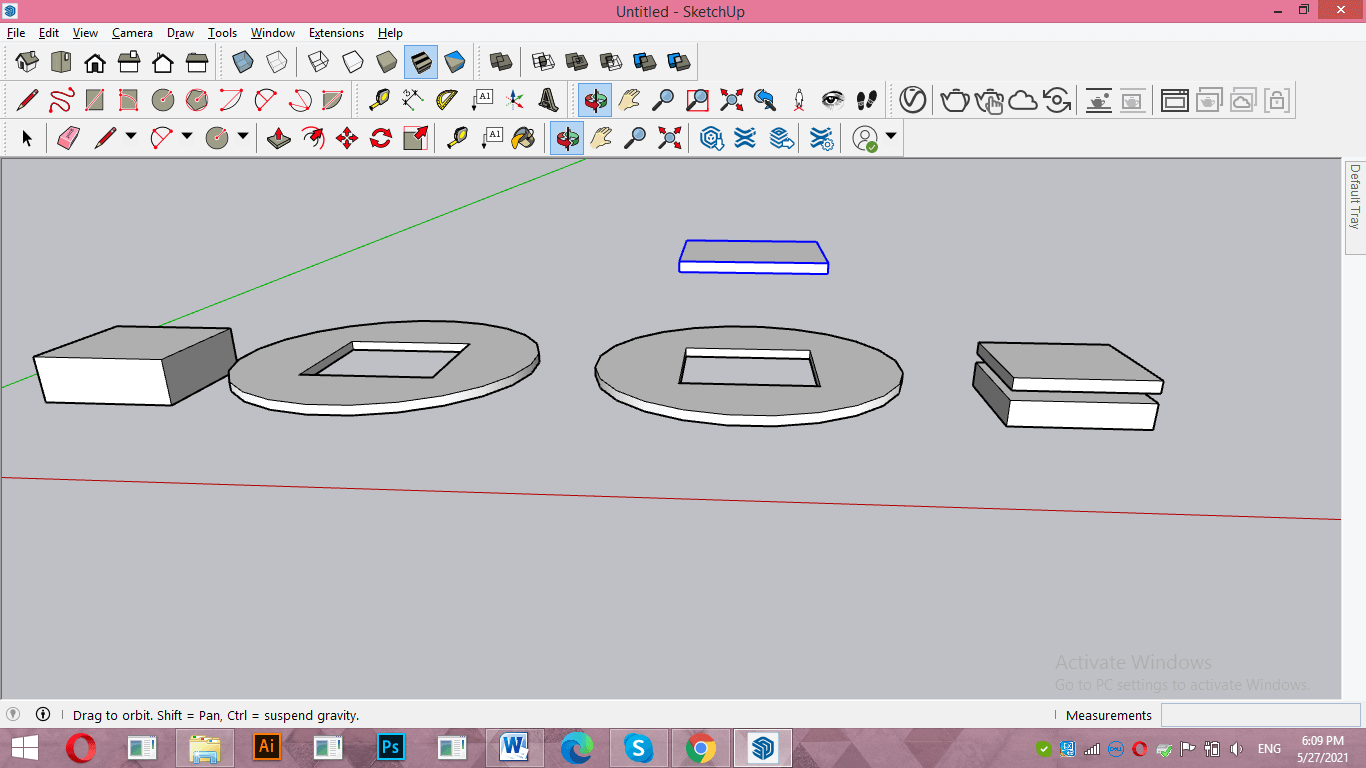
Now select other objects like this and click on Split option. Let us see what will happen now.
It will split all the parts of the object. For example if i split these two overlapping object then it will break it into three pieces like this.
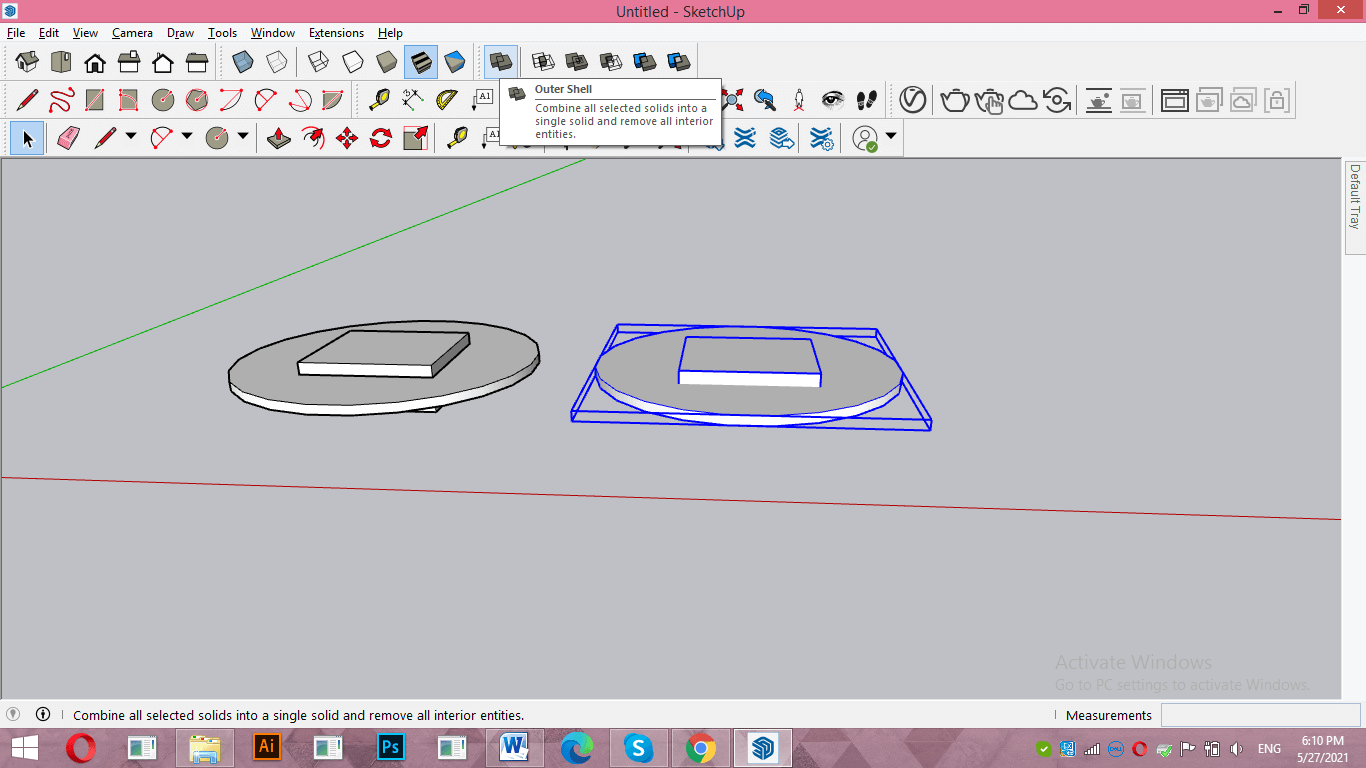
Now i will select these object again this time i will click on Outer Shell option of Solid tools.
For explaining this option i will first union these objects.
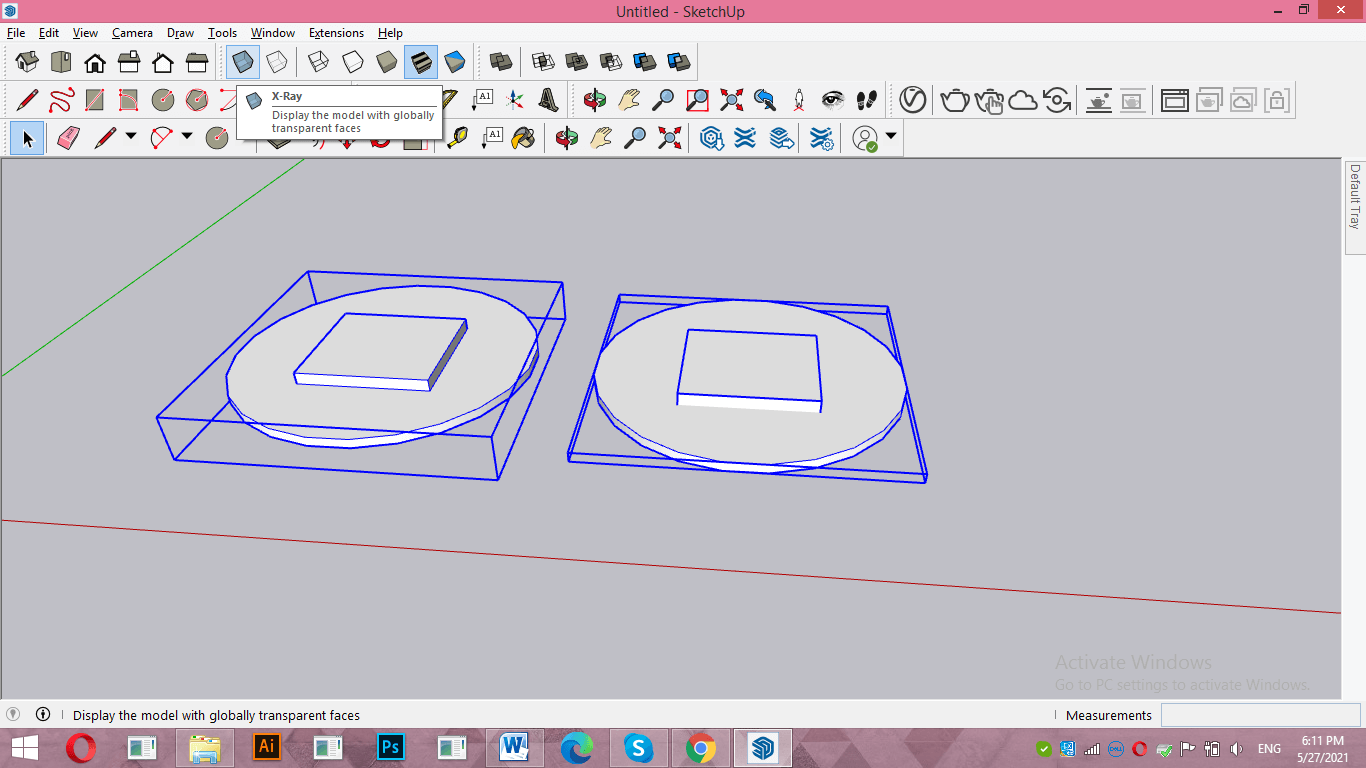
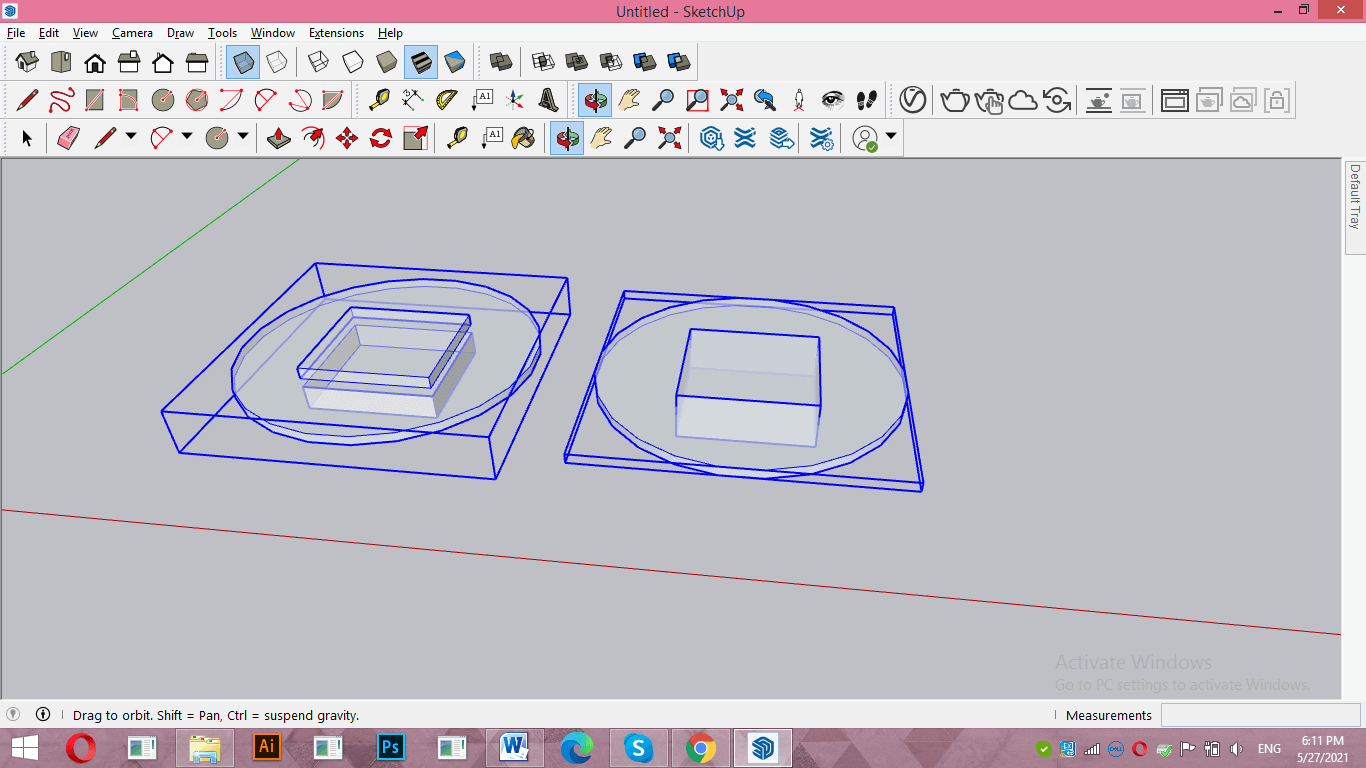
Now let us see X ray view of both objects.
You can see Union object becomes one object but internal geometry is as it is and if you see Outer Shell object then it makes all selected objects as one object but deletes all internal geometry also.
Conclusion
I told you about all options of solid tools of SketchUp and through this you can easily intersect faces for creating complex 3D shape for your project work. You just have to keep one thing in mind during using these options that the objects on which you want to perform intersect facing should be in solid shape.
Recommended Articles
This is a guide to SketchUp intersect faces. Here we discuss all options of solid tools of SketchUp and through this, you can easily intersect faces for creating complex 3D shapes. You may also have a look at the following articles to learn more –
