Introduction to SketchUp Landscape design
SketchUp Landscape design is part of 3d modeling in this software, and through this, we cover up inside or outside portion of 3d model with different structures such as includes parks, gardens, green spaces, sports sites, and so on. In this design, we manage open spaces with different planning and designing as well so that we can create a good environment for urban and rural areas. You can create any environmental objects or structure for this landscape design, and that design should be purpose full for that surrounding model. So let us have an analysis on this topic for a better understanding of this.
How to create Landscape Design in SketchUp?
Landscape designing depends on the purpose of the model, and you can create a landscape design according to that; it may be a park, garden, trees, or pools and all that. So let us have a look at how we can create it?
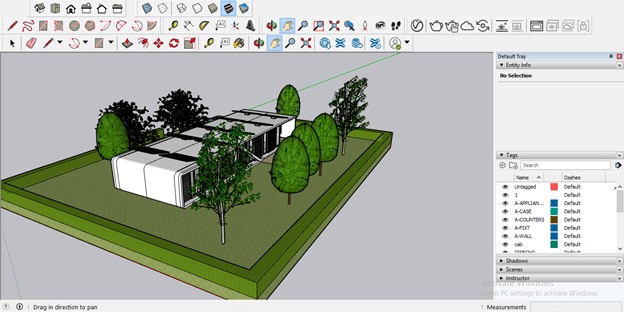
This model has been downloaded from an online library of this software, which is 3D Warehouse, and we will explain landscape design to you with the help of this model. For example, here, you can see some trees and green areas around this model, which are part of landscape designing, which the designer of this model included in its model.
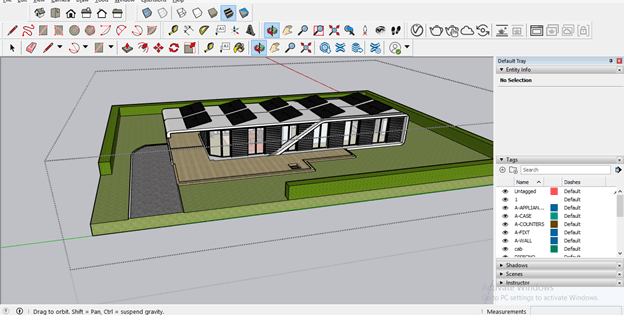
No doubt there is a wonderful balance of green objects in the landscape design of this model but let us find out what we can do for landscape designing of this model. We will hide these trees from the model and will take a fresh start for landscape designing. This is the front view of this model.
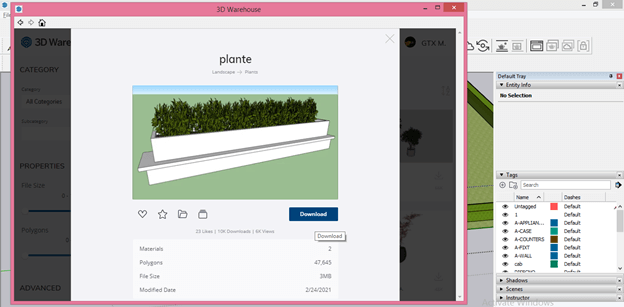
We want to add a plant pot near this road as a landscape design so that we can have a tree pot model from the 3D Warehouse library. You can find the 3D Warehouse library from the Windows menu of the menu bar. We will click on it.
And search for my desired component in the search box of the dialog box of 3D Warehouse.
We will choose this plat pot as a part of my landscape design so that We will click on the download button and directly use it on my model. You can take your own designed component of other 3D software for this purpose. We are just taking it as an example.
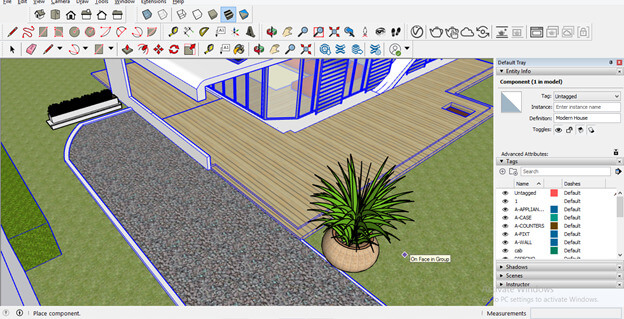
Now first, We will place it anywhere on this model site by click on the ground area.
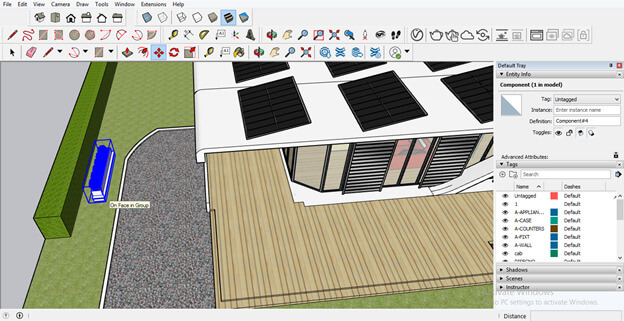
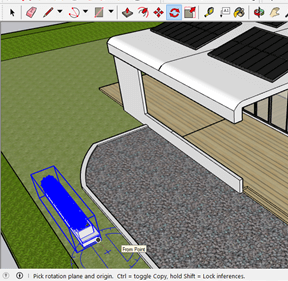
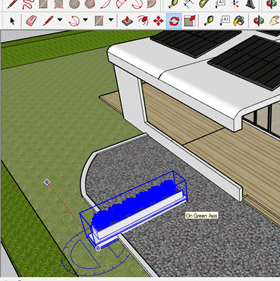
We want to place this plant pot below to roof shading, so I will first rotate it in the same direction as the roof shading with the help of rotate tool of the tool panel.
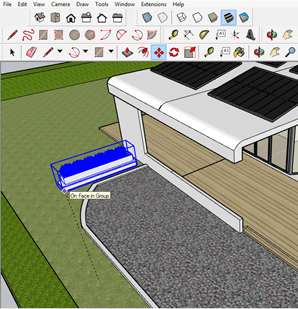
And move it to next to the model house wall.
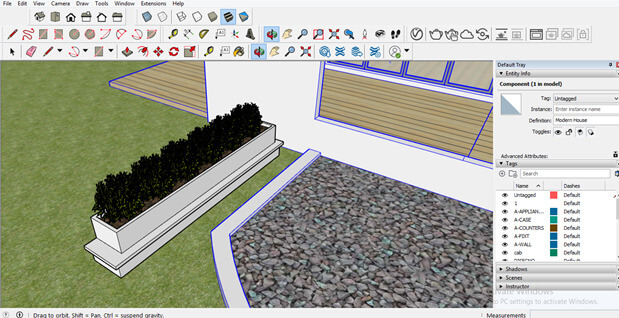
You can see how it covers this empty area beautifully. If you want, you can scale it or change its material to match it with this house model materials. For making any changes in imported components regarding material or texture, you have to double click on it because it is grouped and a component object.
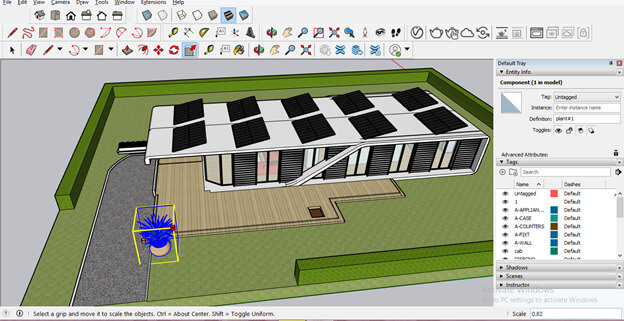
We will take one more plant model of a different style from 3D Warehouse.
You can scale any imported model as per your requirement of landscape design. This plant model is a little bit bigger according to this model, so that We will scale it down with the help of the scale tool of the tool panel.
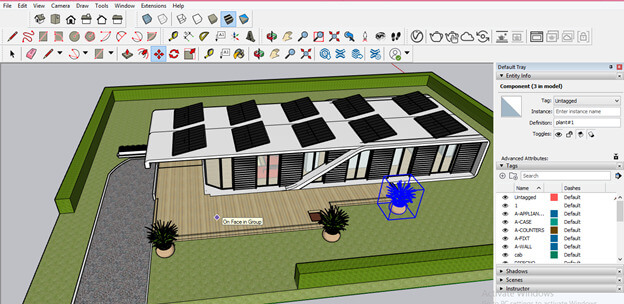
We will place this plant pot like this and make multiple copies of it, which will be placed in different places to cover the open space area. It will also be part of my landscape design.
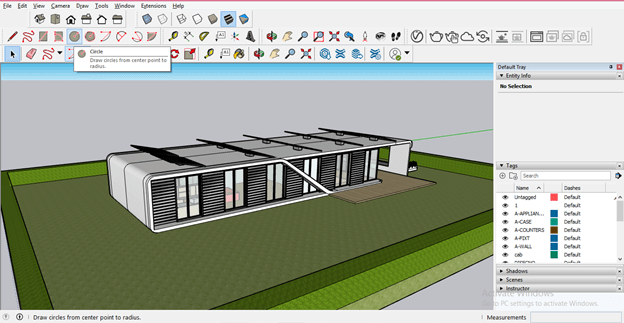
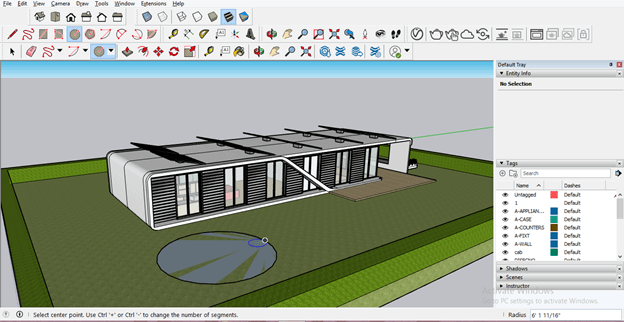
Now let us move to the back portion of this house model, and We want to make a circular pool here for covering this open area and take the Circle tool from the tool panel.
And draw a circle like this. We are not taking any dimensions for this. We are just drawing it freehand for explaining to you about landscape design.
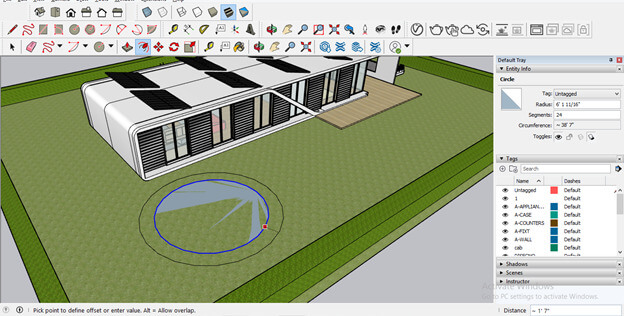
Now it will create a boundary around this by using the offset tool of this software. So for that, just select the edge of this circle and drag it in the outer direction with the help of the offset tool.
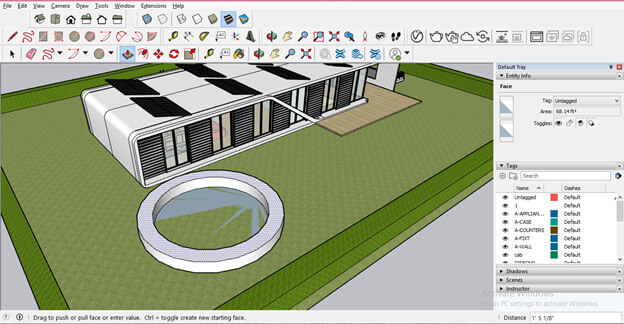
We will add some height to this boundary by using the Push/Pull tool.
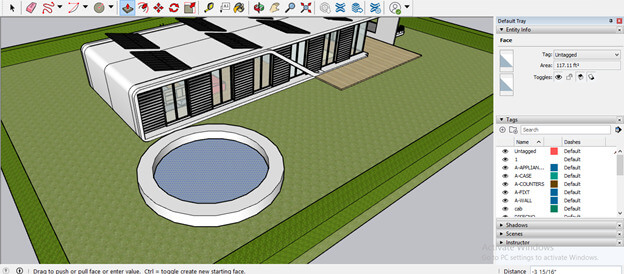
And also, add some base height with the same tool at the center area of this boundary.
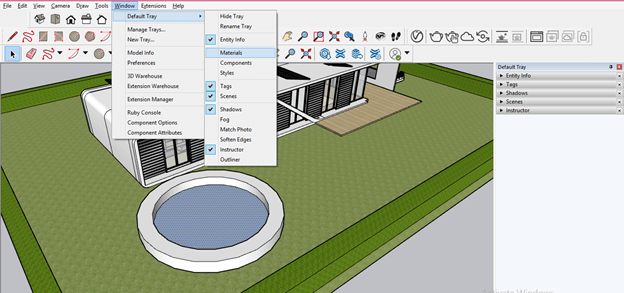
Let us fill material to this pool for making this structure complete and giving it a real look. Go to the Materials panel for this purpose. If you haven’t a materials panel on your working screen, then you can find it on the drop-down list of the Default Tray option of the Window menu.
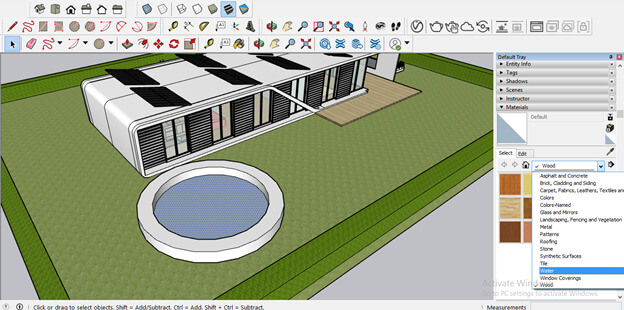
First, We will choose pool water material for the center of this structure, so for that will select this area first and then select Water texture in the materials list.
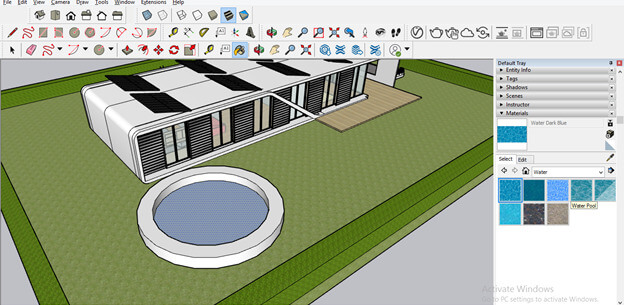
We will choose this Water pool texture from the texture list of Water.
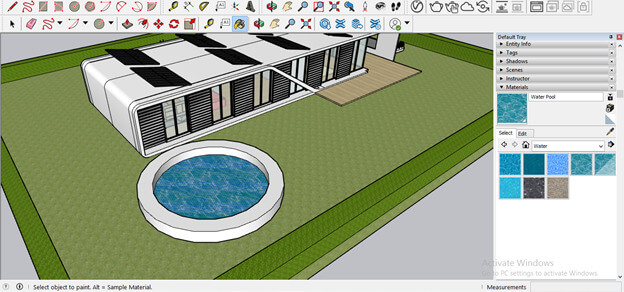
And fill it in this area by clicking on it.
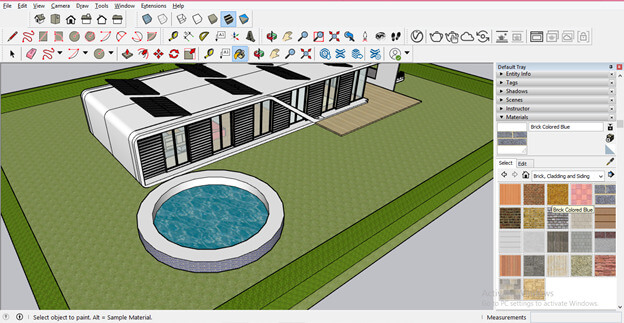
Now We will select this sidewall of the boundary with the select tool and apply brick material to it from the Brick materials list.
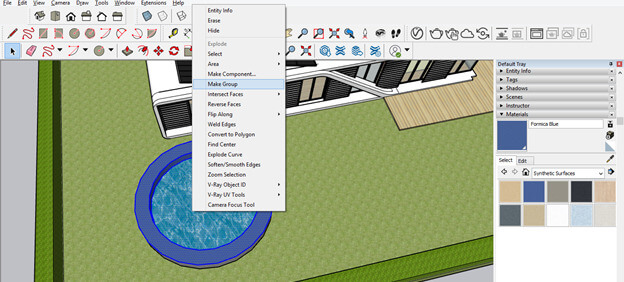
After apply material to all surfaces of this boundary, We will select this whole object and make it a group. After selecting them to make a group, make right-clicking on it, then click on the Make group option of a drop-down list.
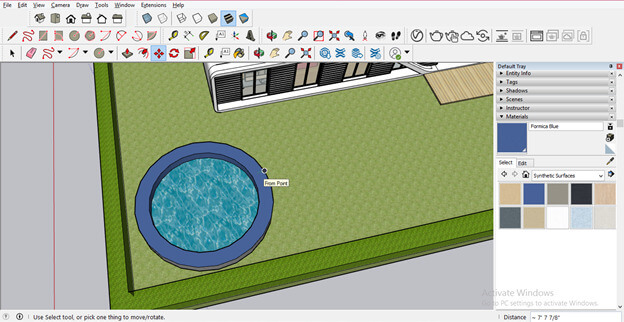
Now We will move it to my desired place of this model with the help of the move tool, and it will cover up nice open space as well as provide purpose to this model for having it.
We have just given you an idea about landscape designing, but you can do a lot more for doing this. You should first find the purpose of using anything in one open area of the model.
Conclusion
Landscape designs will take no more unknown words for you, and you can create them according to your models’ requirements. You create this design yourself and have different types of components for it from 3D Warehouse. You can also make different types of parametrical changes in the imported objects as per your design requirement.
Recommended Articles
This is a guide to SketchUp landscape design. Here we discuss How to create Landscape Design in SketchUp in detail for a better understanding. You may also look at the following articles to learn more –
