Introduction to SketchUp Rotate
In this article we are going to see how to use rotate in SketchUp. Rotate is one of the basic tools in the toolkit of SketchUp which not only rotates the objects but also have other functionality like creating copies while doing rotation. Rotation can be arbitrary or specified in the dimensions. We can also rotate objects and components around the origin. Rotation can also be performed by move tool if the object is grouped as it can be done by hovering over the object and clicking of the marks indicated and rotating along that surface.
Rotate in SketchUp
We will first start by creating a simple model and then some other objects to demonstrate rotation in SketchUp.
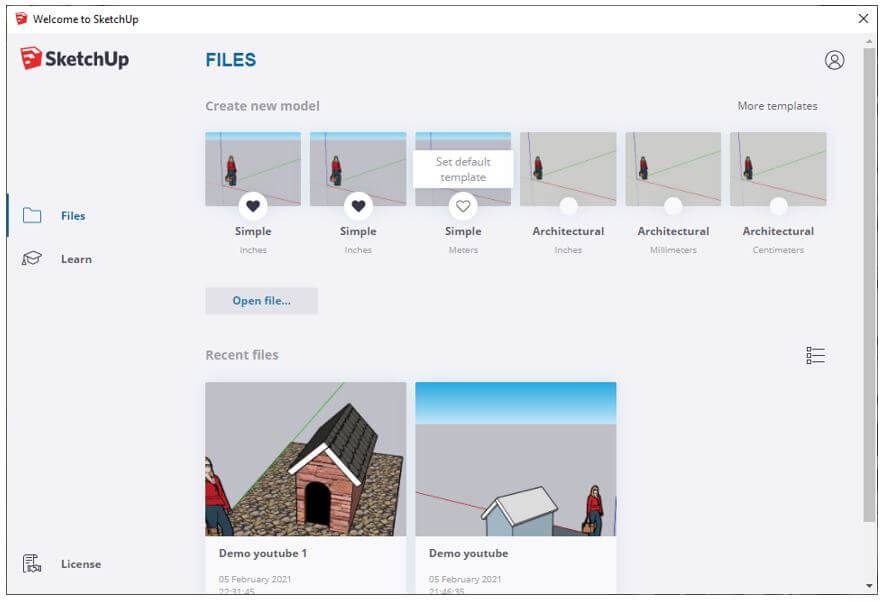
Step 1: Let’s start with a simple meter template. To learn more about the rotate tool we will first create a component.
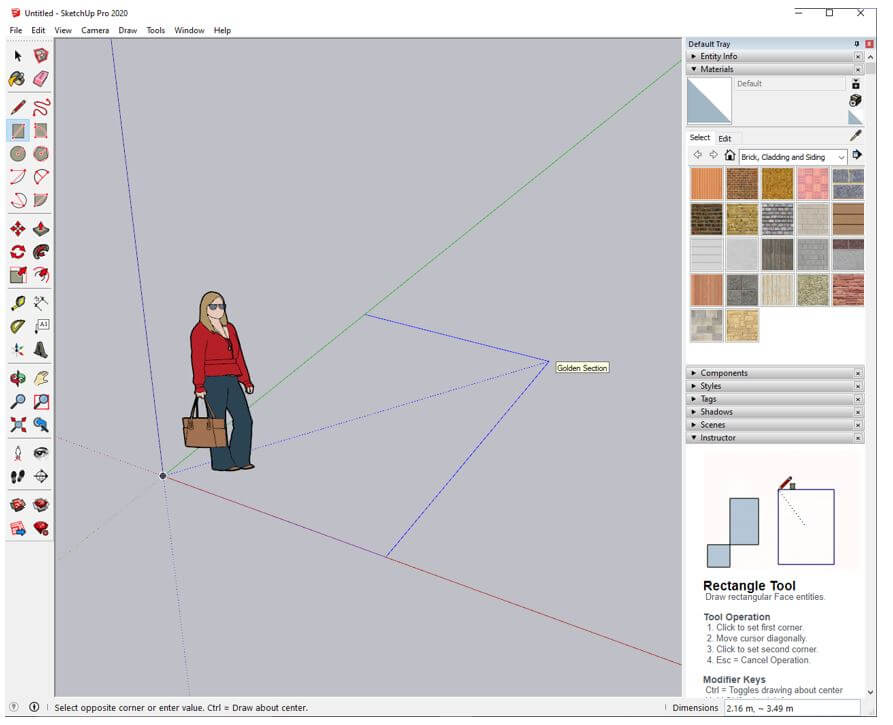
Step 2: Then using rectangle tool and click on the origin and let go of the mouse and move it as shown and click to create a rectangle surface.
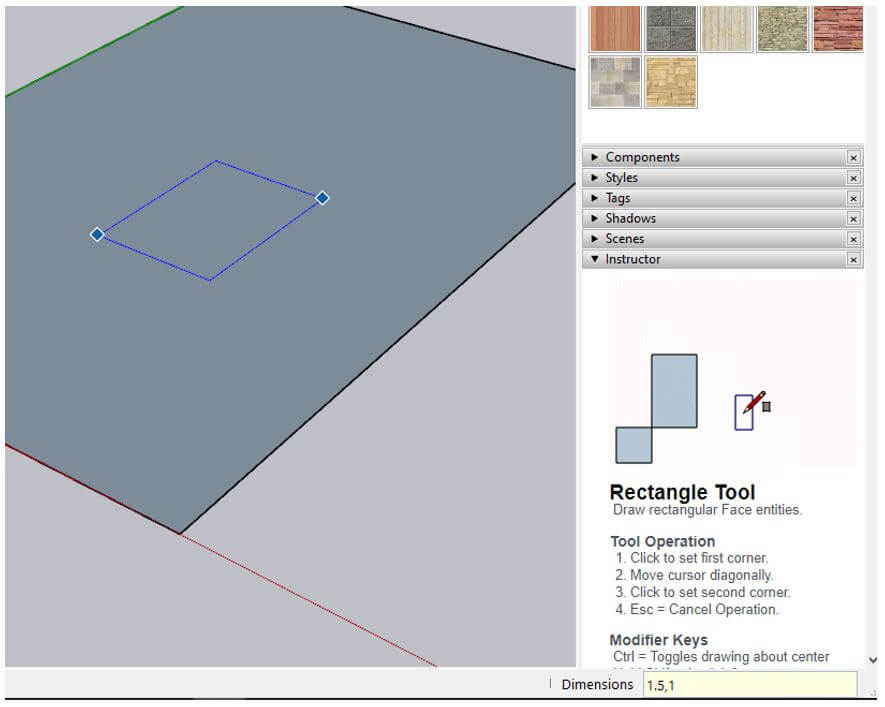
Step 3: Then again using the rectangle tool create another surface but this time enter dimensions 1.5,1. You do not have to click on the dimensions box at the bottom right corner as whatever you type is getting registered by default
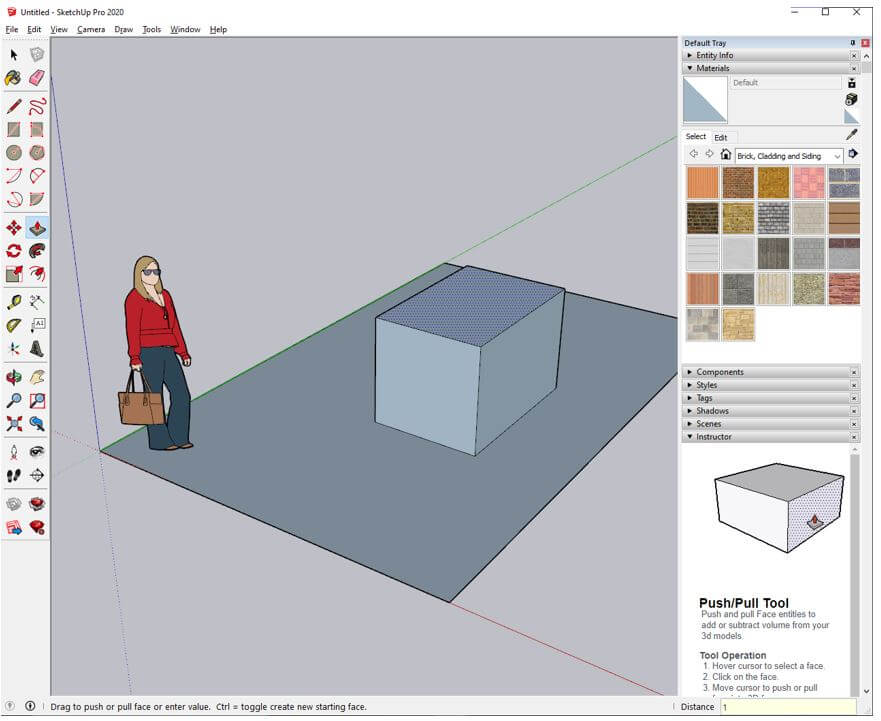
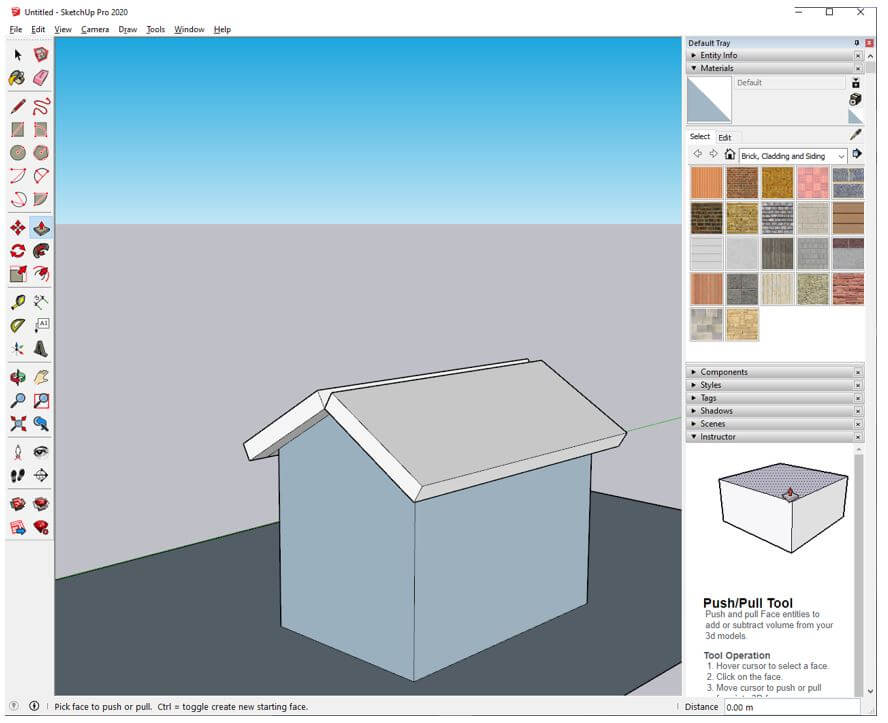
Step 4: Then use push pull tool to raise the rectangle surface and set it to 1m.
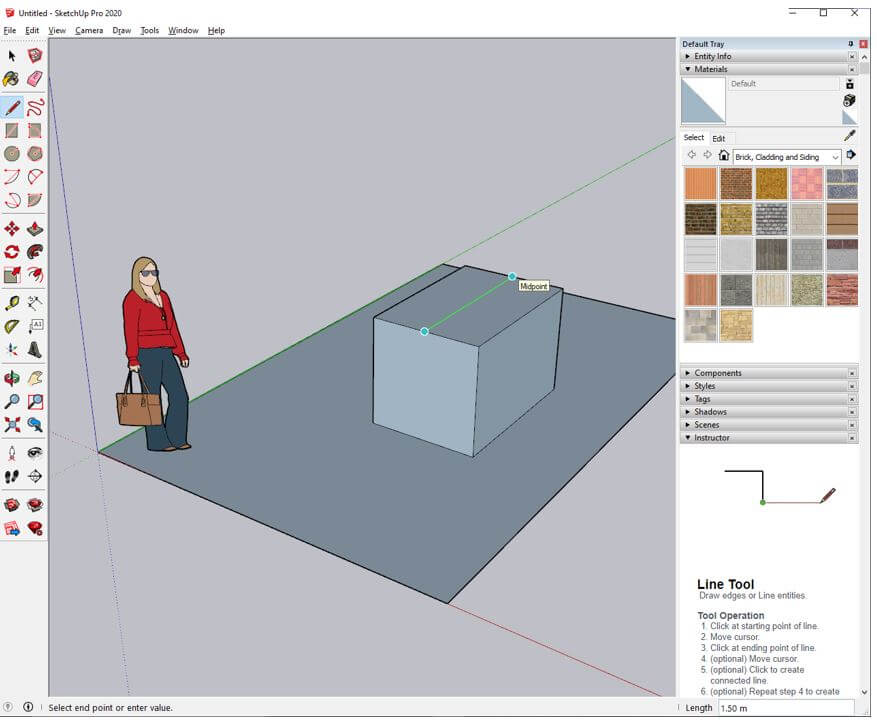
Step 5: Then using line tool hover over the top rectangle to get the midpoint and join it to the opposite side to create a line.
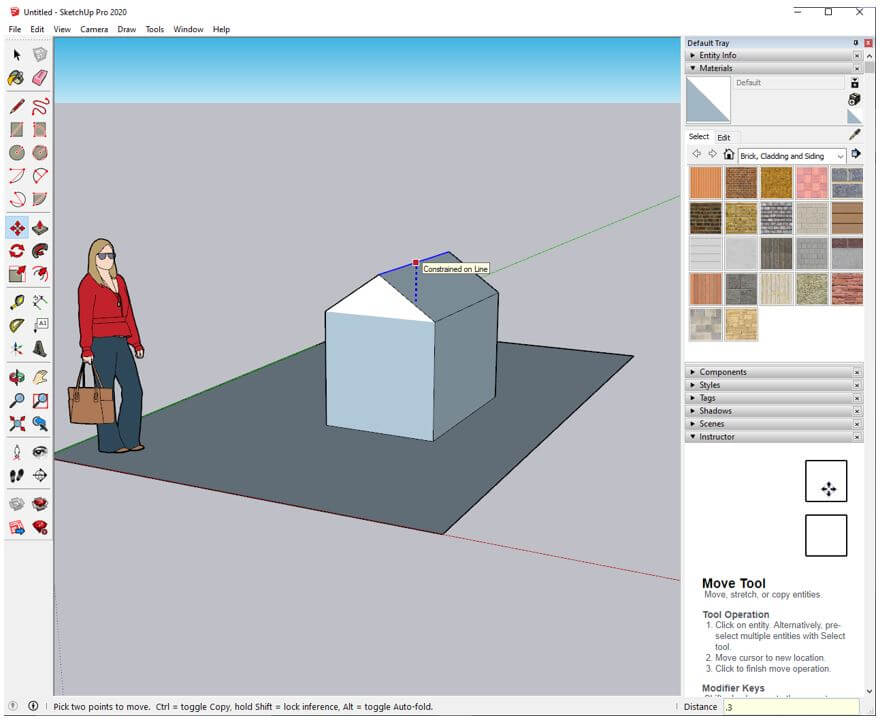
Step 6: Then using move tool you can move up. To move it straight you can constraint it to an axis like pressing up arrow key constraint to blue axis, move it by 0.3.
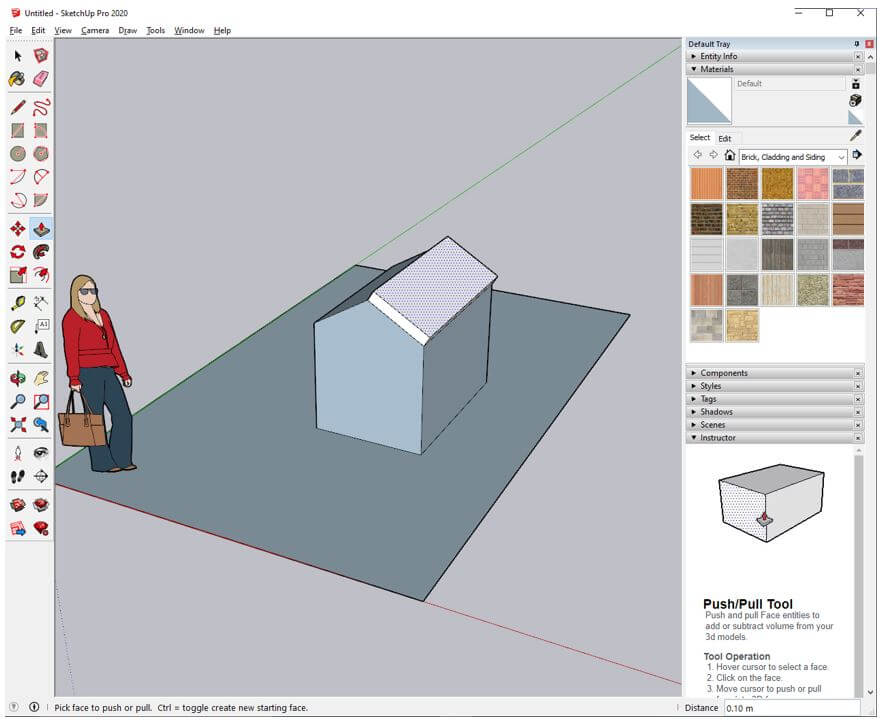
Step 7: Then again use push pull tool but this time hold ctrl key as we need to create another surface on top and give it .1.
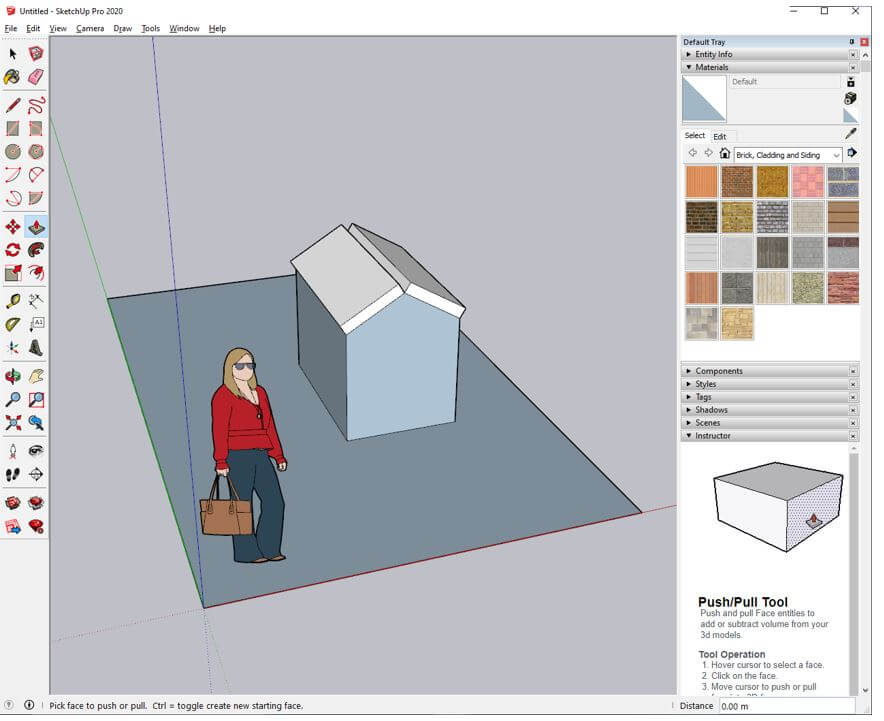
Step 8: The push pull tool remembers the last used operation so to perform the same operation on another surface double click.
Step 9: So, we can double click on each roof overhangs to create the surface.
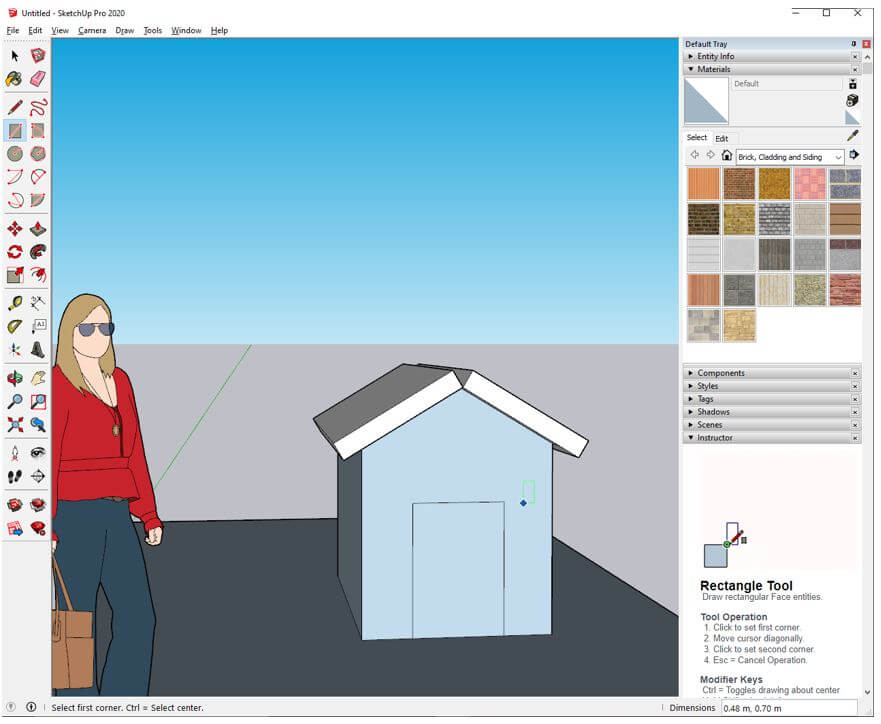
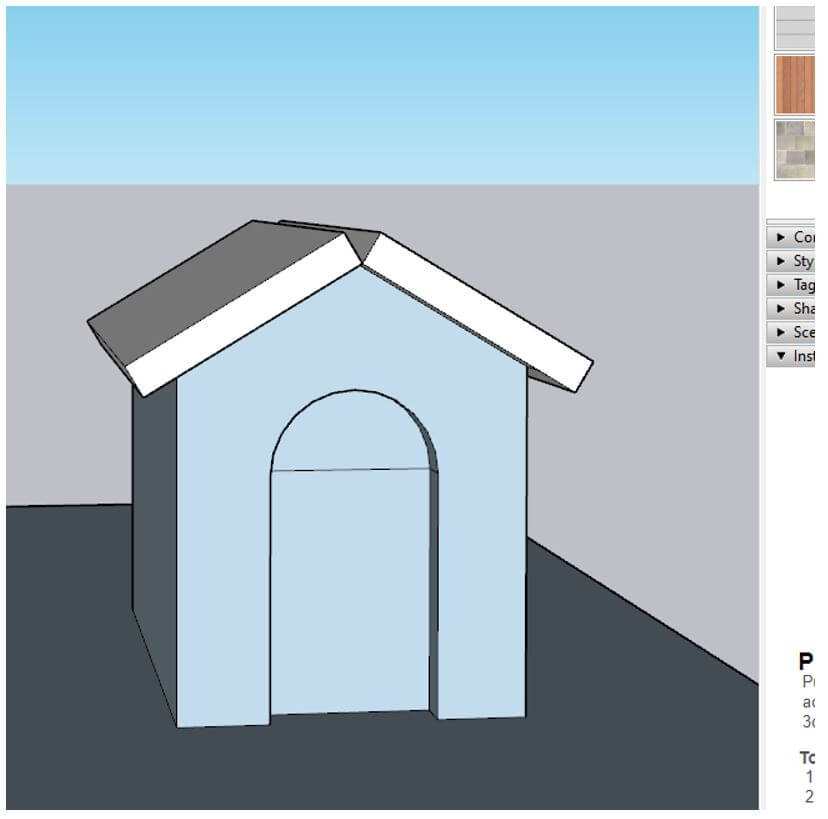
Step 10: Again use the rectangle tool to create a door shape.
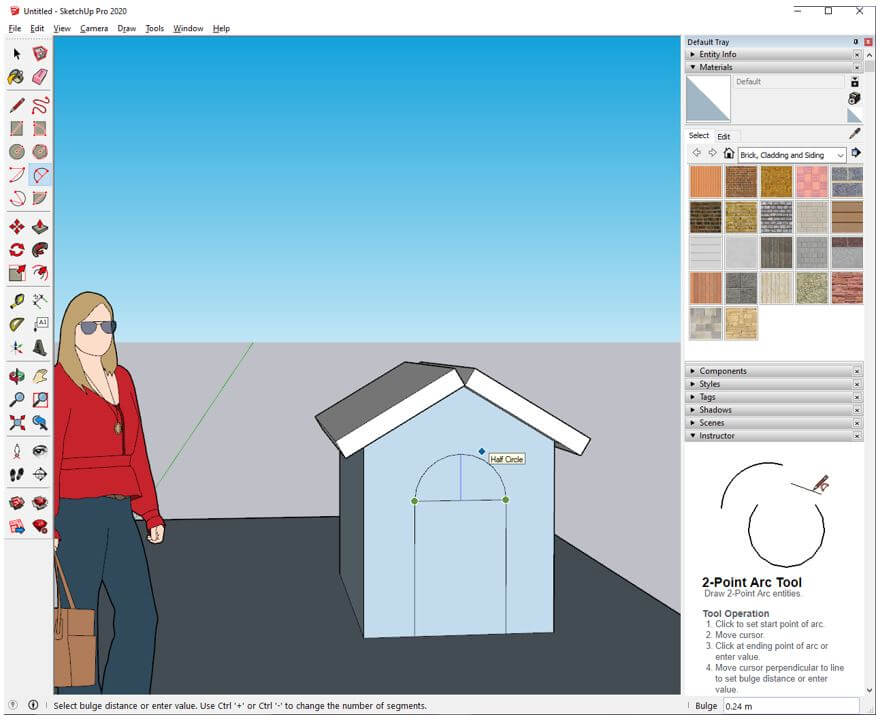
Step 11: Then use 2 point arc tool and first click on top left corner of rectangle and then click top right corner and let go the mouse which will create an arc and when a half circle is created then click to create a rounded top.
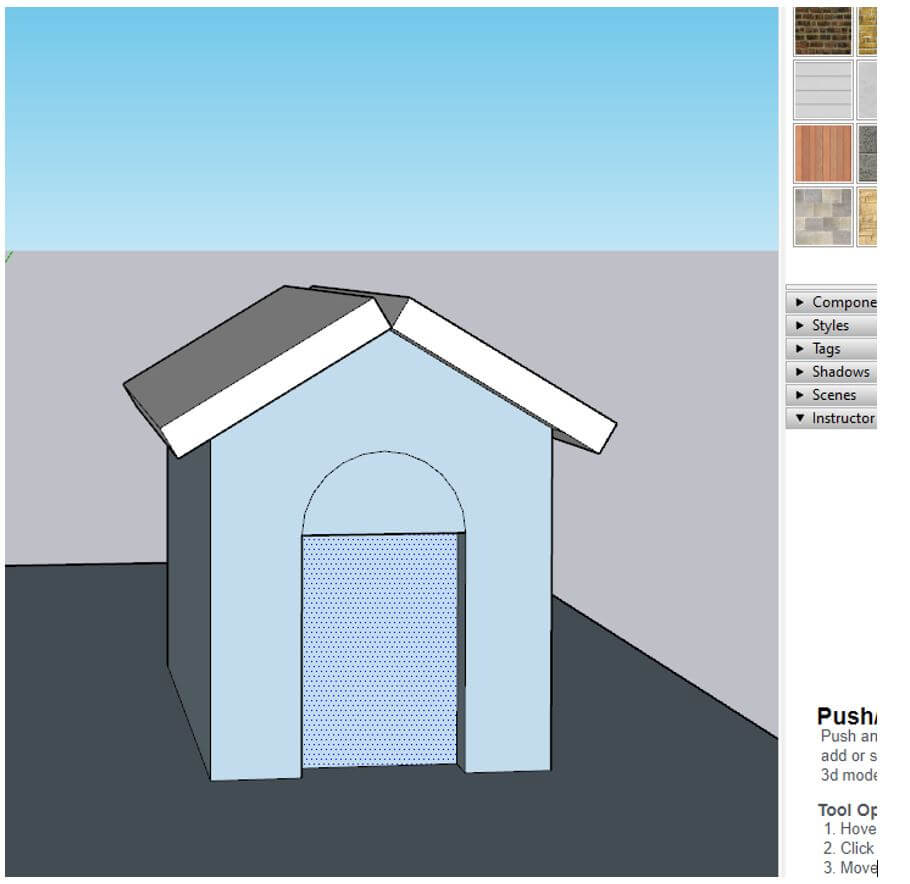
Step 12: Then again we use push pull tool to move the door rectangle inside.
Step 13: Similarly we move the circular part in.
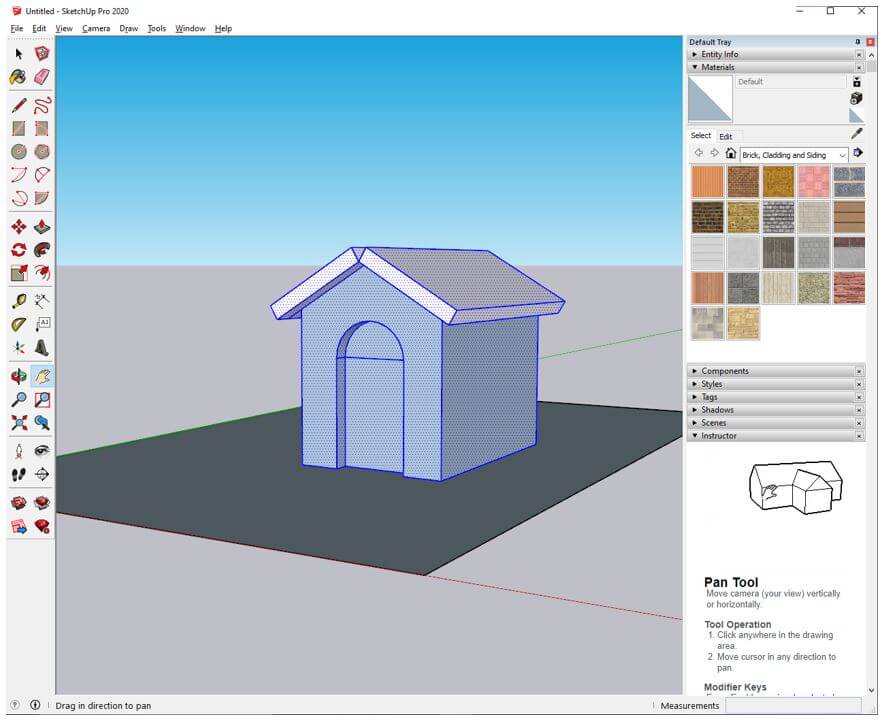
Step 14: Then use select tool and drag over the house to select all the parts as we are going to group it so that we can rotate as we want.
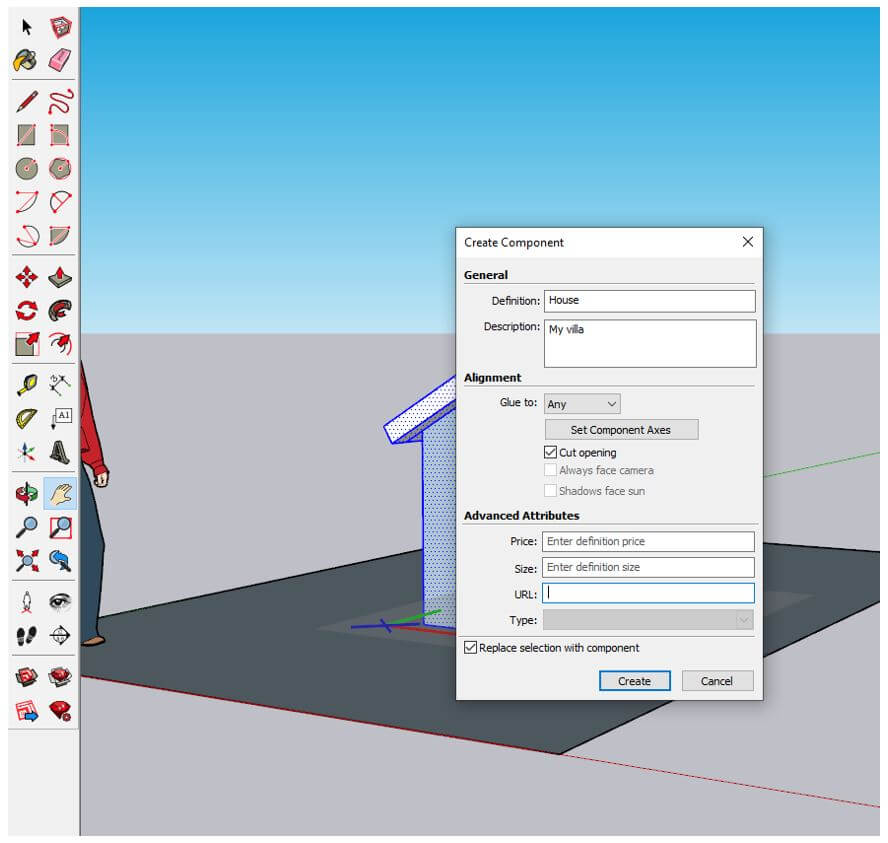
Step 15: Then use create component tool and give the definition and description and keep all the other options to the default values. Make sure that replace selection with component is checked.
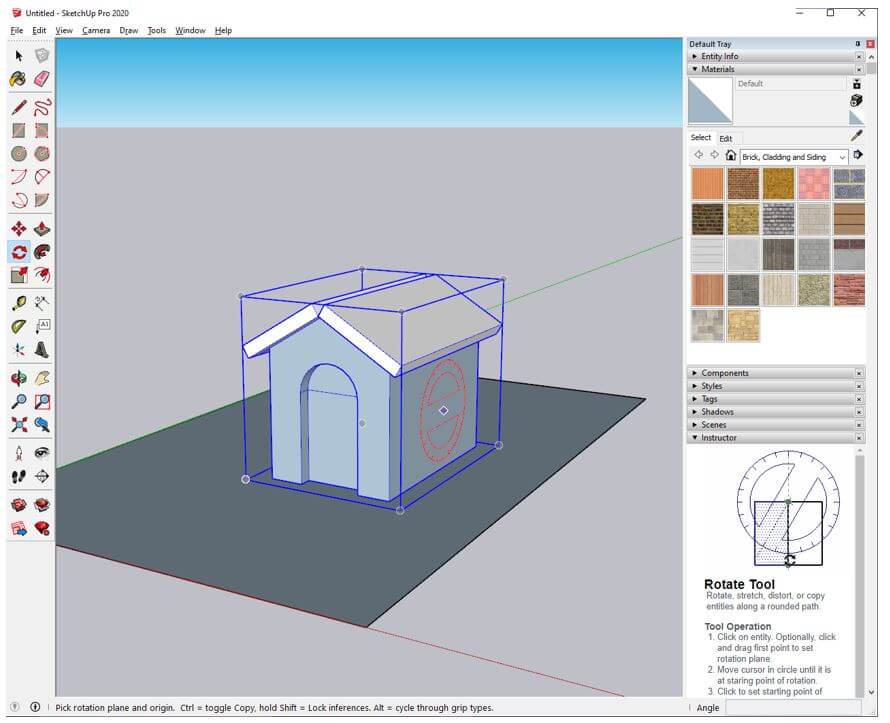
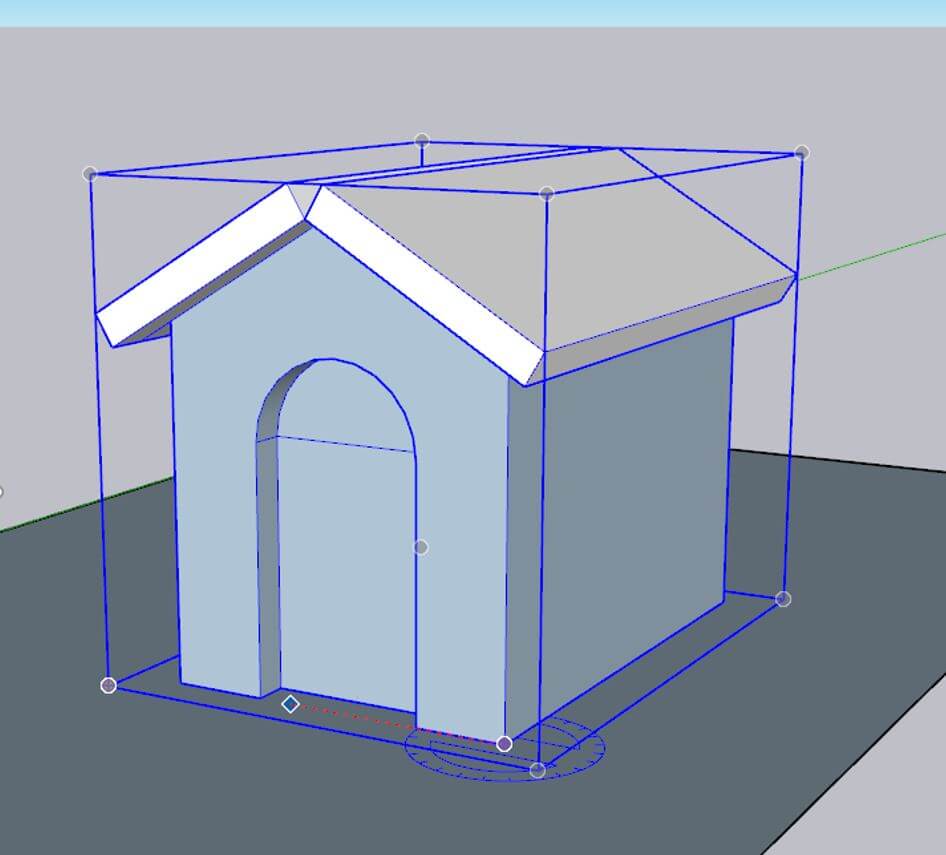
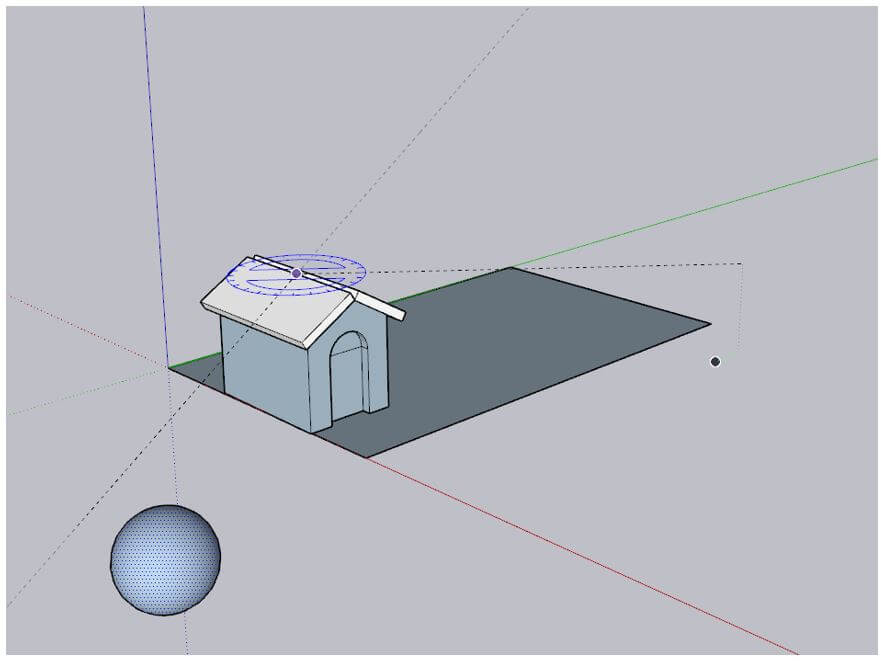
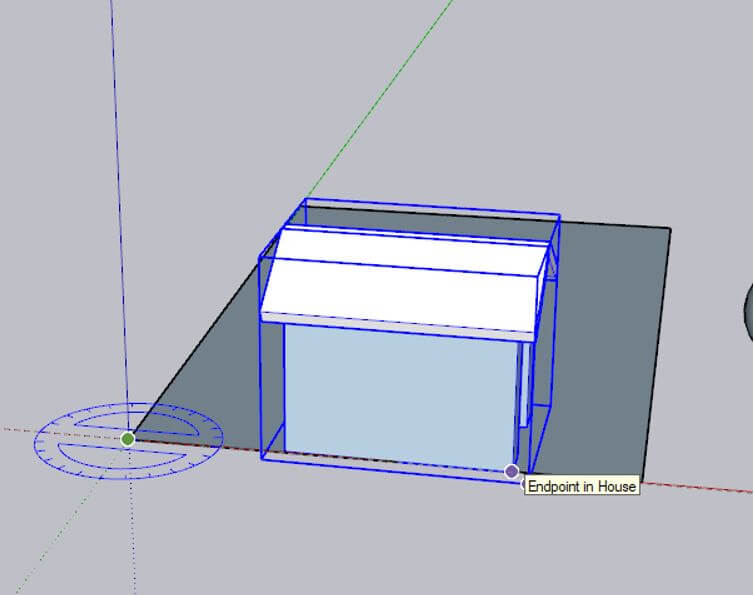
Step 16: Now we can select rotate tool or press Q and when you hover over the house component you can see the axis on which the rotation is aligned a small protractor can be seen. The protractor also shows on which plane you will rotate along. As you move the mouse SketchUp inferences to the faces where you want to rotate along. You can even lock the axis on which you want to rotate so that SketchUp would not guess the axis. So, tap right to lock to red axis, tap top to lock on the blue axis, tap left to lock on green axis.
Step 17: Let’s first set the base point on which you want to rotate as shown we have selected the right corner of the house.
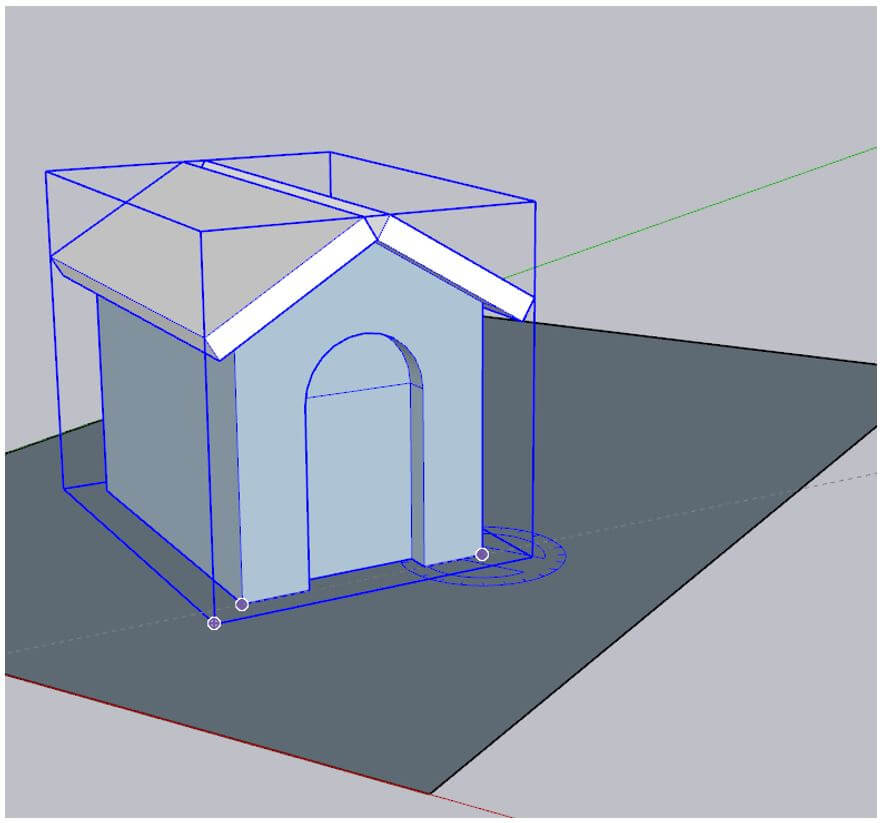
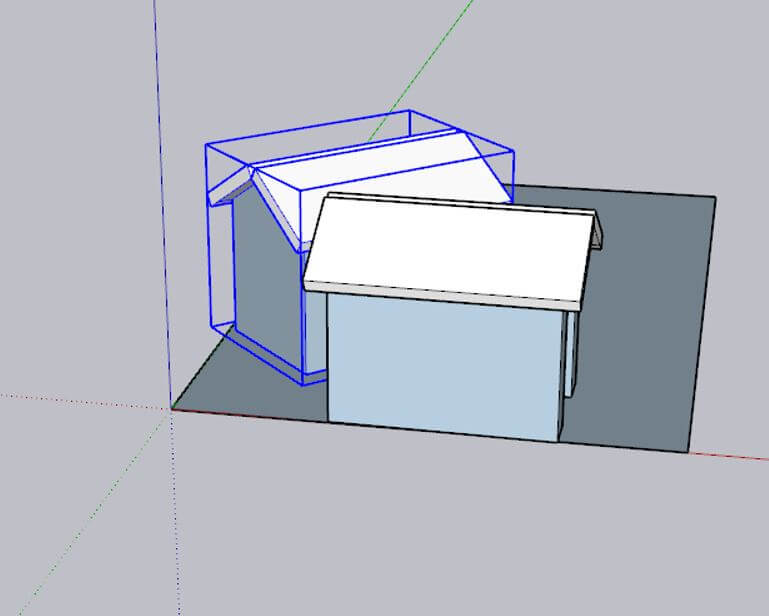
Step 18: Now set the target point on the left corner and then drag the mouse and the house will be rotated along the axis made by selected base and target point.
Step 19: The third click will finalize the rotation and the component will be rotated to the selected angle of rotation.
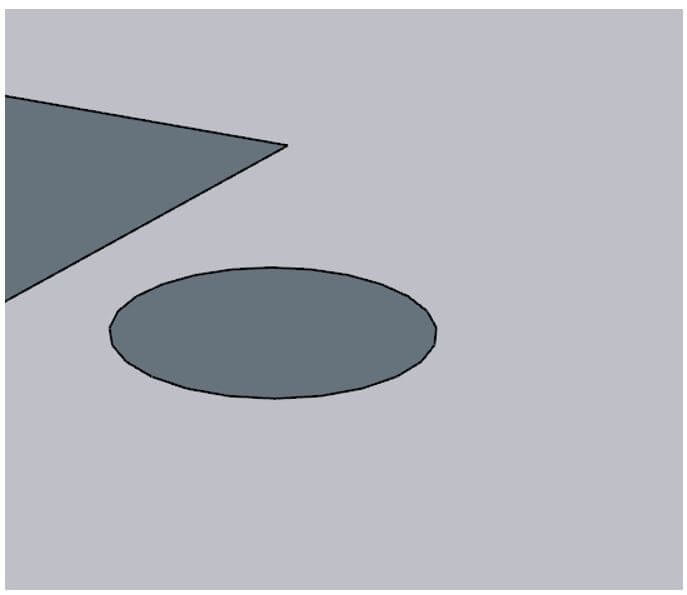
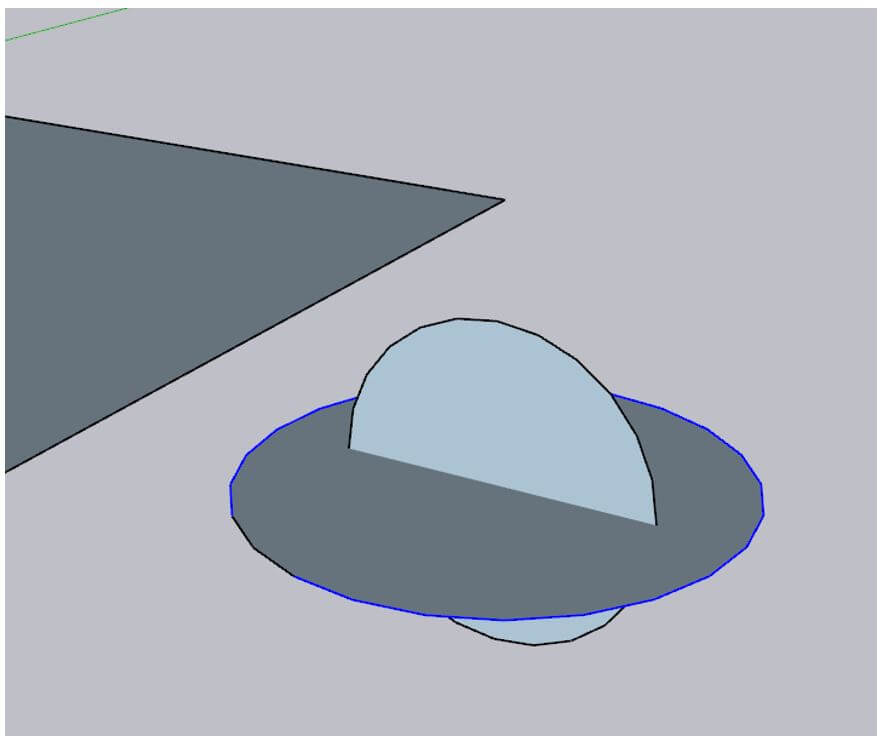
Step 20: Now let’s create a sphere. First draw a circle with the circle tool.
Step 21: Then draw another circle along the blue axis.
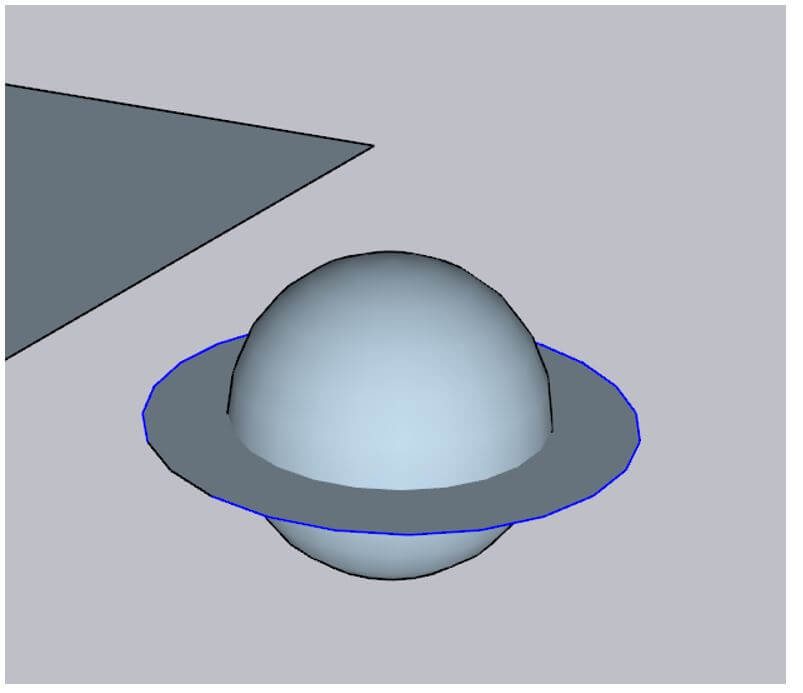
Step 22: Then selecting the horizontal circle use the follow me tool and then select vertical circle.
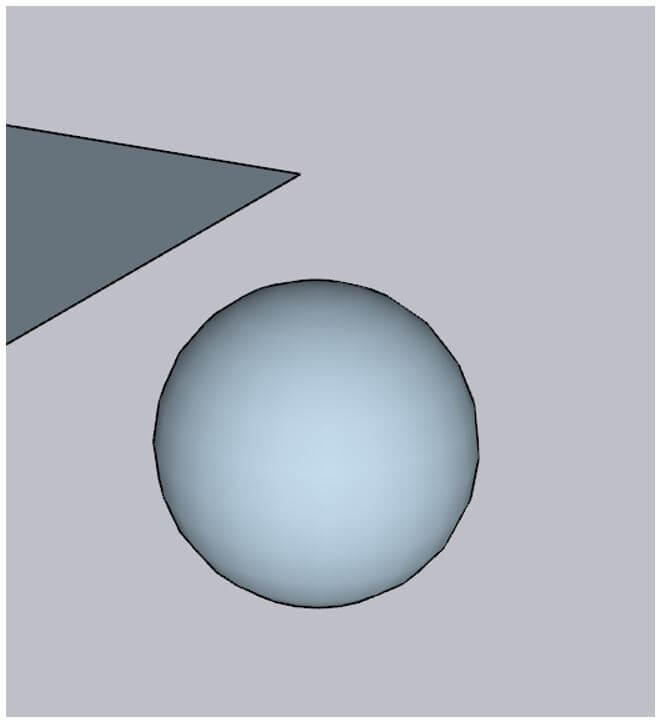
Step 23: Then use the eraser tool to remove the extra circle.
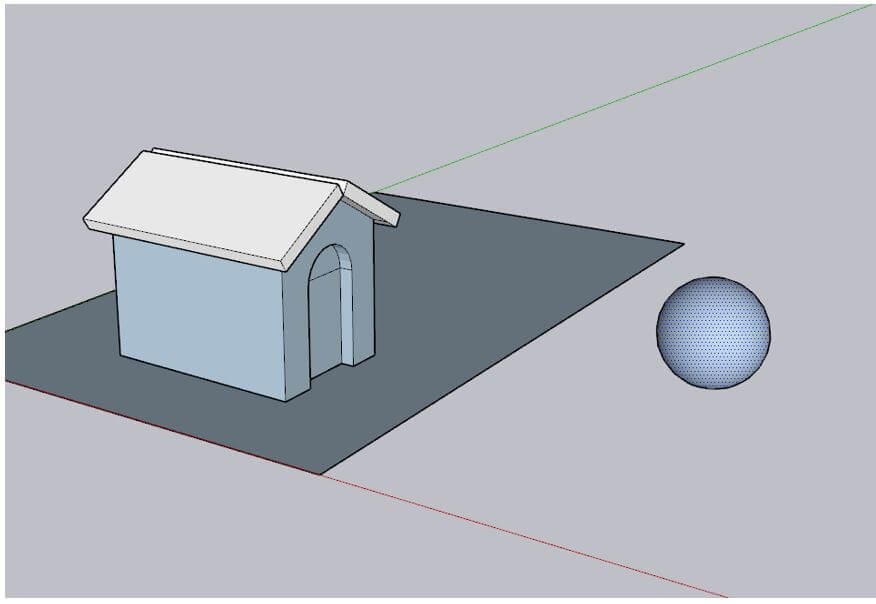
Step 24: Now first select the sphere and what we will do is that we will rotate the sphere around the house.
Step 25: Now we have selected the midpoint of the house and then dragged past the sphere and then rotated the sphere around the house.
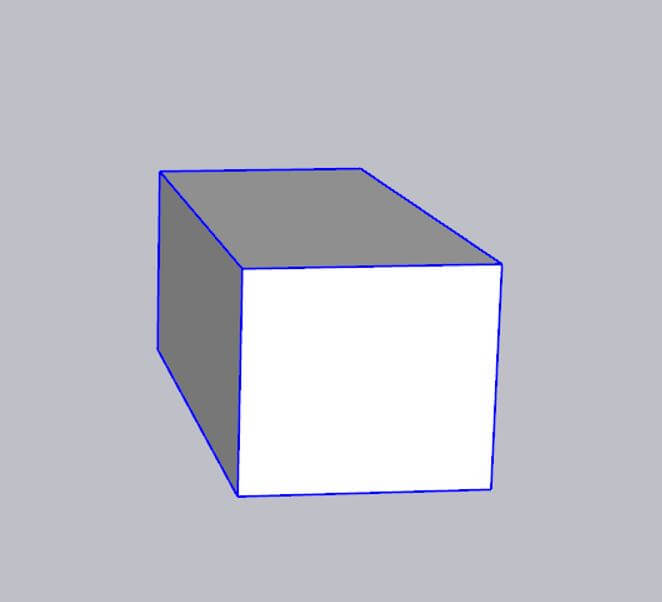
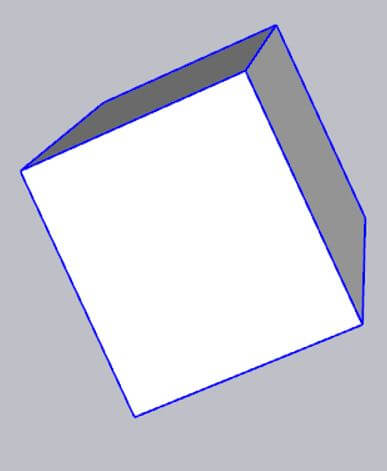
Step 26: Another method of rotation is with move tool where there is no need to use rotate tool. Let’s create a cube by the two-step process of creating a rectangle and then push to create cube.
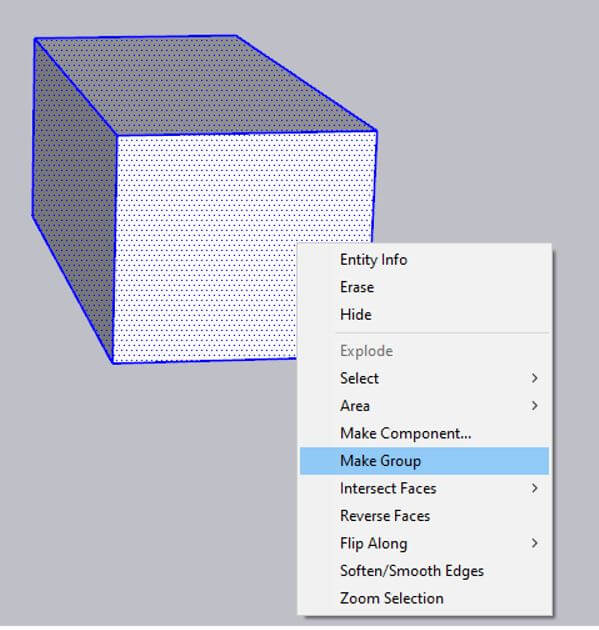
Step 27: Then select the entire cube and make group.
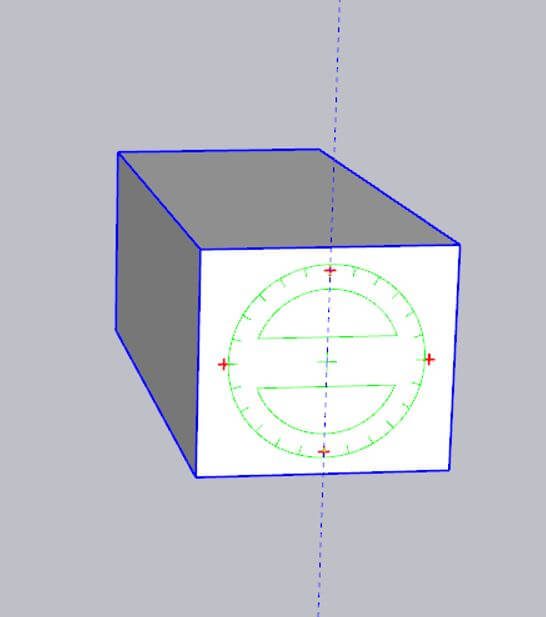
Step 28: Now when you will use the move tool and hover over the surfaces when you will see red cross which when you hover over the rotate icon will show.
Step 29: So clicking over red icon and dragging will rotate the cube along that face.
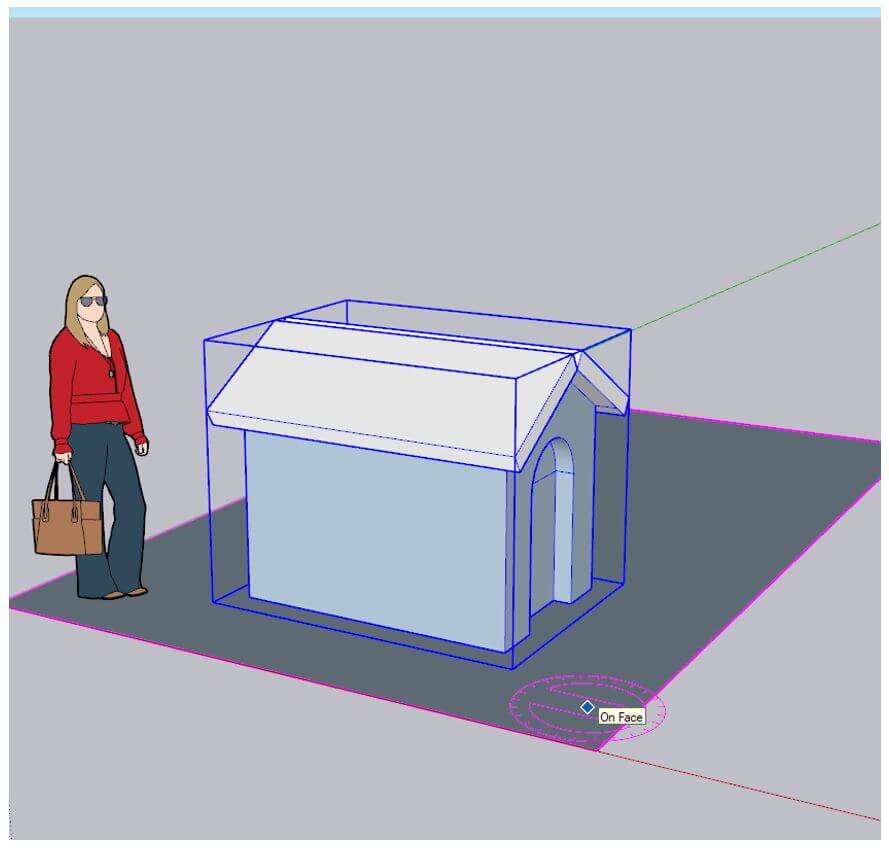
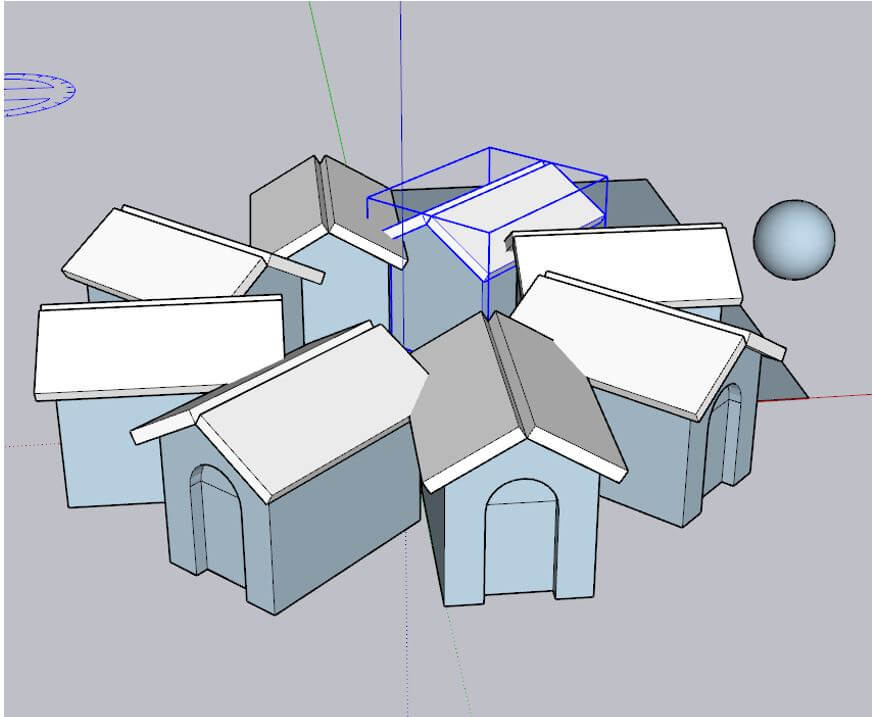
Step 30: Lastly we can also create multiple copies of the house using rotate tool is by first selecting the house and then using rotate tool click on the origin and the endpoint of the house.
Step 31: Then press ctrl and drag to 45 degrees.
Step 32: Then press *7 to create 7 more copies. Make sure you do not select another tool while performing this as it will cancel this operation.
Conclusion – SketchUp Rotate
In this article we have seen how to use rotate in SketchUp. Firstly, we started by creating a house model so we get aware will some general tools then we used rotate tool on the house, then we created a sphere which was rotated around the house and then used move tool to rotate, finally finished off with rotation along the origin.
Recommended Articles
This is a guide to SketchUp Rotate. Here we discuss the introduction and rotate in SketchUp for the better understanding. You may also have a look at the following articles to learn more –
