Introduction to SketchUp Textures
SketchUp Textures are types of fill or pattern that can fill on models’ faces to give them a real-life material look or indicate the material of that model. For example, we can use wooden texture to show that the particular object is made up of wood. We also use textures for creating a glass window of any 3D structure in this software. SketchUp has already a good collection of different types of textures in its list, such as a texture for grass, floor, wall, and so on. You can also import your desired texture in this software by following some steps. So let us start our discussion about this topic.
How to Create Texture in SketchUp?
Creating texture for a different type of 3D object in SketchUp is no big deal; you just have to do some arrangements for doing this. So, first of all, I will create a 3D model on which we will apply textures. You can apply texture on you any type of your 3d model of this software.
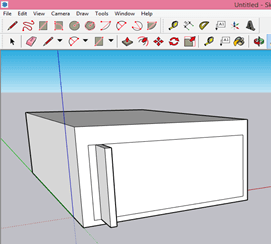
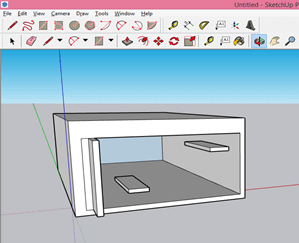
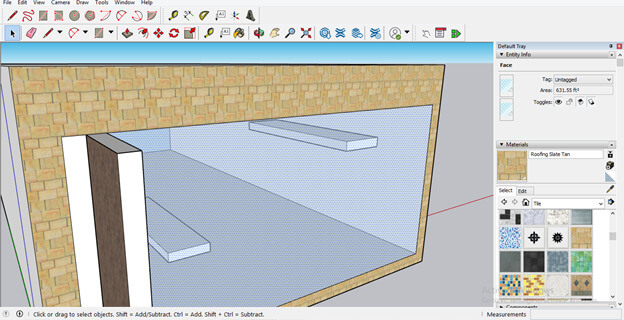
This is the 3D model which I created for this purpose, and for creating it, I use different tools of the tool panel. Therefore, you can consider it as a room.
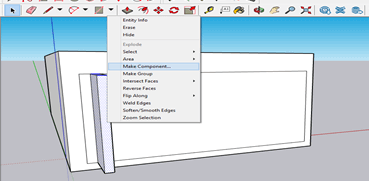
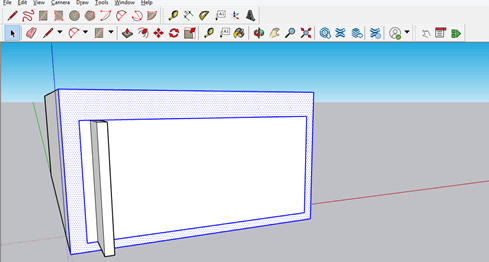
Now I will make this object as a component and then group it. For this purpose, select the object and make the right click, then first click on the Make component option, then again make a right-click and this time click on the Make Group option.
Now take a select tool from the tool panel and make a selection of that surface of the 3D model on which you want to add texture. I will select this surface. I can select it in one click because it is not a component, or I have not grouped it. I will tell you later how you can add texture to a component or grouped object.
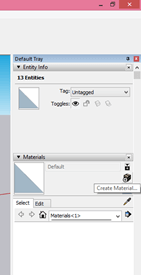
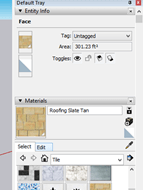
After making a selection of your desired face, click on Create Material button of material tabs. You can find this tab on the right side of the working screen.
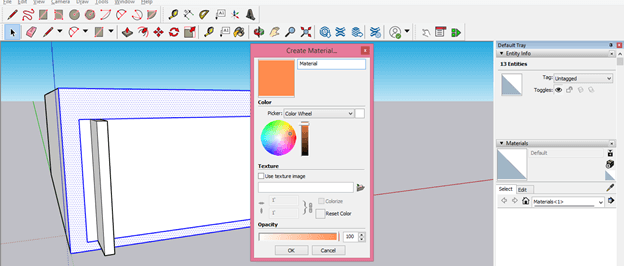
Once you click on it, a Create Material box will be open. Here in this box, you can choose the color on the color wheel as the material of your component. So just make a click on the color wheel for choosing your desired color, then hit on the Ok button of this dialog box.
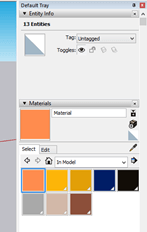
You will have your chosen color on the material panel.
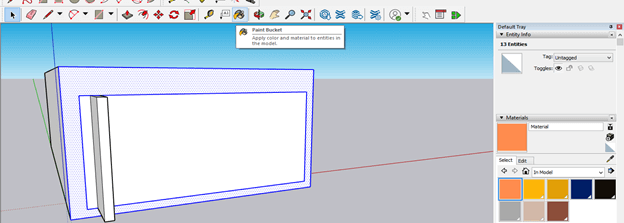
Select this color and go to the tool panel, then take the Paint Bucket tool from here.
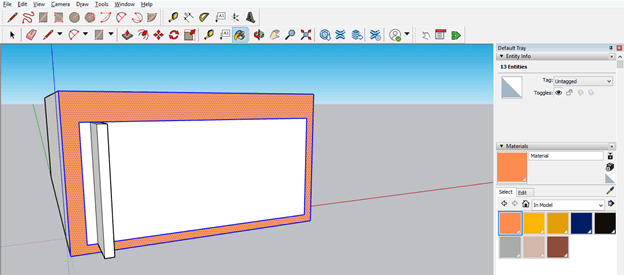
Make a click on the selected surface with this bucket tool with the chosen color, and it will fill on the surface like this.
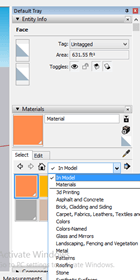
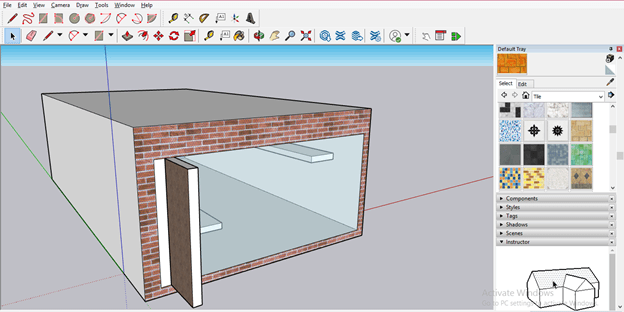
Now let us move to another texture, and for that, click on the drop-down arrow button of the ‘In Model’ option. Here you can see there is a lot of texture categories.
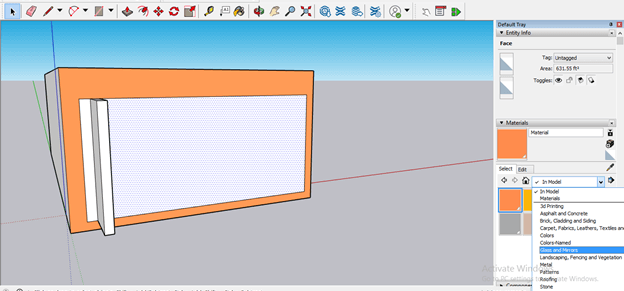
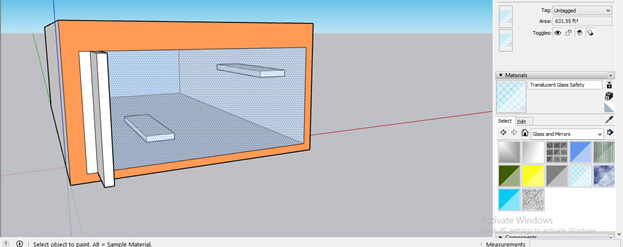
Now I will select this face for adding glass texture to it. Finally, I will click on the Glass and Mirror option from the list of textures of the Material panel.
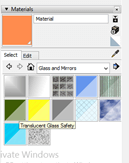
You can see there is some texture for glass. You can choose anyone from here, or you can download more from the internet.
And I will click on this surface with the Bucket tool, and it will give this surface glass look. This glass has a translucent texture so that you can see through it.
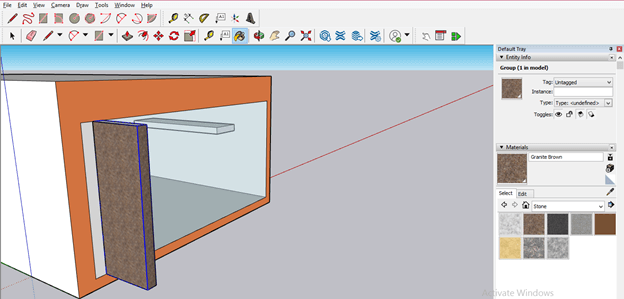
Now when I will fill this part of the 3D model with any texture, it will fill completely in one click because we have made it a component and grouped it.
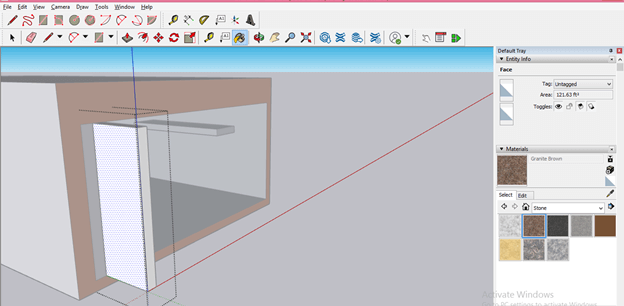
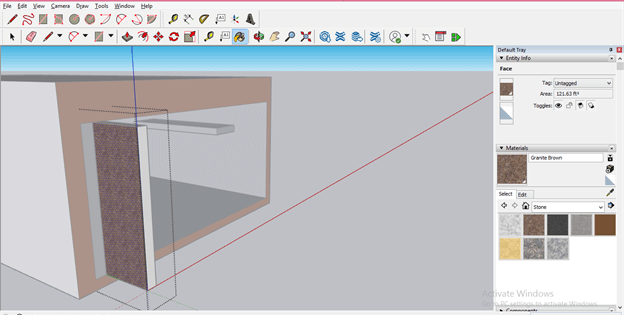
If you want to add a different texture on each component’s face, then double-click on it for isolating each face and select your desired face with the select tool.
Now make a click on the selected face with bucket tool with chosen texture, and texture will fill on the selected face.
Now I will fill tile texture to this face of the 3D model for showing you how you can edit after applying any texture on any surface.
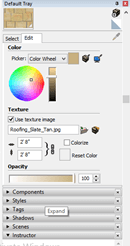
You can edit texture properties after applying it too. So click on the Edit button of the Material panel for editing this texture.
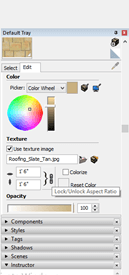
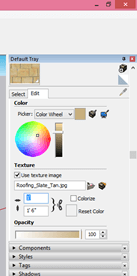
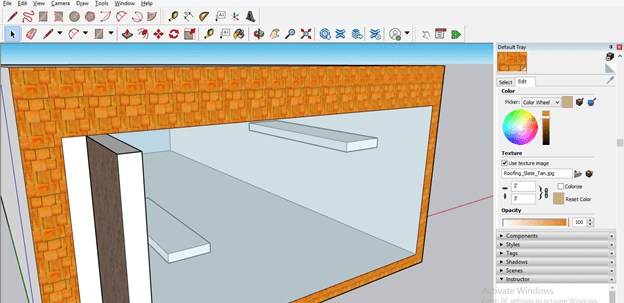
Once you click on this panel, you will have these texture parameters that you can change according to your requirement.
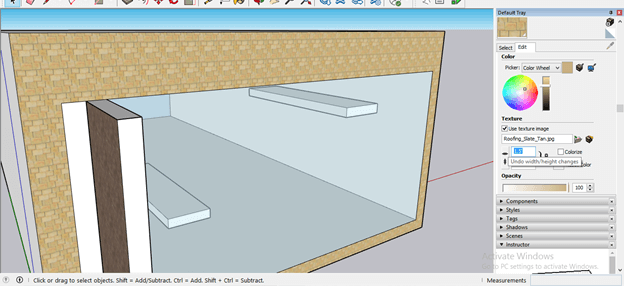
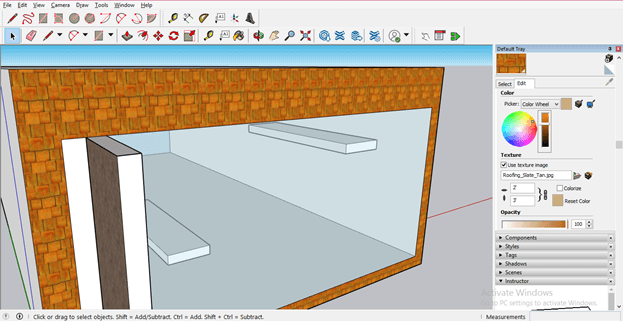
Such as you can change the dimensions of the tile pattern of this texture, and for that, if I change the value of the height of blocks of this tile to 1.5’, then you can see blocks of this tile texture become smaller than previous.
If you disable this chain button, then you can change the value of the height and width of the blocks separately.
You can also change the color of this texture by changing the color from the color wheel.
Not only color, but you can also adjust brightness as well as the darkness of the color of this texture from the color scale, which is next to the color wheel.
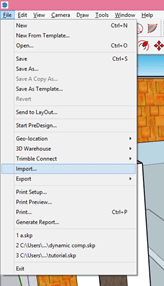
If you want to use your own texture or any other available on the internet, you can do it also for having other textures; you just have to download an image file of that texture and save it into your computer. Now go to the File menu, then click on the Import option.
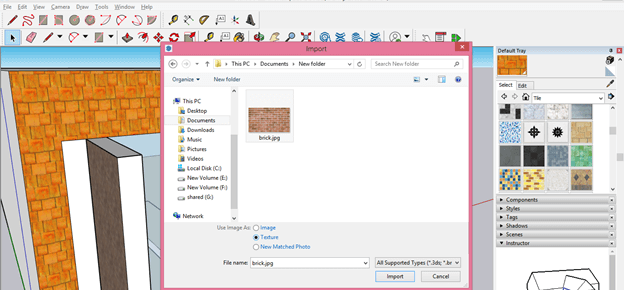
Once you click on the Import option, a dialog box of Import will be open. First, navigate your desired image file of texture from its saved location and select it. After choosing your texture file, enable the Texture radio button of this dialog box which is at the ‘Use Image As’ option and then click on the Import button of this box.
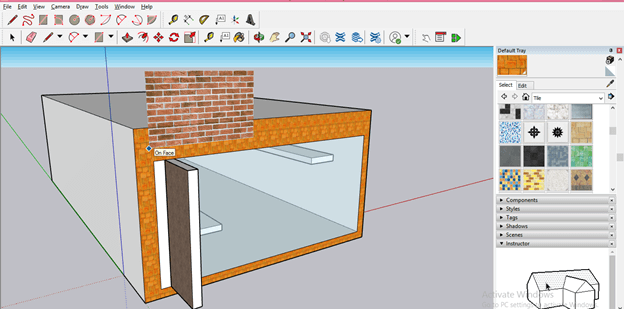
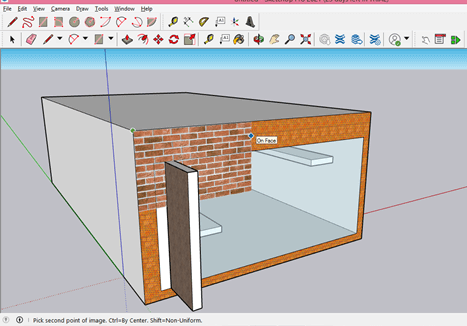
Now your chosen texture will come on a mouse pointer like this.
Take it at the corner of that surface on which you want to place it.
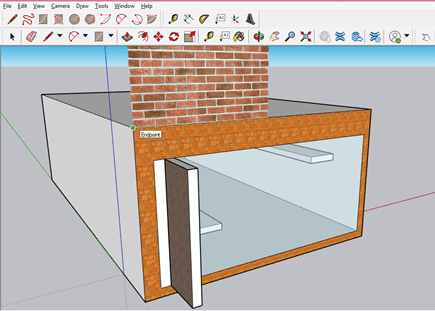
And drag it in the direction of the surface.
And make a click; once you make a click, it will apply to the chosen surface like this.
Conclusion – SketchUp textures
Adding texture to your 3D model will now be an easy task for you because we have discussed almost everything about the texture feature of SketchUp. You can use the number of textures in a model according to the requirement of project work and make different arrangements in their parameters for getting the desired result.
Recommended Articles
This is a guide to SketchUp textures. Here we discuss the texture feature of SketchUp, and you can also use the number of textures in a model. You may also have a look at the following articles to learn more –
