Introduction to SketchUp Vray
SketchUp Vray is a professional 3D rendering software which gives us photorealistic as well as real time rendering of our designed model in SketchUp. With this software we can get high quality of visualization of material of model which provides that model real world look. There are number of things in this software about which you have to know for start using Vray. It is not free software but its developer offers free trial to you. You can go with different licenses scheme such as for business purpose, for educational purpose, for individual and so on. So you can go with anyone as per your requirement.
How to Create and use Vray in SketchUp?
Vray is vast software to learn but you can learn it by and by if you keep practicing on this software. Here in this article i will tell you some of the aspect about it so that you can have an idea about working of Vray software.
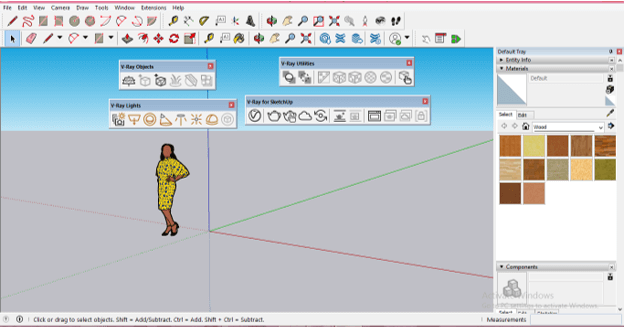
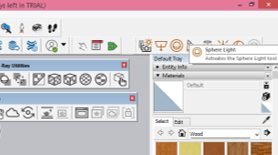
Once you install this software you will have these types of different tabs of Vray (on user interface of SketchUp) those are used for different type of purpose.
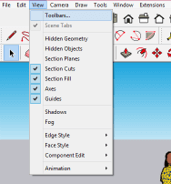
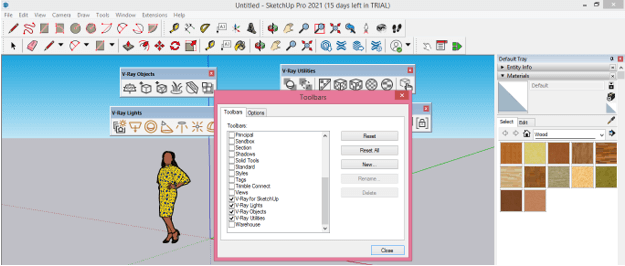
If you have not find Vray tabs on your working screen, then you can go to Toolbars option of drop-down list of view menu and click on it.
After that enables all Vray tabs by making their check box active.
These tab/panels are movable so you can place them anywhere on tool bar area as per your suitability.
Now click on Asset Editor tab of Vray panel.
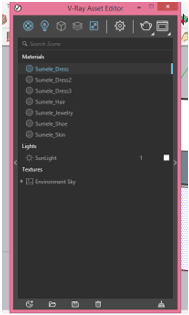
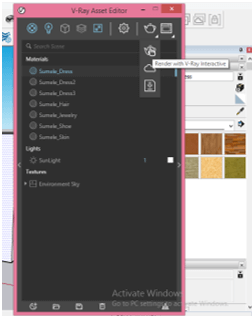
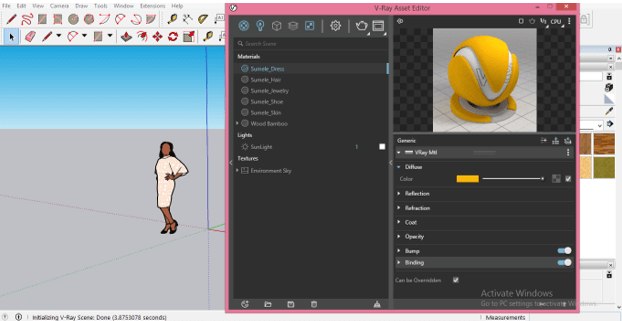
And you will have V-Ray Asset Editor dialog box like this.
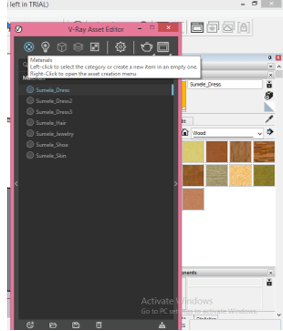
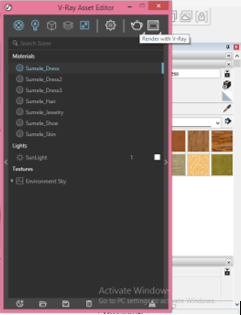
We have number of tabs in this box so let us have look on them. The very first one is Materials tab where you can see all used material like and edit their properties by selecting them.
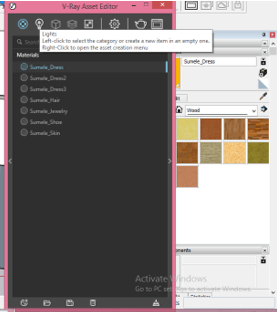
The next one is Lights tab and here you will find all lights applied on your 3D model.
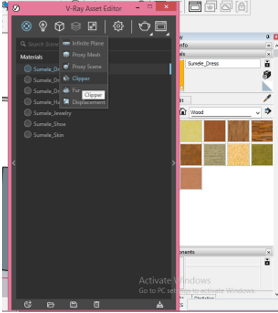
In next tab, you will have different types of features that incorporate 3D modeling.
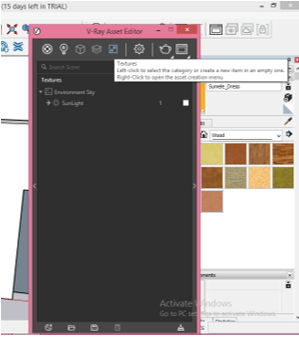
This is Texture tab where you can create texture for a different component of your 3D model and also edit them as per requirement of your model.
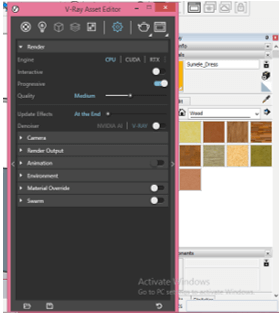
This is Settings tab where we can do settings for rendering process as per our system capacity and on basis of some other parameters.
This is Render tab and by clicking on it you can render your model to see how that model will look like in real world.
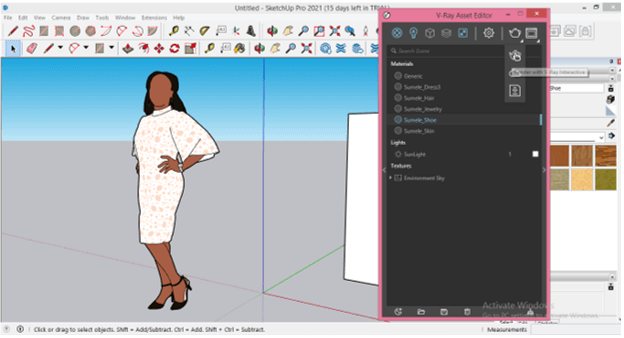
There is one more render option in drop-down list of Render tab and this is Render ‘With V-Ray Interactive’. This render option will give you live preview of changes made by you on your model during rendering. The output of live preview will depend on your pc capacity.
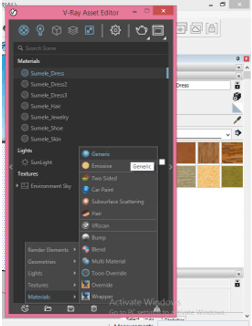
You will find same options at the bottom of this dialog box in Create New tab. Let me create this Generic material by clicking on it.
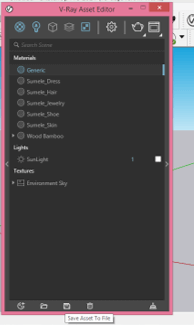
Now click on Save button which is at the button of this dialog box.
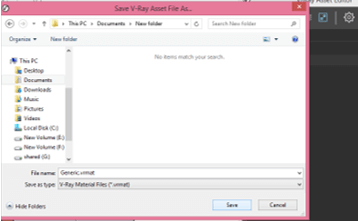
And you can save this material for future use at your desired place on your pc with desired name. Naming of material is very important things in this software because when you work on very large project which have a number of material then it will help you.
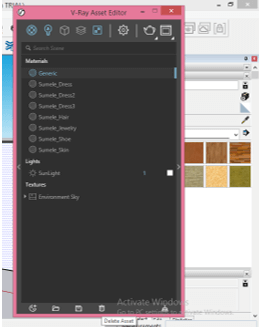
Let me delete this Generic material and for deleting it I will select it then press Delete button of keyboard or click on Delete Asset button of this dialog box.
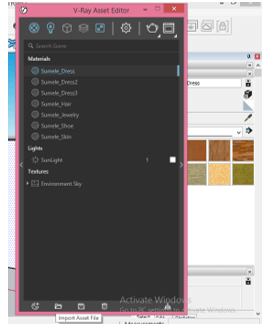
Now you can have this delete material again because we have saved it before. So this time click on Import Assets file button of this dialog box.
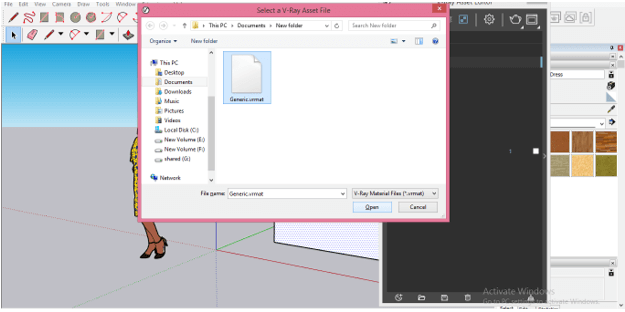
And choose this file from its saved location.
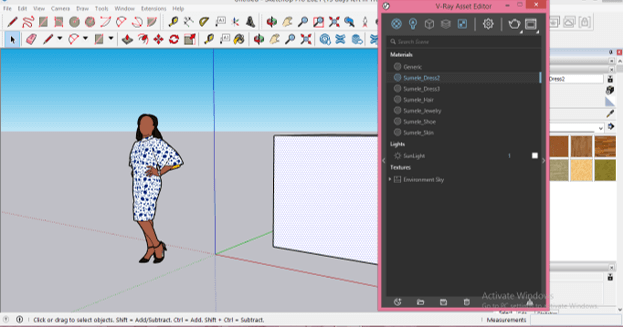
If I delete any material from materials tab then it will delete from 3d model also such as if I delete material of dress of this girl you can see it will also delete from this girl model.
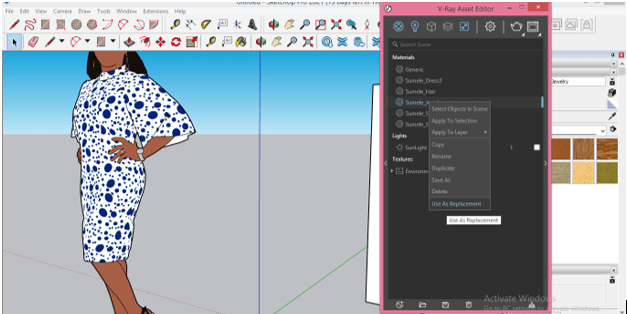
You can also use texture or material of one component on other component by following few steps such as I want to change color of dress of this girl with the color of watch. So I will make right-click on layer of this watch and click on ‘Use As Replacement’ option.
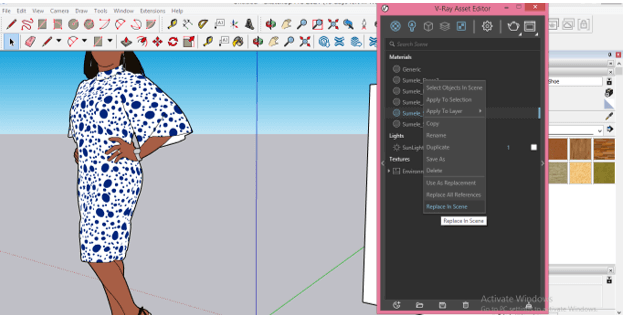
Then I will go to Dress layer and make right-click on it. This time click on Replace In Scene.
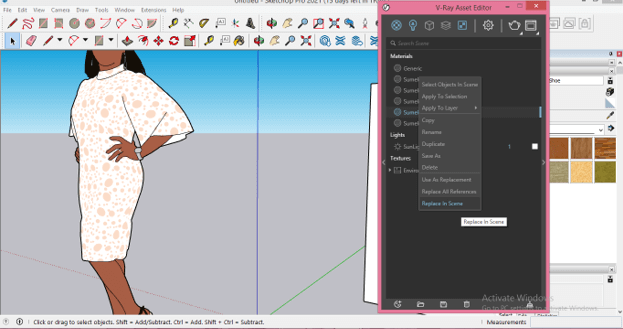
And it will change like this.
There are many more things apart from this and i have just given you an overview about some tab. Now let me tell you what will happen if you click on ‘Render with V-Ray Interactive’ option of Render tab.
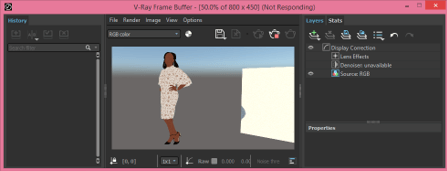
A Render frame will be open like this and in this window you can see live changes made by you on your model during rendering. There is some other tab in this dialog box about which you will learn by practicing on it.
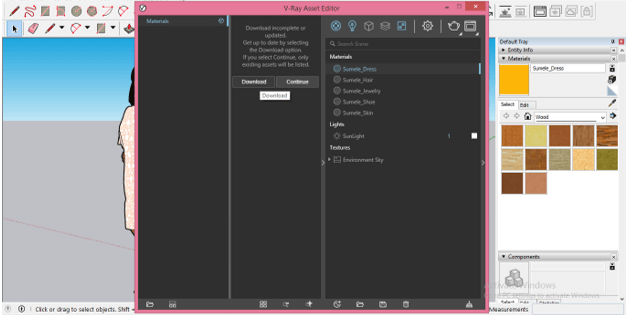
If you click on this left arrow button then you will have list of material of Vray. You can download all material from Vray by clicking on Download button. After downloading you can apply Vray material on your model by the same way as we applied SketchUp materials.
If you make click on right arrow then you will have this materials settings tab with lots of different parameters. Such as change color, opacity, and other properties of selected material. You make changes in these properties.
This was basic information about interface of Vray and there are lots of more things for understanding about this software but you can easily learn all those things by using them.
Conclusion
I told you about some major features of Vray software and you can get an idea about how you can use this software for getting photorealistic rendering effect for your 3D model in this software. You can use materials of Vray those are high visual quality that makes your model highly effective. You can also do lot more with things this software just start exploring it for getting more and more knowledge about it.
Recommended Articles
This is a guide to SketchUp Vray. Here we discuss Introduction, How to Create and use Vray in SketchUp? You may also have a look at the following articles to learn more –
