Updated April 6, 2023
Introduction to Soapui Load Test
SoapUI is an open-source tool for testing Web Services; it may be SOAP web services or the REST web services or HTTP based web services. Load testing in SOAP is one of the forms of performance testing used to check applications’ behaviour under a specific load. In this topic, we are going to learn about Soapui Load Test.
Load testing comes under Performance testing, including increasing load and checking how the application or system behaves under high load. At the time of load testing, we can also monitor response time, throughput, server condition without breaking the target environment. We also have various performance testing types such as Baseline tracking, Stress testing, Soak testing, and Scalability testing.
Load testing is unique as compared to other types of testing,
- A functional test case that allows the creation and modification of performance quickly.
- Performance test in SOAP is created from existing functional tests.
- The performance of web services can be validated under different loads.
- Distributes its load across a number of load agents; a number of load agents might vary based on a set of input conditions.
- Allows advanced reporting to capture its performance parameters.
- Allows End-to-End monitoring of systems performance.
- Simulates high volume and real-world load testing.
How to create a Load test in SoapUI?
We shall create a SoapUI project and run a load test with the below example.
Example #1
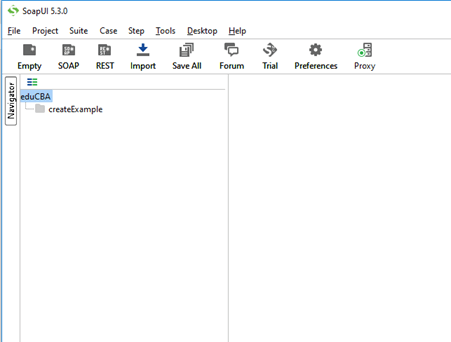
- Create a new project in SoapUI; here, we are using SoapUI 5.3.0 version
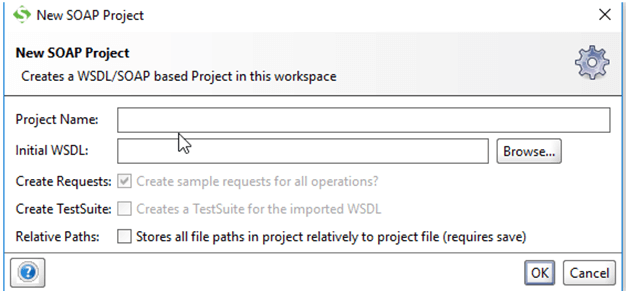
- After clicking new Soap project, a pop up appears,
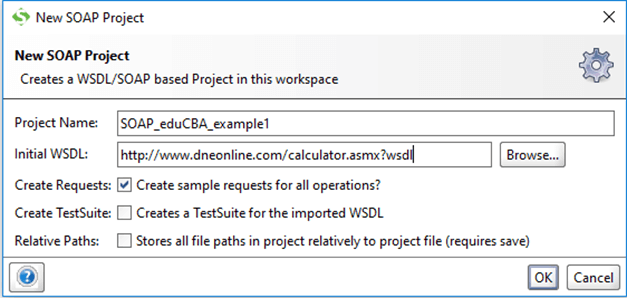
Give the project name of your choice and WSDL url, then click on ok.
- Provide details as mentioned below,
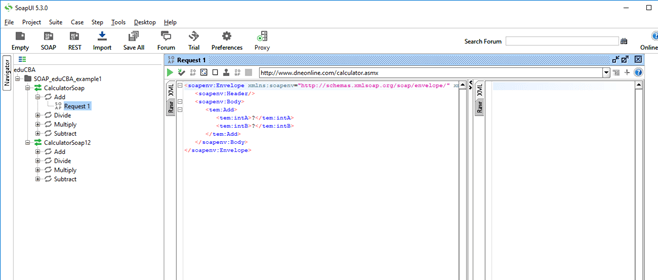
When clicking on OK, This is how wsdl setup is looked like,
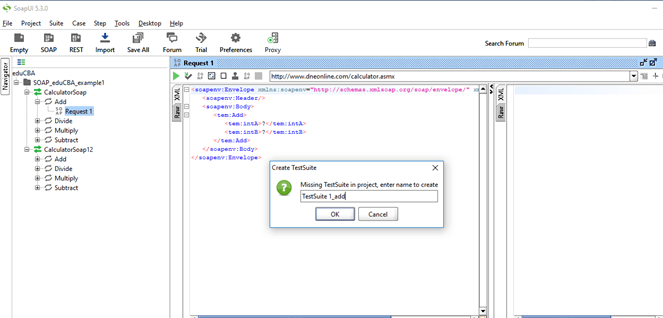
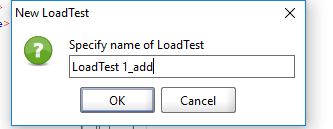
- To create a test for the wsdl file, right-click on any request where you can find ‘Add to test case’ or in some of the SOAP versions, you can press CTRL+N to make a load test case. Give TestSuite name and TestCase name, click on Ok.
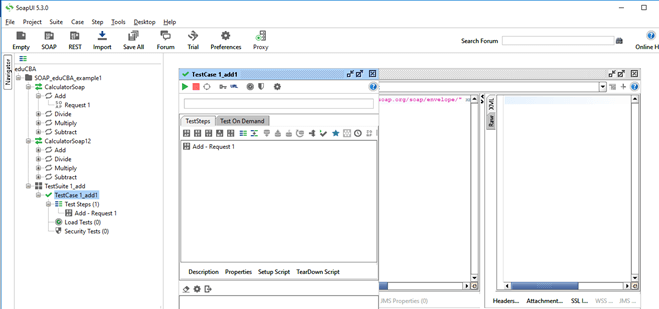
- By clicking on Ok, this is how the SoapUI looks like,
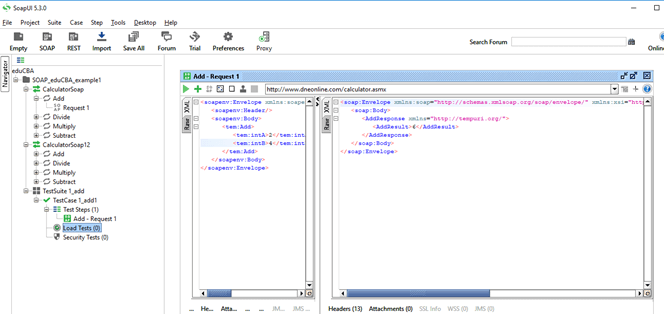
- We have created a test case below,
- Creation of load test case.
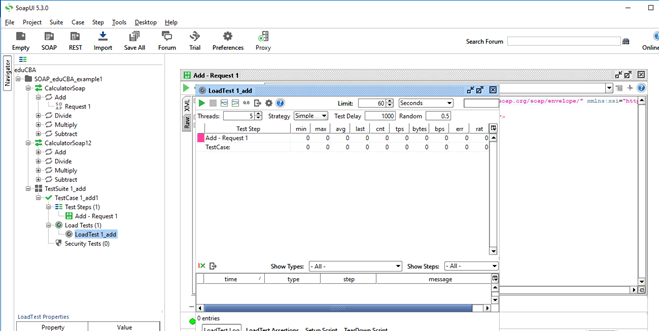
- This is how the actual load test console looks like,
By default, the load test window is configured to run for 60 seconds, which is labeled as Limit, but also it can be adjusted accordingly. Also, it runs with default 5 threads using a simple load strategy.
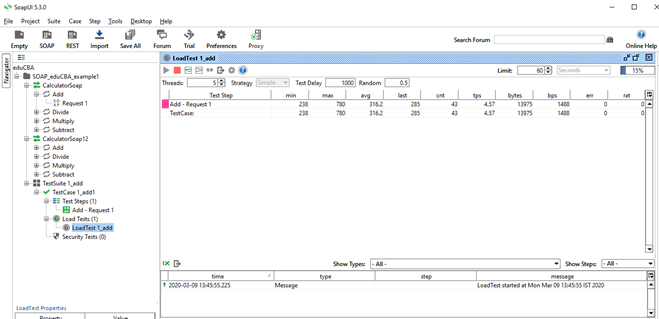
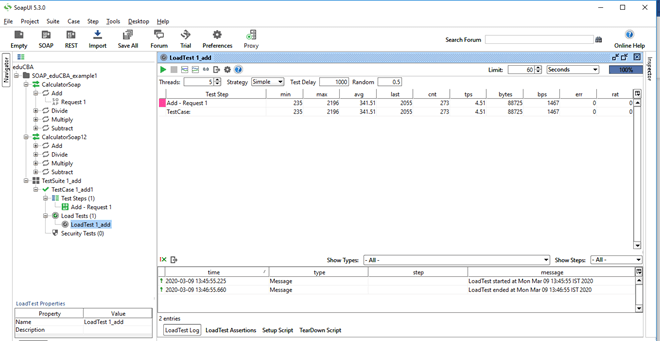
- Clicking on the green arrow option on the top left corner, test case ‘Add-Request1’ would run, and below is the console of how it shows after load test runs.
It shows the load test start time and end time; button ‘LoadTestLog’ shows the test log, i.e .start time and end time, failures if any.
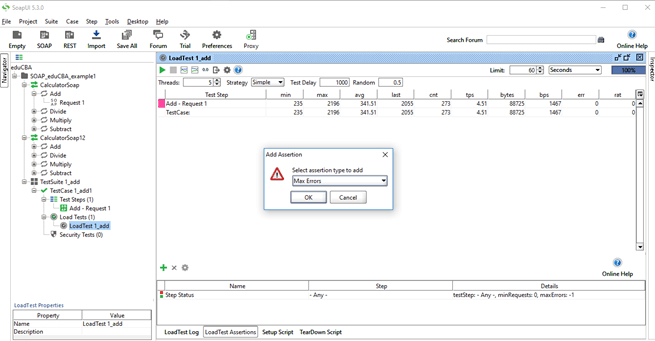
- Then we add assertions to load the test case, click on the plus option where a pop up appears, select any option. Here, we are selecting ‘Step Maximum’.
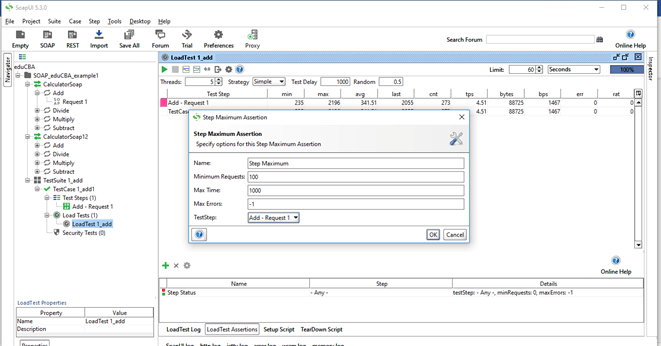
- Then clicking on Ok, opens a pop-up, Select the test case from the drop-down, and set the max time to 1000 milliseconds in which it takes to a service request from web service.
Here, max time is assumed to be 1000 milliseconds; hence if the response from web service takes more than 1000 milliseconds, an error will be logged further assertion failing. If the Load test takes less than 1000 milliseconds, assertion passes.
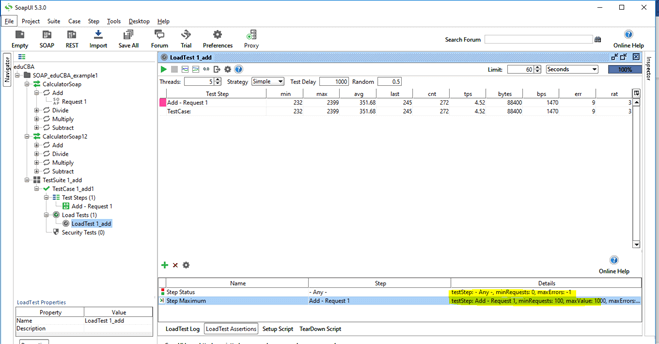
- Now we need to run the load test again,
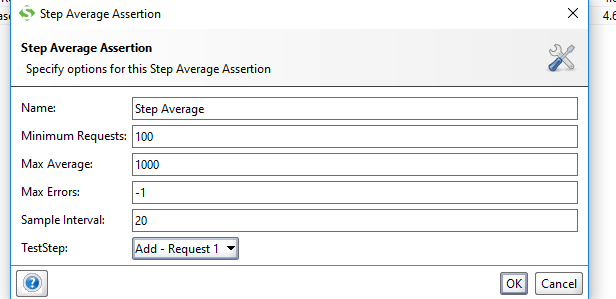
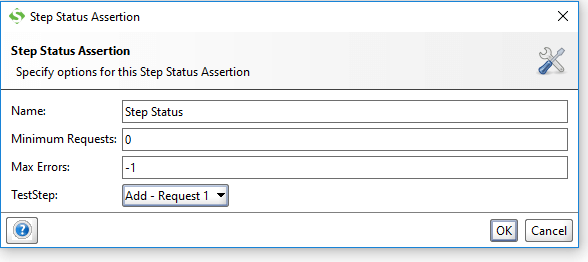
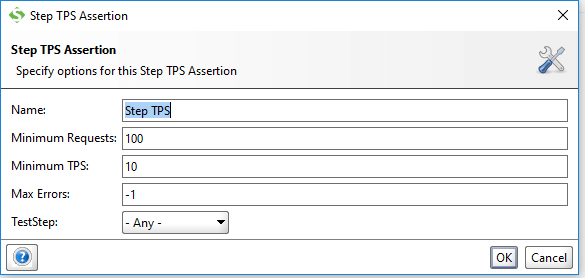
This is how we can add assertions to load test web service requests. Other assertions like ‘Max Error’, ‘Step Average’, ‘Step Status’, ‘Step TPS’.
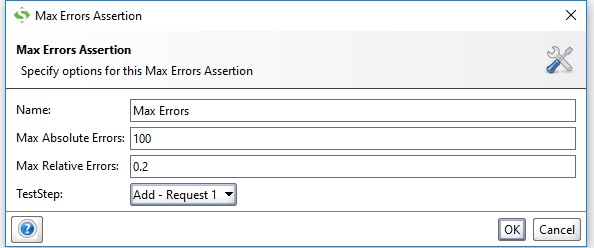
Max errors: It is used to verify the test’s total errors should not exceed the specified value.
Max Absolute Errors: Absolute maximum number of errors allowed for test step.
Max relative Errors: It can have a value between 0 and 1. If the value is set to 0.2 as above, at the max, 20% of the specified test step’s run should result in an error.
Step Average: Used to verify the average of test step not exceeding the specified value.
Max Average: Checks if the test step average is greater than the defined value and log an assert error.
Sample interval: Step count used to calculate average.
Step Status: Used to verify test step is not failed with an error.
Step TPS: Used to verify transaction per second of the test step.
Name: Assertion name.
Minimum Requests: Minimum number of requests to be executed before assertion being applied.
Minimum TPS: The desired value of TPS
Max Errors: Value by which test should be cancelled
Test Step: Shows the entire test setup defined under the test case and lets the user select the one on which the user wants to apply assertion.
Example #2
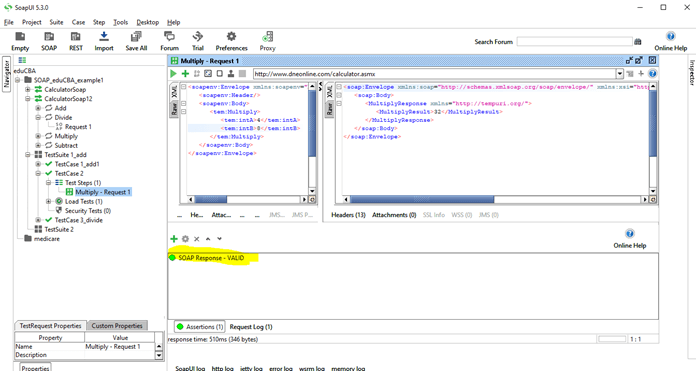
Load Test for Multiplication
Post applying above mentioned steps till step 9,
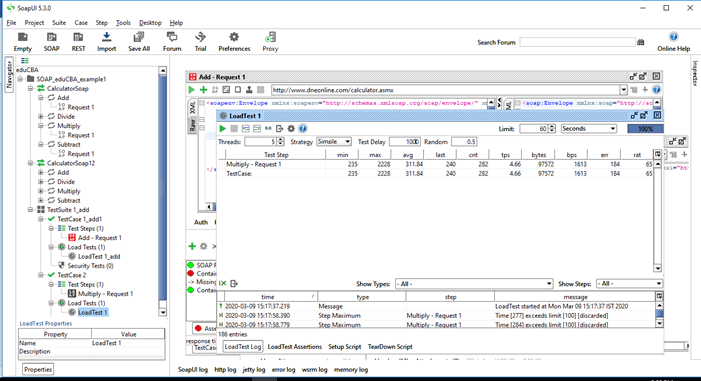
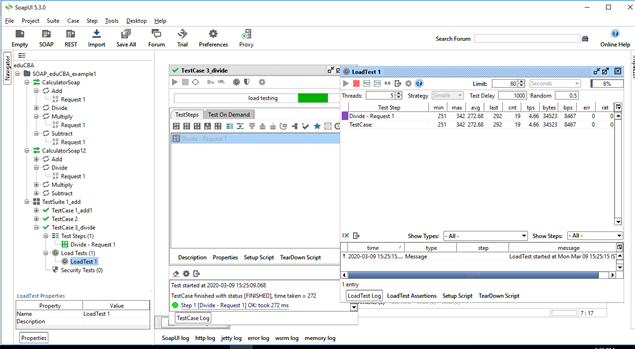
We apply the assertion of ‘Step Maximum’ to Multiply_request1 and give maximum time delay to be 100ms, and hence the assertion fails, showing the LoadTestLog as ‘time[277] exceeds limit [100] discarded’ and also err rate is at 184 as shown above. Soap Respone is Valid as per our assertion.
Example #3
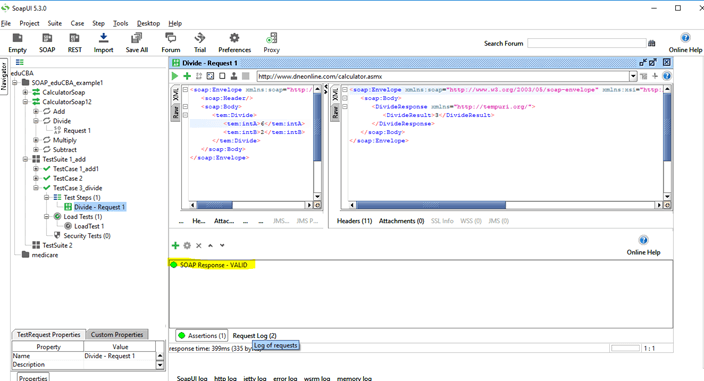
Division load test
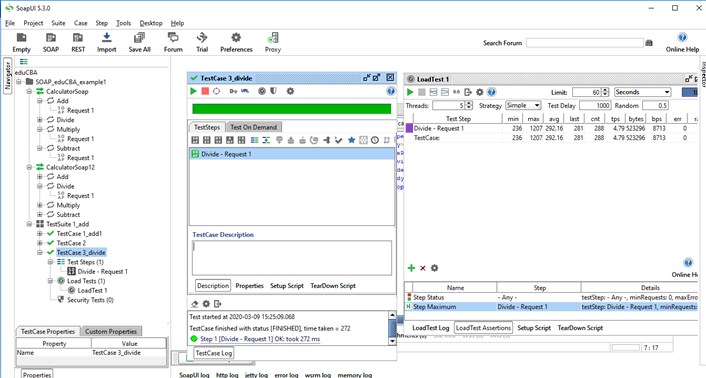
Load test case passes with ‘Step Maximum’ assertion and with err 0.
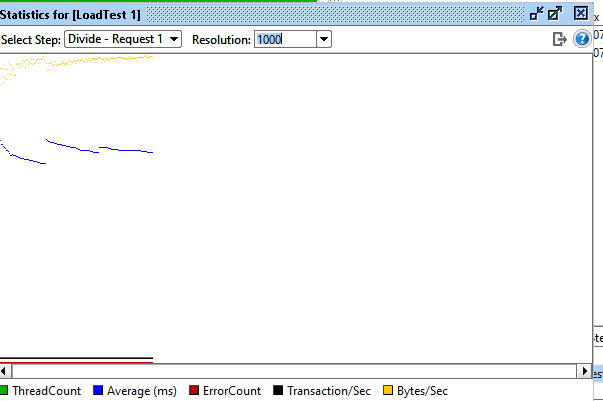
The below screenshot shows the statistics for the load test on the divide.
Assertions verify the conditions of tests and decide whether tests are fail or pass, and is said to be completed only if it is completed without throwing any exception.
With this, we shall conclude this article. Let’s have a short recap on the ‘SoapUI Load Test’. We learnt what SoapUI is and what is it used for; out of many types of testing, we went through the Load test, which is a part of Performance testing. Illustrated some of the examples in SoapUI, got to know about assertions and what type of assertions can be applied during load test of the web service calls.
Recommended Articles
This is a guide to Soapui Load Test. Here we discuss what SoapUI is and How to create a Load test in SoapUI, and the examples. You may also have a look at the following articles to learn more –
