Updated March 30, 2023
Introduction to spring-boot gradle
It is the plugin that was used to provide the support in gradle, this allows us to package the war archive or executable jar file. To run the spring boot application by using gradle and we can also use the dependency management which was provided by the spring boot dependencies. Gradle plugin requires the version of gradle is 7. x, 6.9, and 6.8. Spring boot will automatically apply the plugin of dependency management and also it will configure the spring boot starter parent dependency, gradle provides the same experience as maven.
What is spring-boot gradle?
- The spring boot will automatically apply at the time of starting or creating the project. The gradle plugin version which was we have to declare in the spring boot application was determining the version of the spring boot starter parent.
- We need to set the version of the gradle spring-boot plugin with the actual version of spring boot. Once we have applied the spring-boot plugin to our project then this plugin is automatically archived and it will be making the executable jar file.
- We can configure our project to build the jar or war file. The main class which was we have loading which was we have to specify in the configuration option or we can add the attribute of the main class to the manifest.
- I suppose we have not specified a plugin that contained the main class then the plugin will searching in the main class of our project.
- The gradle plugin extends our build script’s DSL with elements from our spring boot plugin’s spring boot settings.
- Set the appropriate properties of the spring boot plugin is very important. We can set the backup source properties of the spring boot plugin is true or false.
- After adding development tools to our project it will automatically be monitoring the application changes which were we have made in our project. Also, we can run our application alternatively to reload the classpath of our application.
- To load the classpath of our application is very important, it will help at the time of development.
- To build the war file which was executable and deployable using container we need to mark the dependencies of the embedded container.
- Gradle is used to manage or helps in spring boot dependencies. We can also manage the package and using the package we can run our application by using the build tool of gradle. Gradle is used to manage the dependencies of spring boot.
How to Run spring boot using Gradle?
- As we know that gradle is used for dependency management which was used in compiling and packaging the application.
- We can also run our application using gradle tools at the time of development. To run the gradle project we need to follow the below steps are as follows.
- First, we need to go to the root location of the gradle application where we build. gradle is present.
- Then execute the below command to run the gradle is as follows.
# gradle bootRunPlugin
- Spring boot plugin is published in gradle portal. As we know that gradle is a popular tool used to build the application.
- We have using the gradlew.bat file in windows to run the gradle application.
- We can also use the gradlew in Linux to run the gradle application which was automatically created at the time of creating the IDE of the gradle application.
- We also need to add the gradle dependency in the build. gradle file. This file is present in the root directory of our project.
- To develop the application using the gradle plugin first we need to add this plugin to in build. gradle file.
- The spring boot task is used to create the executable JAR file. This file is automatically created when we have to apply the java plugin to it.
- When we have applying the gradle java plugin it will be taking multiple actions like, first to create the task of boot jar which was used to generate the jar file.
- The second task is to create the task of boot run which was used to run our application directly.
- The third task is to create the task of disabling the jar.
- While creating the bootWar task plugin which is used to generate the war file for our application.
- At the time of creating the gradle war plugin, we have to disable the war task.
Run application using Gradle
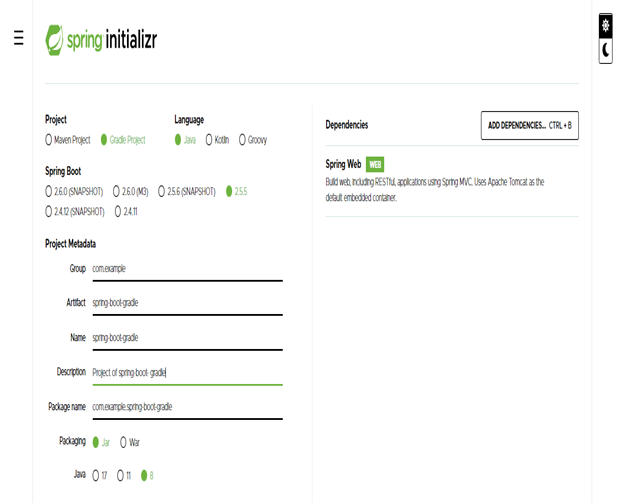
- Create project template using spring initializer –
In the below example we have to create the project template for gradle. We have to create the project name as a spring-boot-gradle.
Group – com.example
Artifact name – spring-boot-gradle
Name – spring-boot- gradle
Description – Project of spring-boot- gradle
Package name – com.example.spring-boot- gradle
Packaging – Jar
Java – 8
Dependencies – spring web.
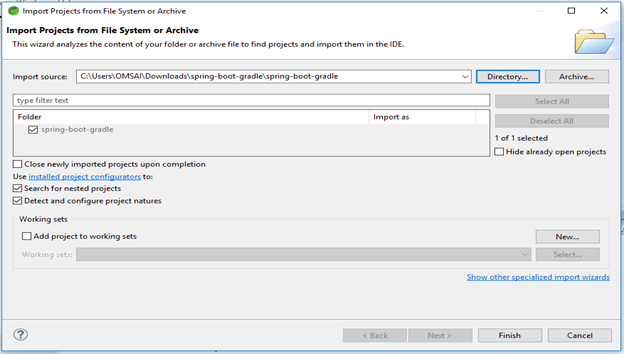
- After generating the project, extract files and open this project by using the spring tool suite –
We have extracting the project and opening the same using the spring tool suite are as follows.
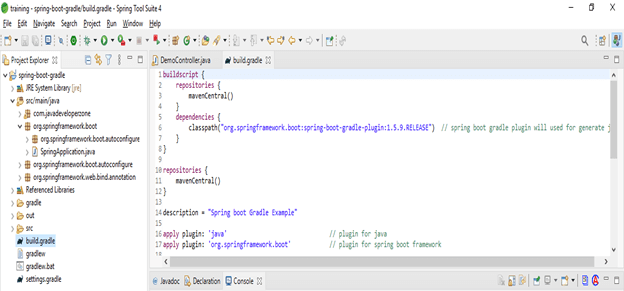
- After opening the project using the spring tool suite check the project and its files –
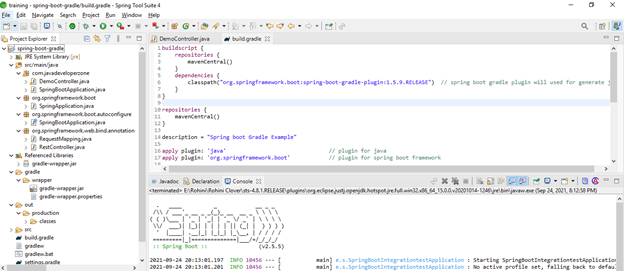
- Run the application –
Spring boot application Gradle
The below steps show to create a gradle application.
- Configure the build. gradle file –
Code –
dependencies {   // starting of dependency tab.
compile("org.springframework.boot: spring-boot-starter-web")
dependency   // End of dependency tab.
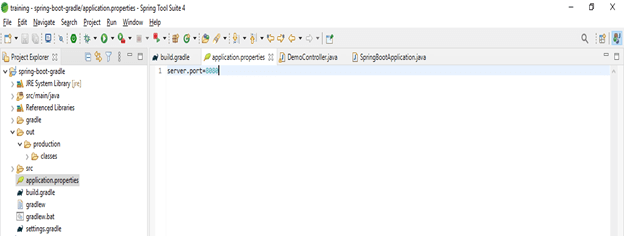
}- Configure application. properties file –
Code –
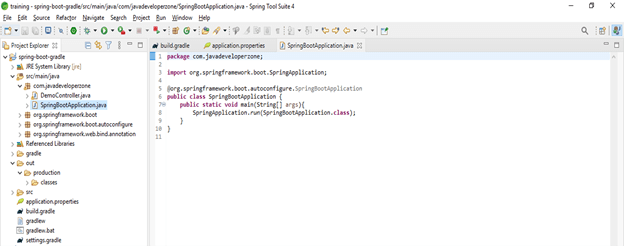
Server.port = 8080- Create the main class file –
Code –
public class SpringBootApplication {
public static void main /* main method */ (String[] args){
SpringApplication.run (SpringBootApplication.class);
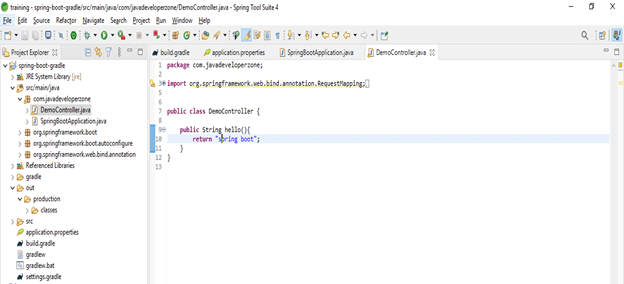
} }- Create controller file –
Code –
public class DemoController {
public String hello(){
return "spring boot";
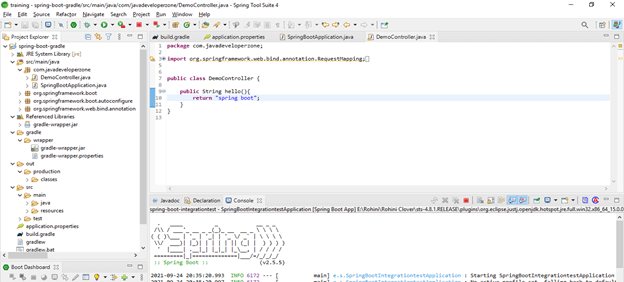
} }- Build and run the project –
Conclusion
We need to set the version of the gradle plugin with the actual version of spring boot. Gradle is the plugin that was used to provide support in gradle. Gradle plugin requires the version of gradle 7. x, 6.9, and 6.8.
Recommended Articles
This is a guide to spring-boot gradle. Here we discuss How to run spring boot using & Gradle along with the codes in detail. You may also have a look at the following articles to learn more –


