Updated April 18, 2023

Introduction to Spring Boot Validation
In Spring boot, we can easily apply validation; it is much easier than the spring framework. We have a validator in spring boot, and it is quite straightforward to use as well. To use this, we do not require to implement or configure any complex logic; we can just start using the validation just by adding valid annotation with the object, and it will internally do the things for us. In spring boot, it will automatically do this validating part for us without implementing anything. Here we will see how it works internally and how we can start using it in our application to apply the server-side validation in our code.
Syntax of Spring Boot Validation
We can use the valid annotation on the spring boot controller class. To use this, we need to follow the basic standard given by the spring boot framework.
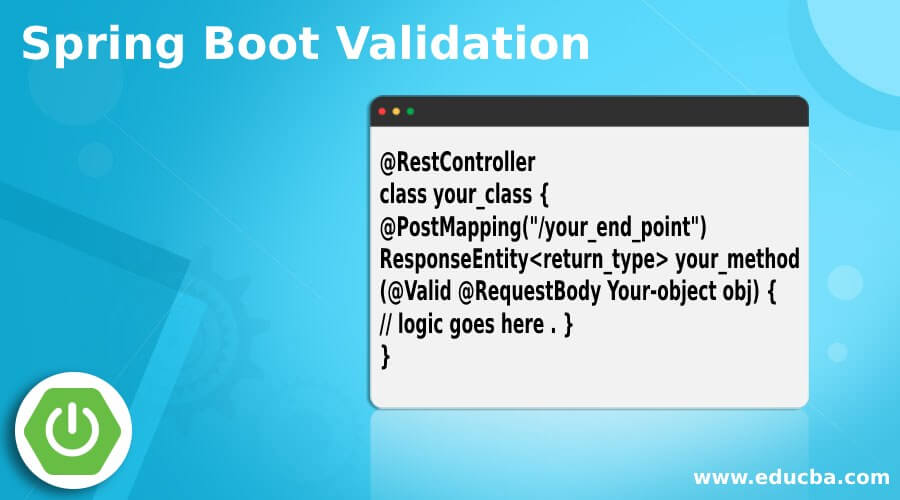
@RestController
class your_class {
@PostMapping("/your_end_point")
ResponseEntity<return_type> your_method(@Valid @RequestBody Your-object obj) {
// logic goes here . }
}
As you can see in the above line of syntax, we are trying to use the @Valid annotation to validate our object passes. This is quite easy to use and handle. Here, we will see what other configuration needs to be in place in more detail.
Example:
@RestController
class Demo {
@PostMapping("/test")
void test(@Valid @RequestBody Emp emp) {
// logic goes here.
}
}
From the above piece of syntax, it is clear that we just need to annotate the method and object with @Valid annotation of spring boot.
How does Validation work in Spring Boot?
As we have already known, we do not require to do lots of configuration in spring boot to validate the object at our controller level; this is also called server-side validation. For this, we can use @Valid annotation from spring boot which does all the things internally for us to validate the object in the controller itself.
Here we will see how we can use this inside our spring boot application to validate the controller’s request object.
1. Add the dependency into the pom.xml or your build.gradle.
<dependency>
<groupId>org.springframework.boot</groupId>
<artifactId>spring-boot-starter-validation</artifactId>
</dependency>
In order to use this annotation inside the application, we have to have this dependency in place. After adding this, we can access the various validation constraints in our entity class to validate them.
2. After adding the dependency successfully, we can now add the validation constraints in our entity class to validate the object in a request using the @Valid annotation.
Here we will see one sample piece of code to show how we can use the various validation constraints in our entity.
Example:
@Entity
@Table(name = "EMP")
public class Employee implements Serializable {
@Id
@GeneratedValue(strategy = GenerationType.IDENTITY)
@Column(name = "ID")
private Long id;
@Column(name = "NAME")
@NotBlank(message = "Employee Name is mandatory to fill !!")
private String name;
@Enumerated
@Column(name = "STATE_ID")
private State state;
@Column(name = "CITY")
@NotBlank(message = "employee city is mandatory to fill !!")
private String city;
@Column(name = "DEPARTMENT_NAME")
@NotBlank(message = "employee department Name is mandatory to fill !!")
private String departmentName;
@Column(name = "SALARY")
@NotBlank(message = "employee salary is mandatory to fill !!")
private Double salary;
}
As you can see in the above code, we have created one entity with some validation constraint name of the class is Employee, now we can validate this object using the validator provided by spring boot.
3. Now, after this, we have should have a rest controller, which is responsible for handling the HTTP request for us. Now we have to provide it with a name and a method that will handle the request and validate the object at the method level only.
Here we will see how we can do that using the @Valid annotation from the spring boot framework.
Example:
@RestController
public class EmployeeController {
@PostMapping("/validate")
ResponseEntity<String> addEmp(@Valid @RequestBody Employee emp) {
// your logic will go here ..//
}
}
As you can see in the above piece of code, we have first created a class that is annotated with @RestController, which will tell spring that it will handle the request for us. After that, we have created one method name, addEmp, responsible for adding the employee into the database. But here in this method, we have two things @Valid and @RequestBody, which will convert the json into the respective spring object for us. @Valid here first validate the object against the entity we have created, also; we have provided their validation constraints; if it works fine, then it will go to the next step to save the object; else, it will throw an exception for us.
4. Now, the last step is to create the Spring main class to start the application; this class has the same structure only; we can name it anything we want, not restricted.
@SpringBootApplication
public class DemoApplication {
public static void main(String[] args) {
SpringApplication.run(DemoApplication.class, args);
}
}
This is the main class where the initialization of the application will start. Without this, the application will not work; here, we have to use @SpringBootApplication annotation and the main method inside this class.
Conclusion
Server-side validation is very much required to validate the object if it contains the valid values or not. It will also ensure that the object is valid and can be used for the further process or operations. It is very easy to use and handle; we just need o care of the dependency that we have add in order to use this validation in the Spring Boot framework.
Recommended Articles
This is a guide to Spring Boot Validation. Here we discuss the introduction and how validation works in spring boot? Respectively. You may also have a look at the following articles to learn more –
