Introduction to Templates in Photoshop
Template in Photoshop is the pre-defined shape of any document to better understand the end purpose of that template. You can also understand it in a different way that templates are used as representative card of any website, business, person, and some other official purpose. Here in this article, we will understand the template through an example of professional card design and look at the different presets of Photoshop templates with their parameters that we have to know before using templates. So let us start our discussion about this topic of Photoshop in a very interesting manner of learning.
How to Use and Create Template in Photoshop?
We can make a template in Photoshop for different purposes by just using some tools and features of this software, and we have to understand some parameters of those tools and features. But before we go through our topic, I think we should have a look at the user screen of this software so that we can easily understand the different terms of this software which we use throughout this article.
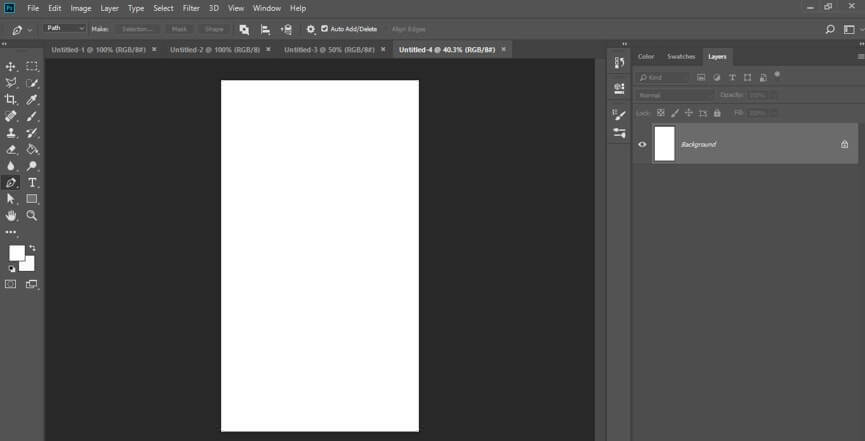
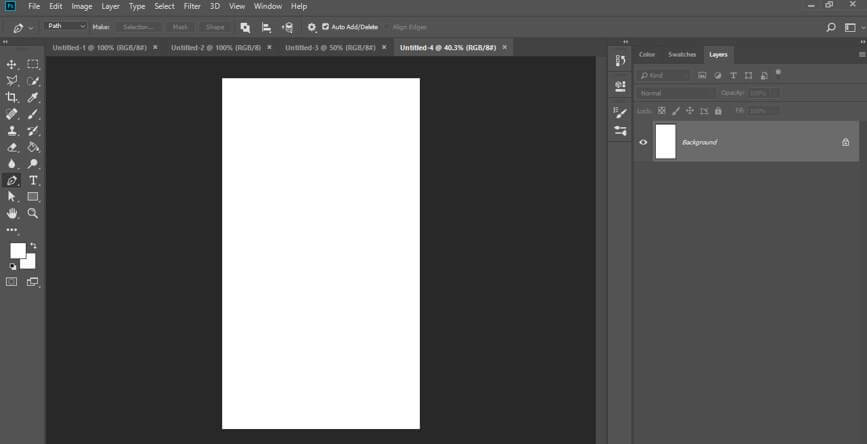
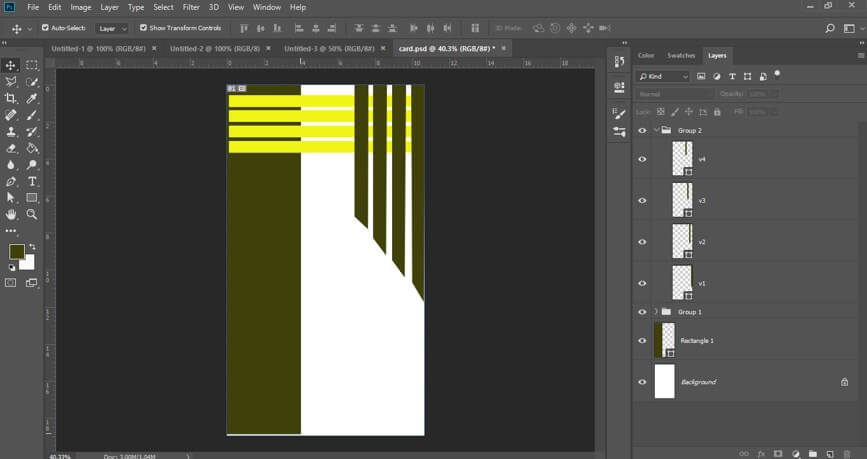
Step 1: At the top of the user screen, we have a Menu bar which has different menus such as the File menu, Edit menu, Image menu, and some others. Below this, we have the Property bar of active tool or image for making changes in their parameters. Below this bar, we have a Tool Panel on the left side, a Display window at the center in which we can see our current working; on the left side, we have different tabs such as Color tab, Swatches tab, Layer panel, and some others. You can adjust all these sections anywhere on the working screen as per your choice.
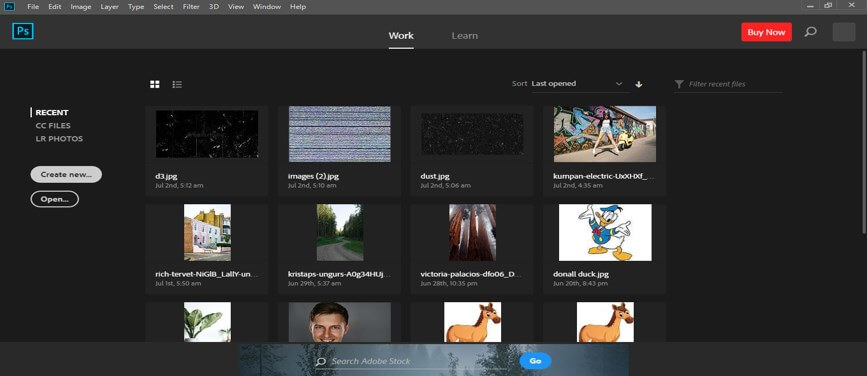
Step 2: Now, let us have a new document for making a professional template design. For a new document, click on Create new button of this window, or you can click on the Open button for your saved document.
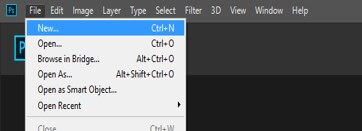
Step 3: Or you can click on File Menu of Menu bar of this software for a new document. Now click on the New option of the drop-down list or press Ctrl + N.
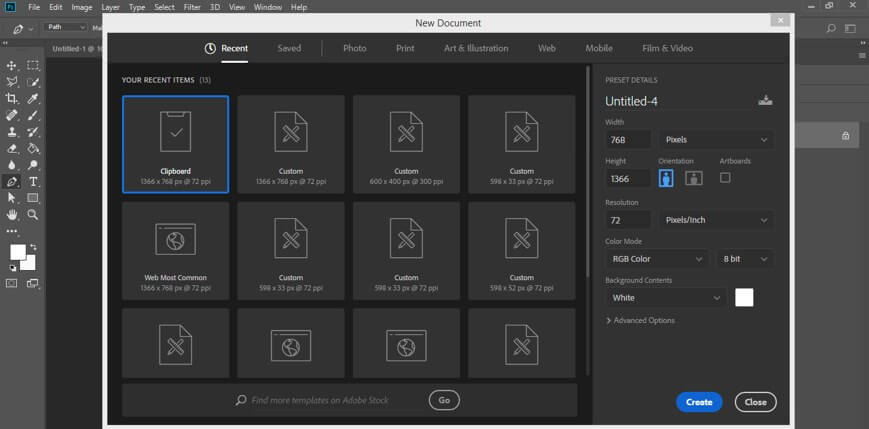
Step 4: Now, there is a different template size which you can choose from this list, or you can enter the desired value of your template in the Width and Height box. Now choose the orientation of your templates, such as landscape or Portland, then click on Create button of this dialog box.
Step 5: Your chosen template size will come on the display window of this software like this as a background layer in layer sections.
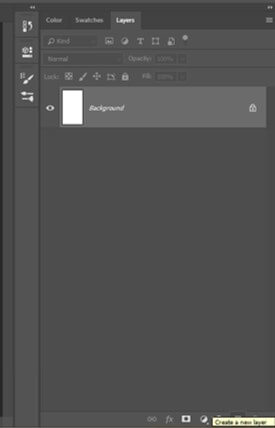
Step 6: Now go to the bottom of the layer panel and click on Create New button creating for a new layer.
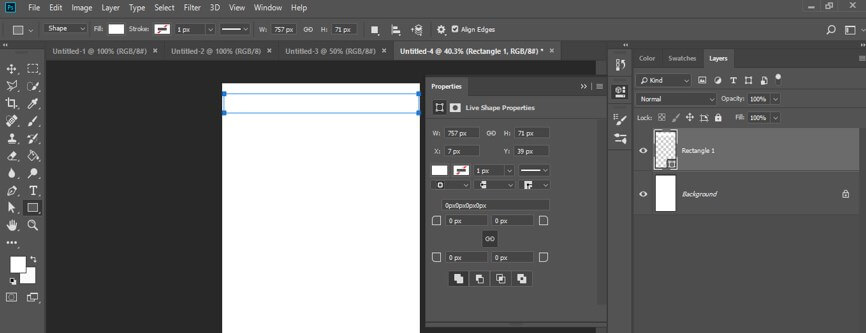
Step 7: Now go to the tool panel and take a rectangle tool from the tool panel of this software by click on it.
Step 8: Now, make a rectangle like this with this rectangle tool.
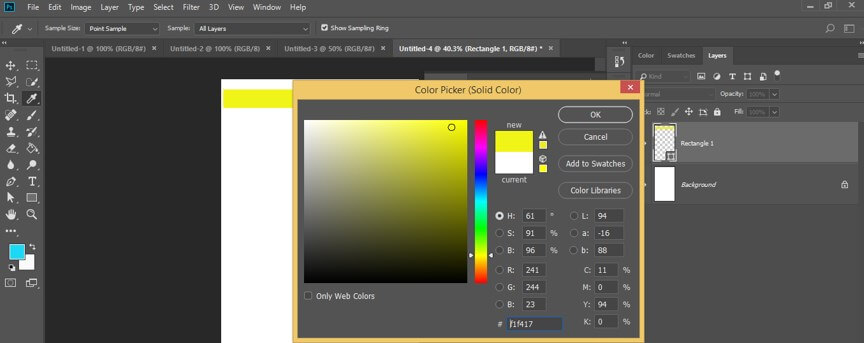
Step 9: Now make double click on the rectangle in a layer of this rectangle in the layer section, and once you click on it, a color picker box will be open. Choose your desired color from this box. I will choose a yellow color for this rectangle then press the Ok button of this dialog box.
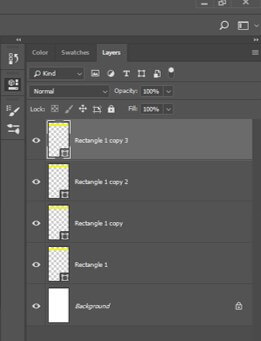
Step 10: Now, make multiple copies of this rectangle. For making a copy select this rectangle layer and press the Ctrl + J button of the keyboard. Repeat it for other copies. I will make 3 copies of this layer.
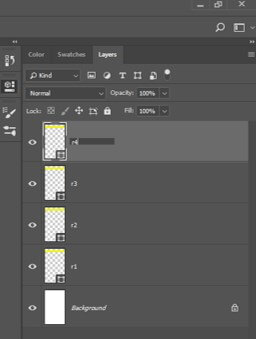
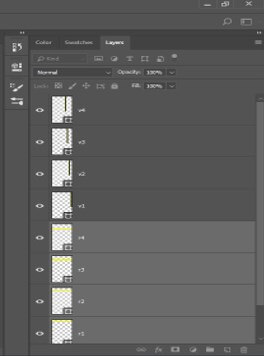
Step 11: Now rename all the copy layers according to you by click on the name of that particular layer for your better understanding. I will name these layers as r1, r2, r3, r4.
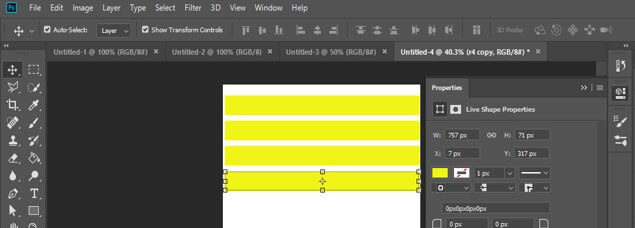
Step 12: Now arrange them like this by using the move tool of the tool panel.
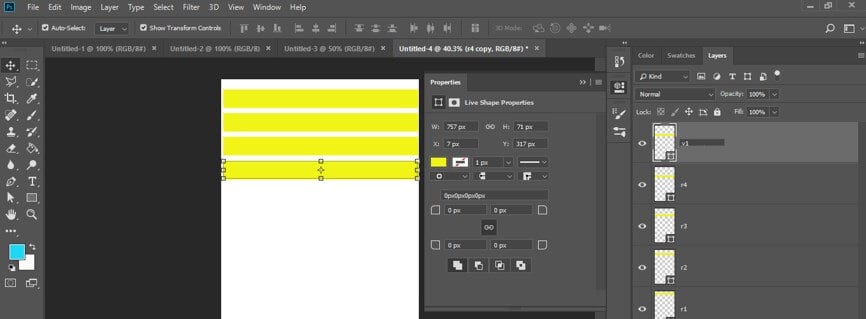
Step 13: Now, make one more copy of this rectangle by the same method. Now I will name it as V1.
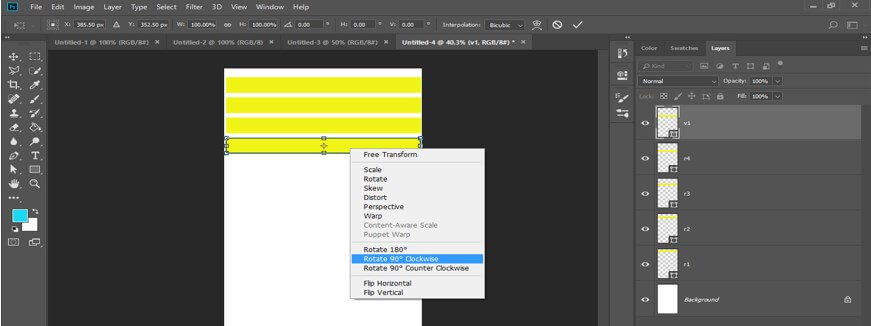
Step 14: Now select the V1 layer by clicking on it and press the Ctrl + T button from the keyboard for a free transform box. Now make right-click on this layer and choose the ‘Rotate 90 degree clockwise’ option for rotating it at 90 degrees.
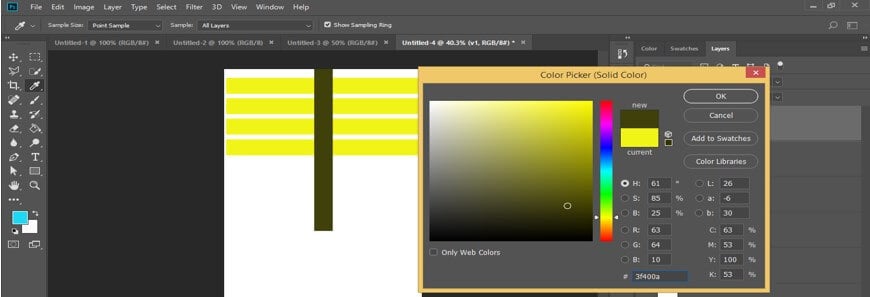
Step 15: Now, change the color of this rectangle. For changing the color, make double click on the rectangle in the layer of V1 layer. A color picker box will be open; choose your desired color from this box. I will choose this color then press the Ok button of this box.
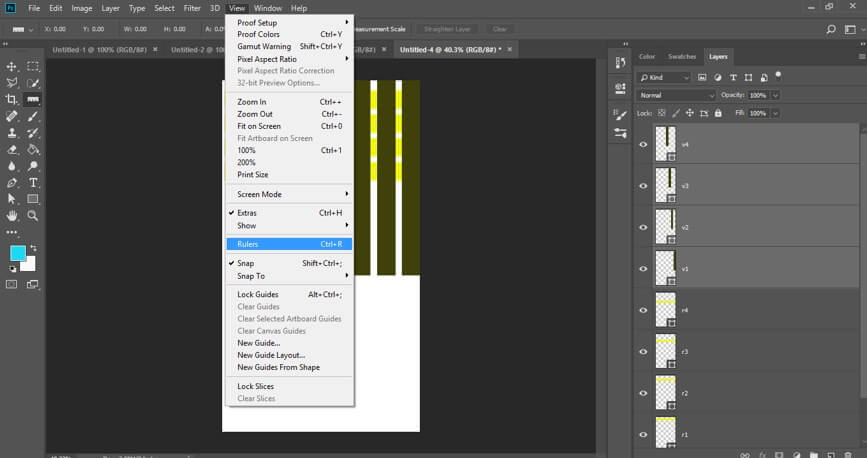
Step 16: Again, make multiple copies of this V1 rectangle by pressing the ctrl + J button of the keyboard, and I will name them as v2, v3, v4 for my better understanding during using them. You can open Ruler from the Window menu of this software for better measurement. Click on the Ruler option, or you can use the short cut key as Ctrl + R for it.
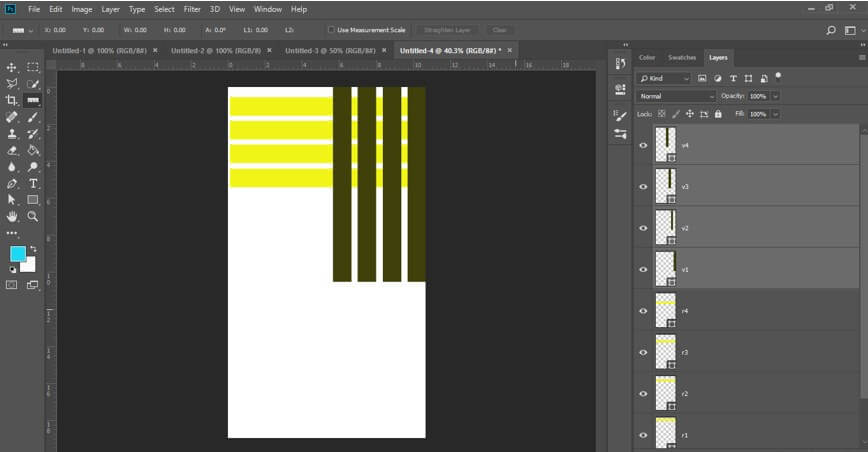
Step 17: Now arrange these rectangles like this.
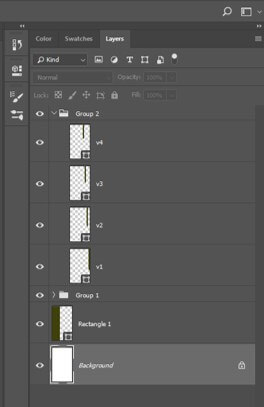
Step 18: Now select all yellow rectangle layers by holding the shift key and group them all by pressing the ctrl + G button of the keyboard.
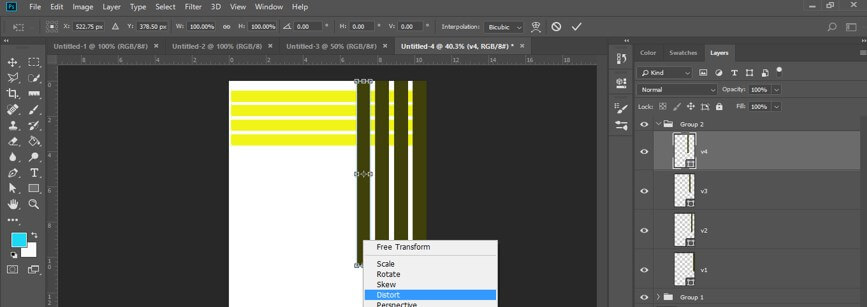
Step 19: Do the same with v1 rectangle layers and group them all. Now select v4 rectangle and press ctrl + T for free transform box around it and make right click then choose Distort option from the list by click on it.
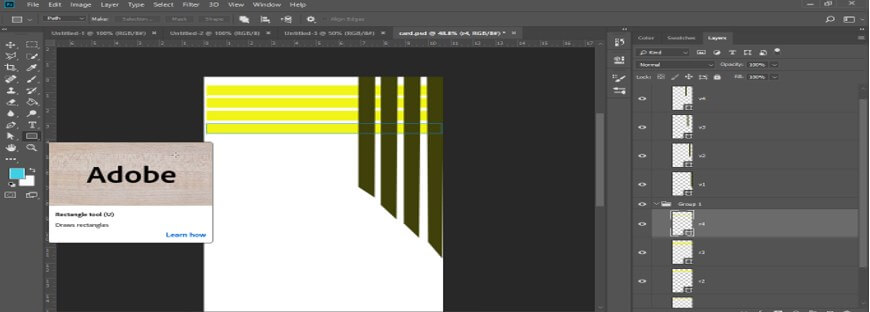
Step 20: And distort these rectangles like this one by one. Now again, take a rectangle tool from the tool panel by click on it.
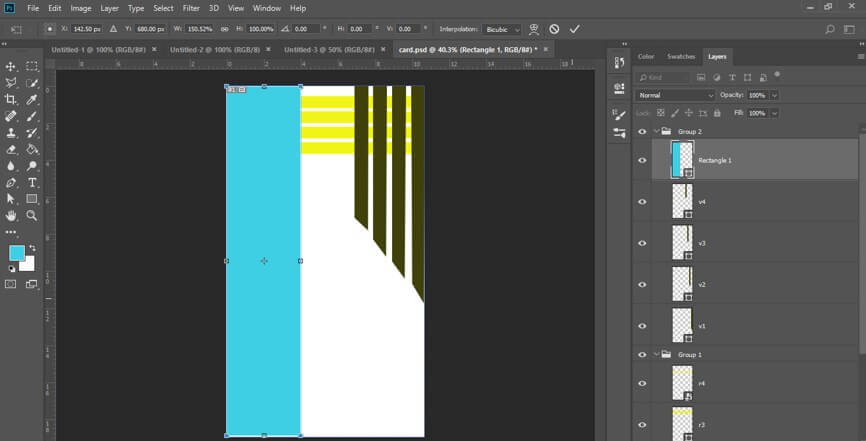
Step 21: Make a rectangle like this with the rectangle tool.
Step 22: Now, change the color of this rectangle the same as the v1 rectangle color.
Step 23: Now again, go to the bottom of the layer panel and take a new layer by pressing Create New button of the layer panel.
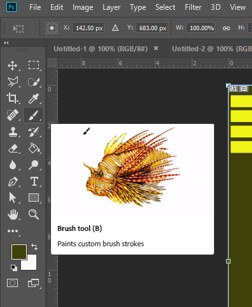
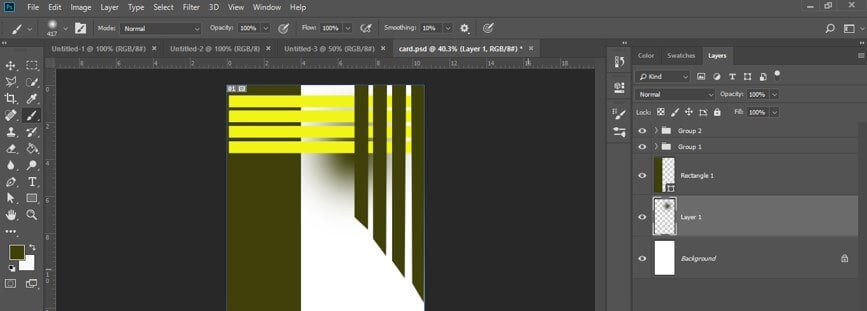
Step 24: Now, take the brush tool from the tool panel of this software by clicking on it.
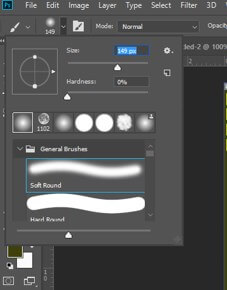
Step 25: Adjust the size as per your choice from the size option of the property bar of the brush tool.
Step 26: Now, make one click with a brush tool like this.
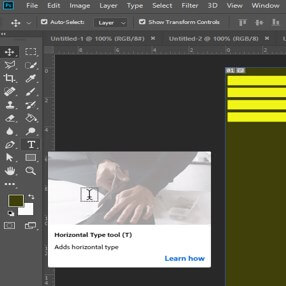
Step 27: Now, take the text tool from the tool panel by click on it.
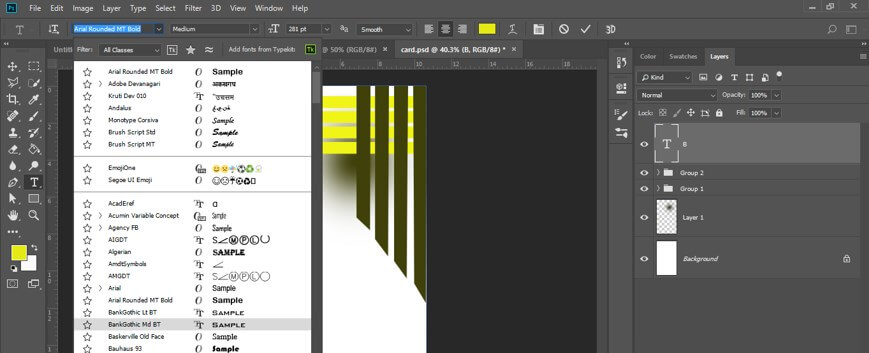
Step 28: Take any professional font style from the font style option of the property bar of the text tool.
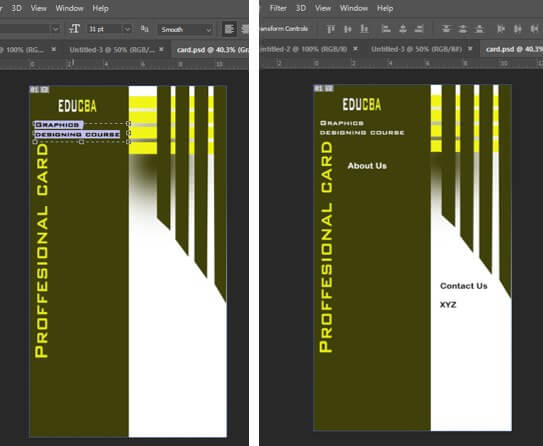
Step 29: And type your desired text here and arrange them at a proper place like this.
You can add different types of content to your card as per your client requirement. You can also add a free banner design element to your card to make it more visually appealing and attention-grabbing.You can also add your company’s logo to this card. The design of your card totally depends on your idea.
Conclusion
Now, after this article, you can understand what a template is in Photoshop and how you can create a template for different professional purposes. You can use your own idea for making professional templates for your project work.
Recommended Articles
This is a guide to Templates in Photoshop. Here we discuss the introduction, how to create Templates in Photoshop in a step by step manner. You can also go through our other related articles to learn more –
