Updated September 12, 2023

Introduction to Text Command in AutoCAD
Auto cad is 2d and 3d computer-aided designing software, which Autodesk developed. We use auto cad for making different types of engineering drawings and models. During our drawing, we have to mention some important data on our drawing for our better understand, so text command is one of that command which helps us for type text and data on our drawing and also allows us for making some formatting in it so that we can clarify our drawing easily. This article will discuss text command and analyze different parameters of it for getting the best result in our work. So let us start our discussion.
How to Use Text Command in AutoCAD?
We can use the text command in auto cad by following some simple steps and use it for mentioning our important data in our drawing. But before starting, let us have a look at the working screen of this software.
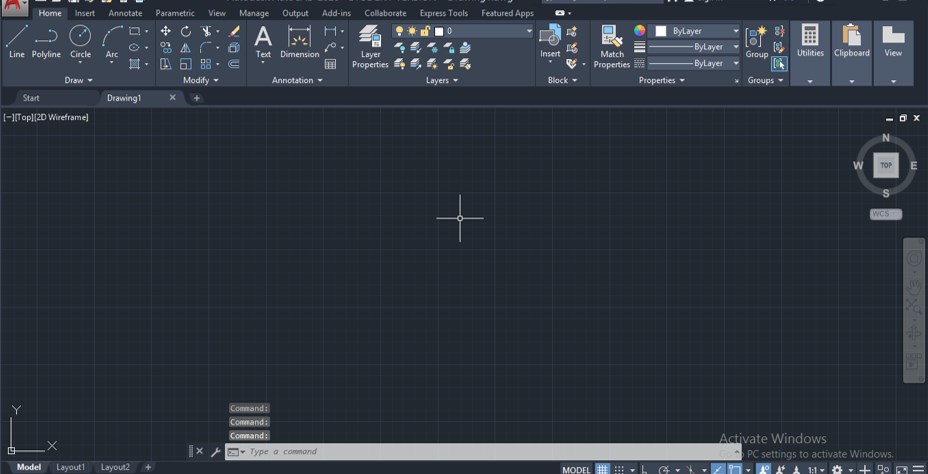
Step 1: At the top of the working screen there is a ribbon of different tabs such as Home tab, View tab, Annotation tab and some which are used for handling the parameters of different command in this software, below this we have a working window on which we can see our work, below this window we have some navigation command for handling the parameters of our drawing during our project work.
Step 2: You can have a text command from the Annotation menu of the Home tab of this software. We have two types of text command in auto cad. One is Multiline text, and the other is Single line text. You can use any one of the text commands according to your requirement.
Step 3: Or you can type MT then press the enter button of the keyboard for the Multiline text command.
Step 4: And for Single-line text, you can press DT then press the enter button of the keyboard.
Step 5: Now, let us understand single line text first. For single-line text command press, DT then presses the enter button of the keyboard. Now it will ask you to specify the start point of text that means take point on your drawing from where you want to start writing of your text. You can click on your drawing sheet at a specific point, or you can give any particular value.
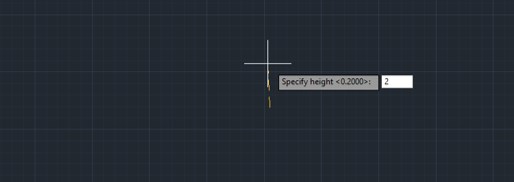
Step 6: Now, it will ask you to enter the value of the height of your text. You can click at any point in the vertical direction for height, or you can enter a value of height through.
Step 7: Now, it will ask you to enter the value of angle that means if you want to type your text horizontally, then enter the value of angle as 0 or if you want to type your text at any inclination, then enter the value of angle such as 30 degrees, 60 degrees whatever you want.
Step 8: I will take 0 degrees as the angle of text rotation. Now type your desired text here. You cannot format this text after typing it.
Step 9: If you want to format this text with a different style, color, size, or other parameters, then you can set these parameters before typing it in Single line text command from the Annotation menu of the Home tab of this software.
Step 10: Now, let us understand the Multiline text command. For multiline text, go to the Annotation menu of the Home tab or press MT, then press the enter button of the keyboard. Now it will ask you to specify the first corner of the box in which you will type your text. You can enter the value of the corner of the box or make a click at a specific point on your drawing sheet where you want to type your text.
Step 11: Now, it will ask you to specify the opposite corner of this box, so enter the value of the opposite corner or make a click at your desired point in your drawing sheet.
Step 12: Now, you can type your text in this box. When you click for an opposite corner, a text editing tab will open automatically at the command section, named as Text Editor.
Step 13: The height of the box will depend on the height of the text which you can set before type your text from the Height option of the parameter box of this command. For setting height, press the H button, then press enter button of the keyboard, then give the value of height and again press enter.
Step 14: You can change the height of your text after typing it. For changing the height of the text, select your desired text, then go to the Style tab of Text Editor then change the height of text from this value by entering the value of height.
Step 15: You can also change the font style of your text. For changing the font, select your desired text, then click on the drop-down arrow of this option and choose your desired font style from here.
Step 16: You can also change the color of your text. For changing the color, select your desired text, then click on the drop-down arrow of this option and choose your desired color from this color box by click on it.
Step 17: You can also increase or decrease the distance between the characters of the text. For increasing the distance, select your text, then increase the value of this option to increase the distance between your text characters or decrease its value.
Step 18: If you don’t want any formatting made by you on your text, then you can remove it from this option. For removing any character formatting, select your text, then click on this option for removing character formatting, and your formatting will remove from your text.
Step 19: You can align your text according to your requirement, such as you can align it at the top, left, center, or any other form of alignment by choosing any option from this list. Just select your desired text and click on any one of the options.
Recommended Articles
This is a guide to Text Command in AutoCAD. Here we discuss the introduction and how to use Text Command fin AutoCAD to make good text with different formatting. You can also go through our other related articles to learn more –


