Updated May 19, 2023
Overview of Unity 2D
Unity is 2d can be understood as 2d game creation and development in Unity. 2d games are 2-dimensional games, meaning they have variables of their object in two directions, such as X and Y plans. Moreover, one can animate the designed player and other assets of the game in two directions to give them proper movement, jump, and other physical activity. Unity has its separate 2D interface, which is designed to make 2d game creation and development easy. You have to choose a 2D interface while creating a new project, or you can switch to 2d by clicking on the 2d button at any time during your game creation.
Introduction to Unity 2D
Unity 2D games are part of Unity software, which means Unity game is not just famous for 3D games, but we can also create 2D games in it. When we start creating games in Unity, it offers us to create our games in 2D or 3D mode. In 2D games, Sprites are simple objects that deal with graphical images, and while working on 2D games in Unity, we must have a 2D interface selected. We can manage several things in Unity to develop our 2D games, such as making graphical objects as box colloidal, making objects rigid bodies for animating them, and so on.
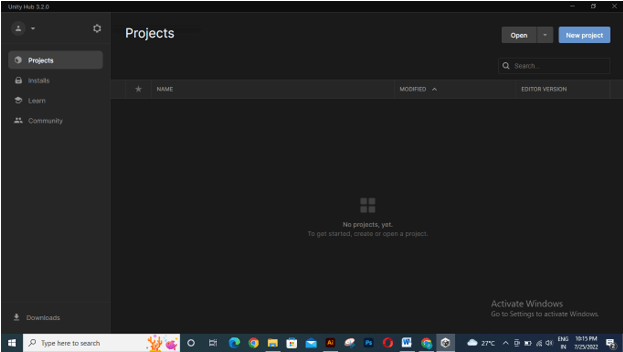
Now let us start discussing how we can create 2D games in Unity step-by-step. First of all, when you start Unity, you will have this user interface, and for creating a new project, click on the New Project button, which is on the right side of this welcome window.
In the Create New Project dialog box, the select interface as 2D by clicking on the 2D option. Now click on the Create project button at the bottom right corner.
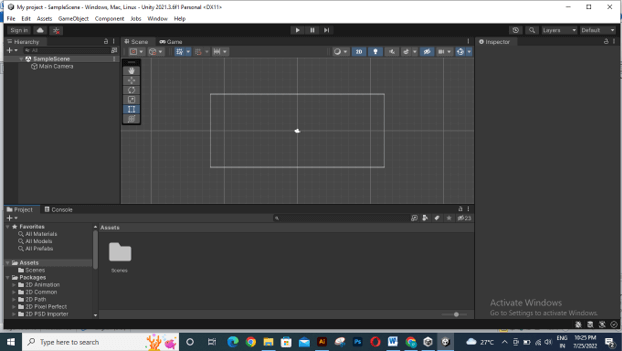
Once you click on create button, this 2D interface will be open.
If you are in the Game interface, you will not be able to see the camera.
And if the 2D interface is disabled then it will change into a 3D mode which will create problems for you in creating a 2D game so make sure you are in 2D mode.
Before you start creating a 2D game, go to the Assets folder, which is in the lower-left corner of the user interface. Make right-click on it and create a new folder.
I will name this folder Level.
Same as you can create more folders for better asset management of your 2D game.
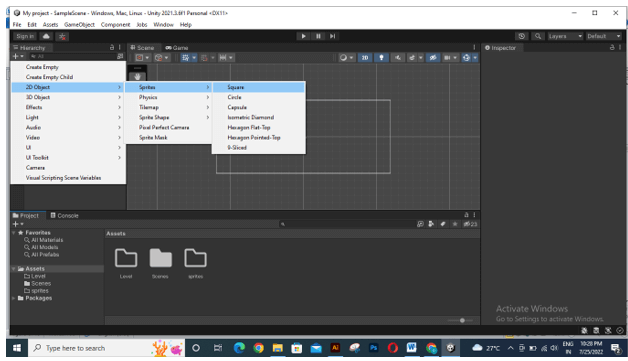
Now go to the Create button of this software’s Hierarchy section and click on it, or you can right-click in the Hierarchy section. In the drop-down list, go to 2D object, then Sprites, and then choose your desired shape for your Sprites object. For this time, I will choose Square.
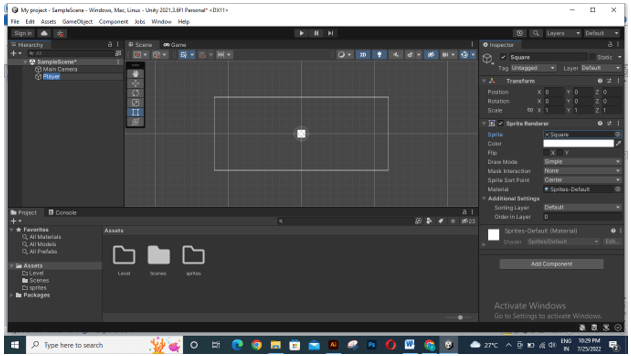
Once we choose it, a player of this chosen square will come into the Hierarchy section. Now I will name it Player.
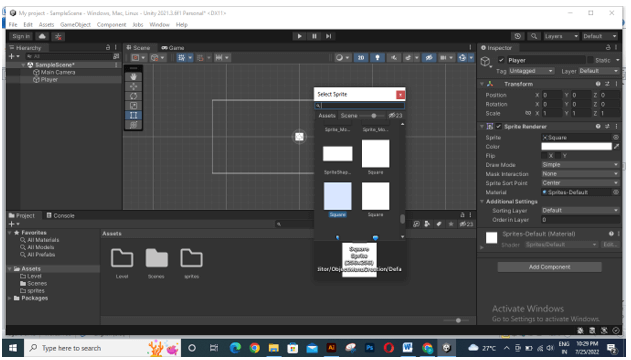
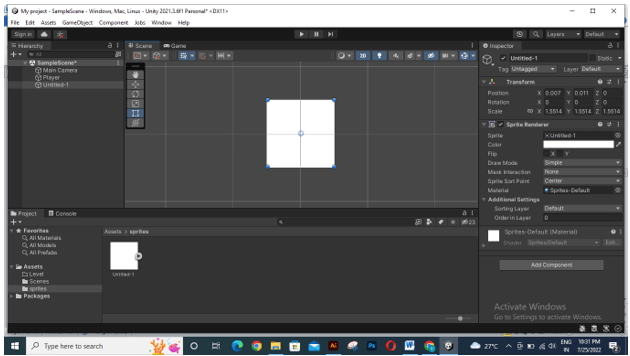
Now click on the radio button of the Sprite option of this Player object. You will find this option in the Inspector section. Once you click, you will have the Select Sprite dialog box open. Choose your desired shape from here by clicking on your desired one.
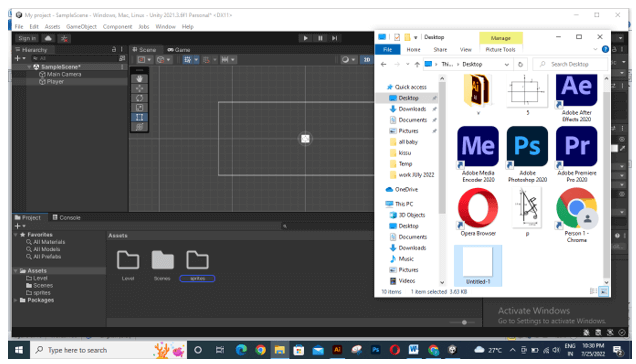
You can also see your external graphics here. So to have a graphical asset for this, I will choose this image from its saved folder. You can use your desired image for this purpose.
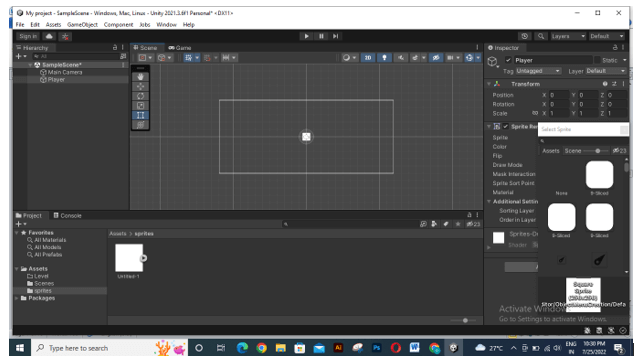
Now you can assign your imported image to the Player object.
If it is not visible to you, zoom the area to see your object.
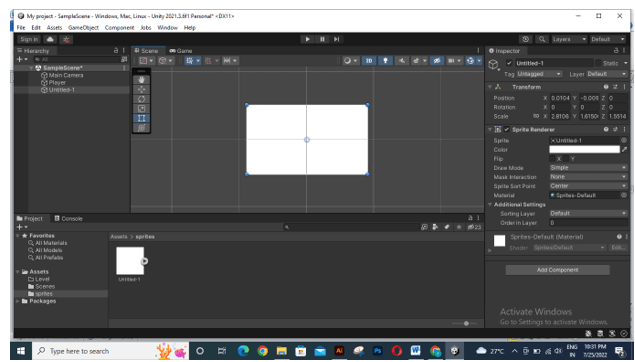
You can scale it as per requirement by the scale options in the Transform section of the selected object. Such as, if I change its X value, then it will change like this.
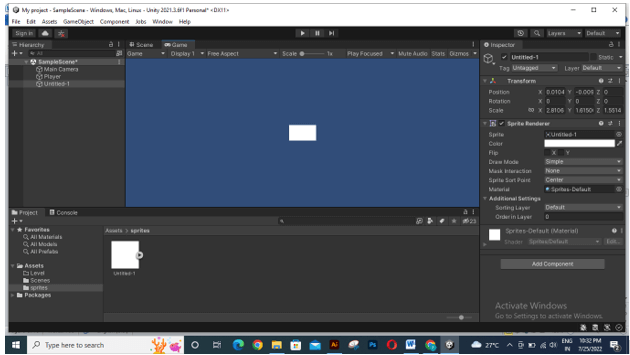
If you want, you can check how your selected object will look in your created game scene by going to the Game tab of this software.
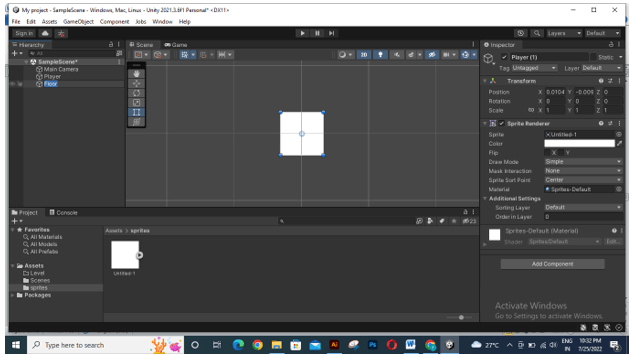
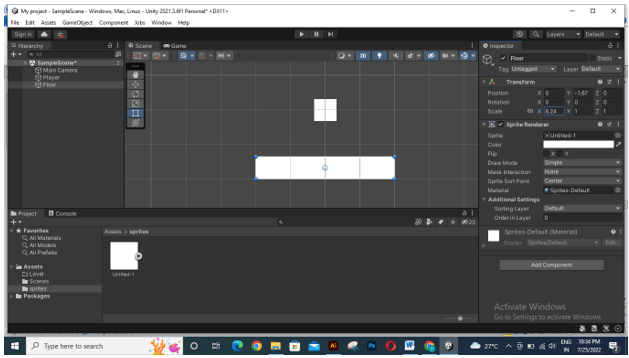
Now I will go to the Hierarchy section and select the Player layer, then press Ctrl + D to make a copy of it and name it as Floor.
Here I will scale it in the X direction to make this type of floor area for the player.
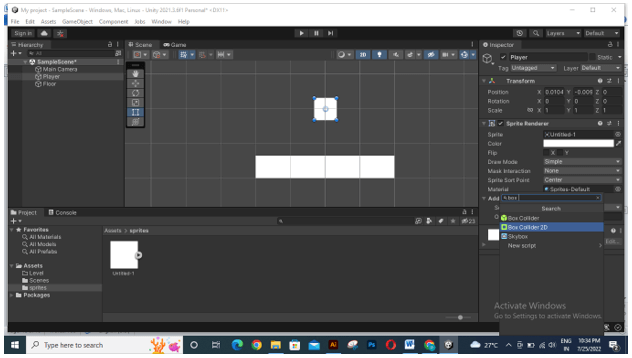
To add a 2D variable to the object, follow these steps:
- Select the object.
- Go to the Inspector section.
- Click on the Add Component button.
- Search for “Box Collider 2D” in the component search bar.
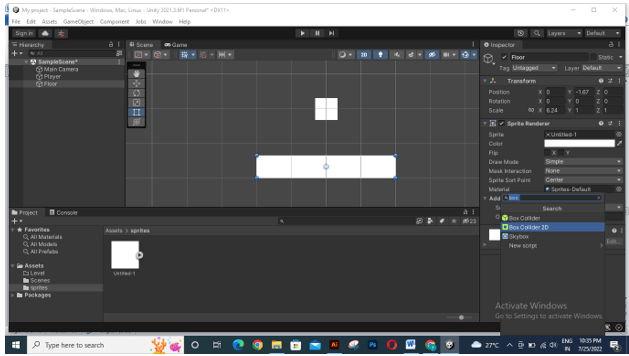
Now do the same for the Floor object in the same way.
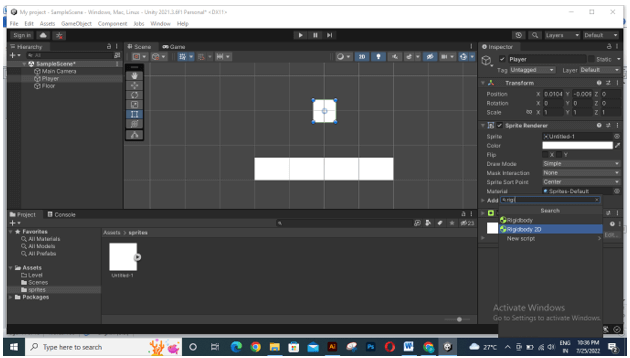
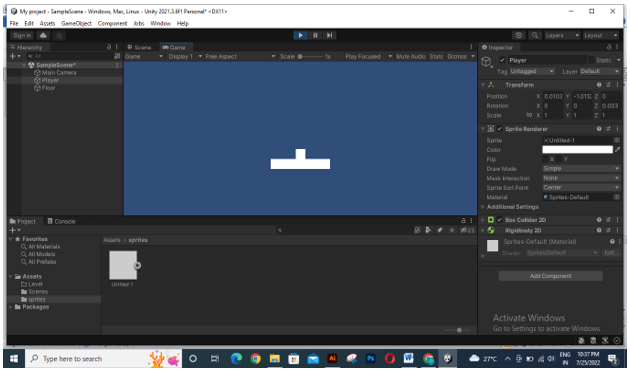
For adding animation to our player object, search for Rigidbody 2d in the same Add Component button after selecting the Player layer.
You can see what will happen by playing the animation. Click on the play button to see the animation, and make sure you again click on the play button to stop the animation; otherwise, the animation will not save. In the same way, you can add more animation functions to the player. This was basic information about how you can create 2d games in Unity.
Unity 2D Platform
Now let me tell you about what a 2D platform is in Unity. First, there is an asset store offered by Unity to make our 2D game development easy. Through Asset Store, we can import many pre-designed assets of 2D games.
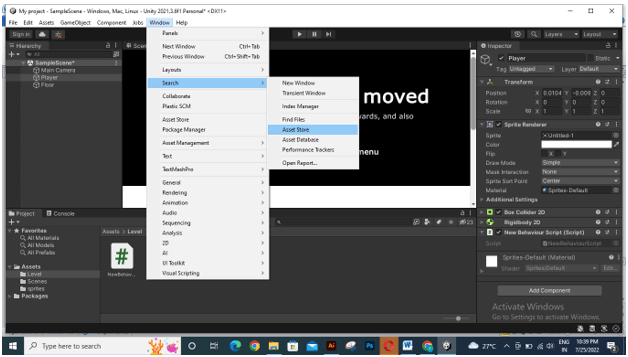
For Assets, the store goes to the Window menu of the menu bar, then chooses the Search option, and then clicks on the Asset Store option in the drop-down list.
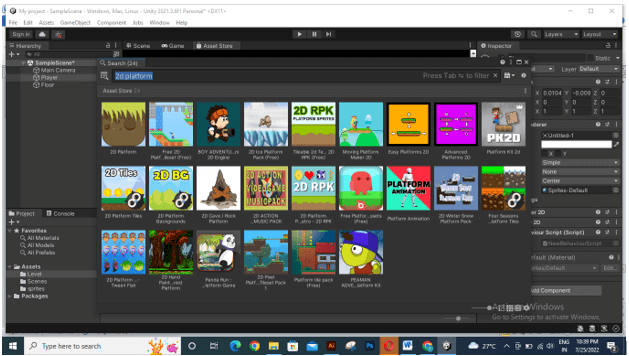
Once you choose this option, Asset Store will open like this. In the search box, you can search for your desired assets, such as for 2D platform assets; search here for 2D platform in the s
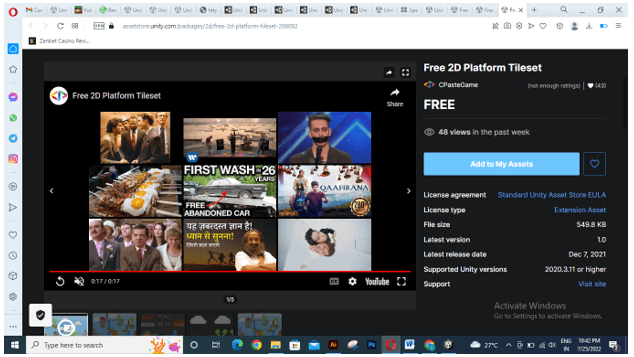
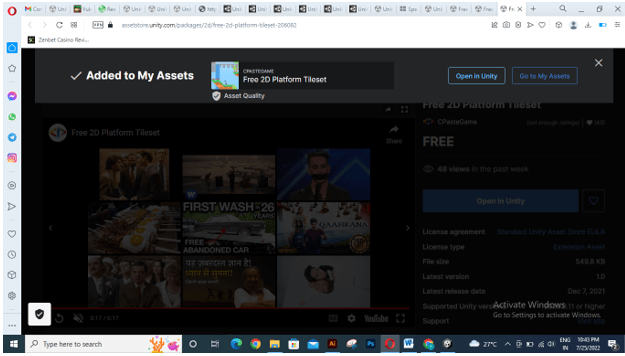
And it will give you results as per your search. Here you will find both paid and free assets. So, according to your requirement, you can go with anyone by applying a filter for your result. You can choose your desired 2D platform asset by clicking on the template of it. Once you click, it will redirect you to the Assets store page of the Unity website.
Here you can click on Add to My Assets option to add your desired assets.
Once it gets added, you can go with the Open in Unity or Go to My Assets option and work with it.
These were some important facts about 2d games creation and development in Unity software.
Conclusion
After going through this article, you have good information about 2d Unity games and an idea about how you can create 2d games in it. You can go with the Asset store for having a preset of a 2d game platform to make your 2d game development easy. There is a free 2d platform, so you can try it for free before going for a paid one.
Recommended Articles
This is a guide to Unity 2D. Here we discuss the Introduction, overview, Unity 2D platform, and how to create the Unity platform, respectively. You may also have a look at the following articles to learn more –
