Introduction to Unity webGL
Unity WebGL builds unity game content and publishes them as javascript programs. This javascript uses HTML5 technologies with webgl rendering API that runs unity game content in your desired web browser. It supports almost all major browsers of a desktop, but the level of support and performance may vary for different browsers. It is noted that currently content of WebGL is not supported for mobile devices because it still works for high-end devices. However, these devices have enough memory to support Unity WebGl content. In this article, I will tell you how you can create webgl build in unity and play it step-by-step.
What is Unity webGL?
Unity webgl can be a publisher that publishes unity content as JavaScript programs. These programs use webgl rendering API with HTML5 technologies that run unity content on the web platform. To run your WebGL build, click on the Build & Run option of the Build Player window. First, let’s discuss how we can create a unity WebGl build.
How to create a unity WebGL build?
Today in this article, I will tell you how to create unity WebGl by using the assets scene available on Unity Asset Store. You can go with your one, or if you want to have it from Unity Asset Store, then go to the Unity Asset store and choose your desired one. I will choose this Sky city Lite and click on Add to My Assets button.
You can have the same from by going through the Window menu, then Search, then Asset Store.
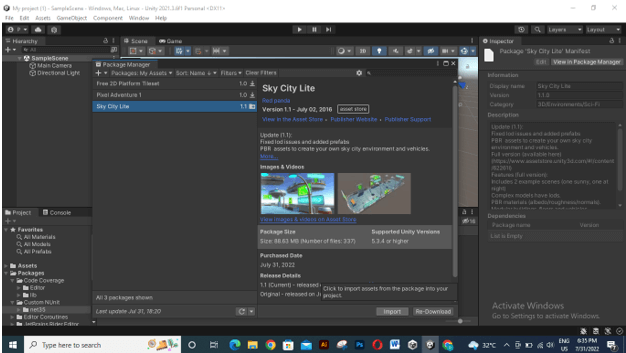
Now open Package Manager, and in its list, choose My Assets. So see your added assets.
Here choose your desired asset by clicking on it.
Click on the Download button to download it.
Once the download is completed Import button will be enabled to import this asset. Click on the Import button, which is next to the Download button.
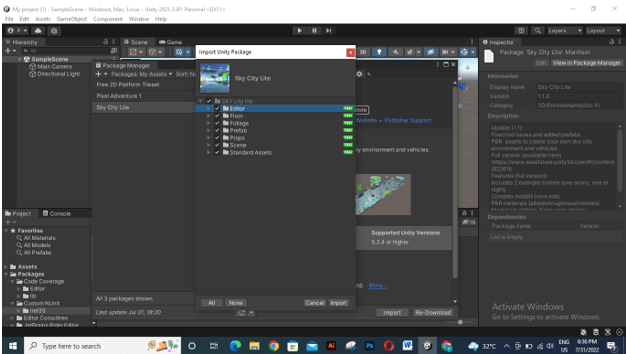
Once you click this Import button, the list of assets will be open like this.
You can import all or choose some of the folders which you want to import.
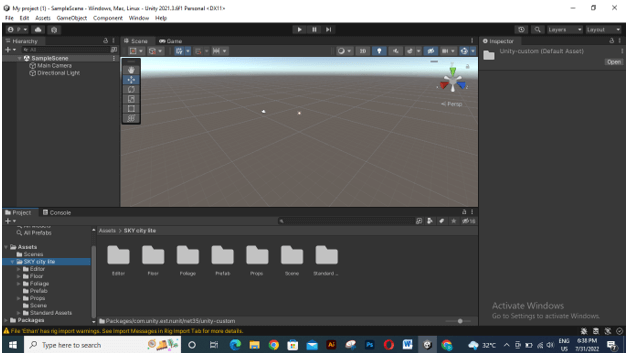
Now go to the Asset section, which is the lower left corner of the working window, and choose your imported asset.
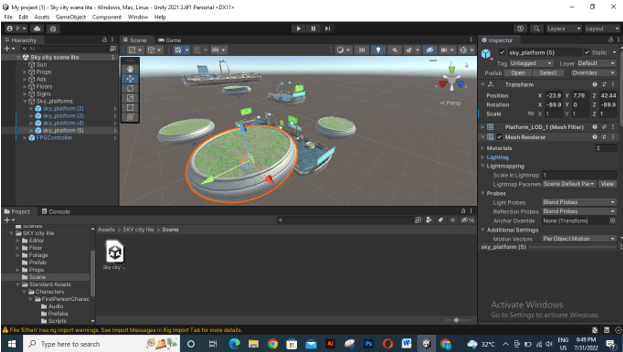
Now open asset scene.
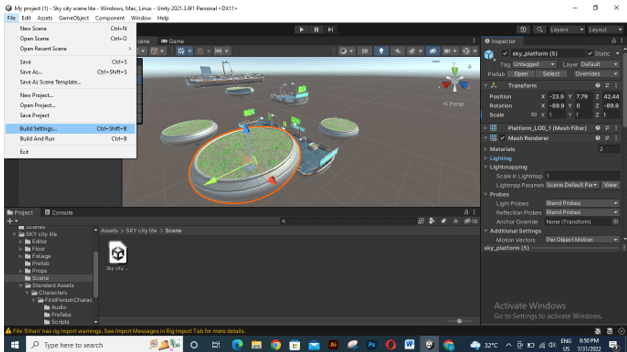
Now let us switch to the WebGL mode, and for that, go to the File menu of the menu bar and click on it. Once you click, a drop-down list will be open. Choose the Build Setting option.
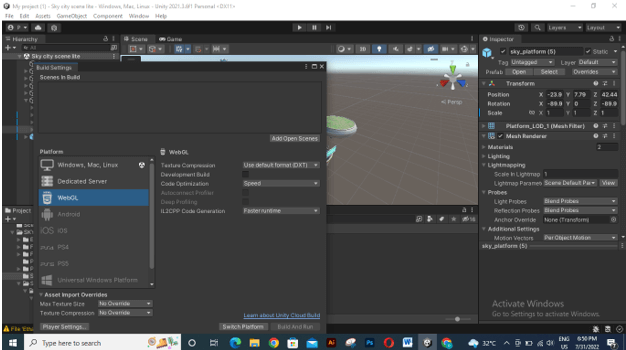
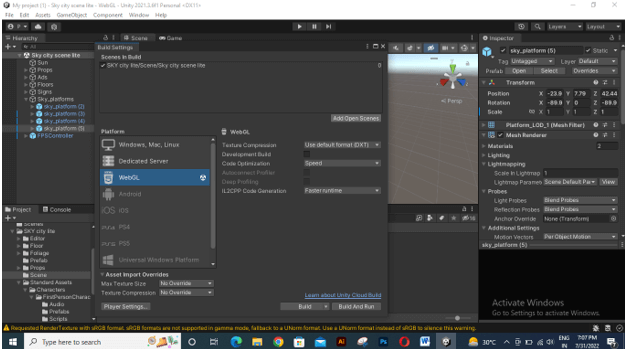
Once you choose the Build Settings option, a dialog box will be open. Here choose the WebGL option from the list and click on the Switch Platform button, which is at the bottom of this dialog box.
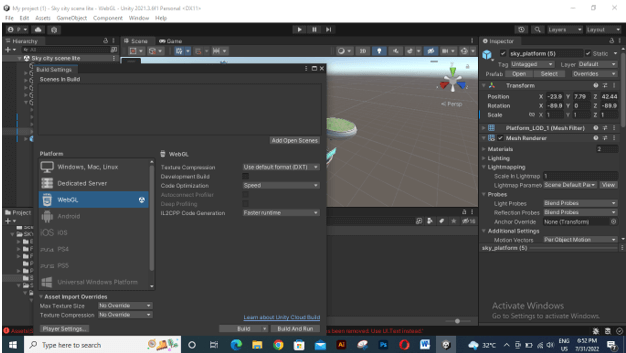
Once you click on this button you will have the ‘Build’ and ‘Build And Run buttons. Click on the Build button to build the WebGL build of your content, or go with another button if you want to run the build also.
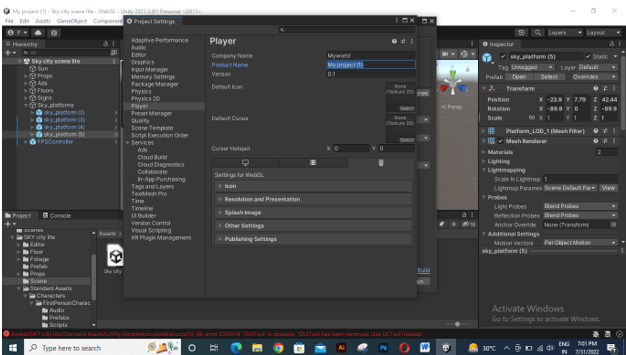
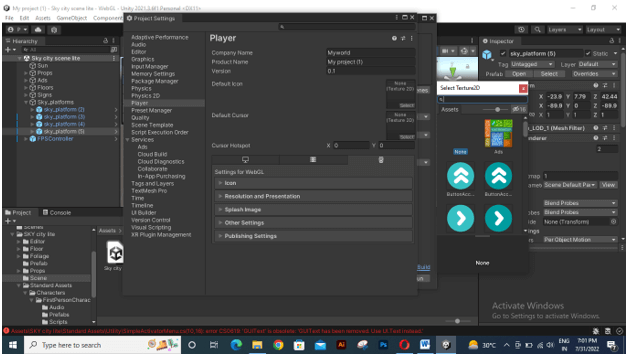
Once you click on this option, you will have the Project Settings box. Here fill the name of your company and other required details.
You can choose icons for your published content.
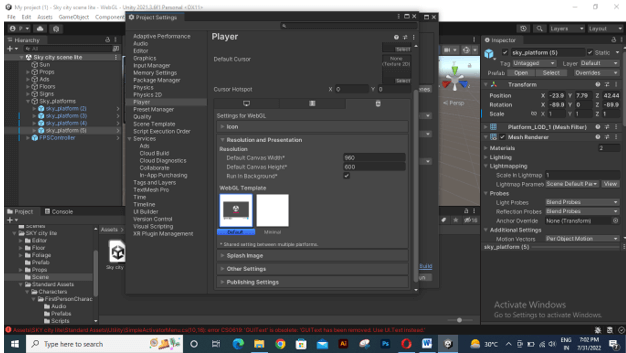
You can also set the resolution of your published content from the Resolution and Presentation option.
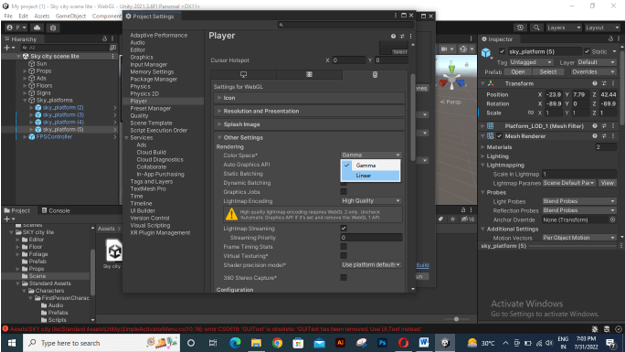
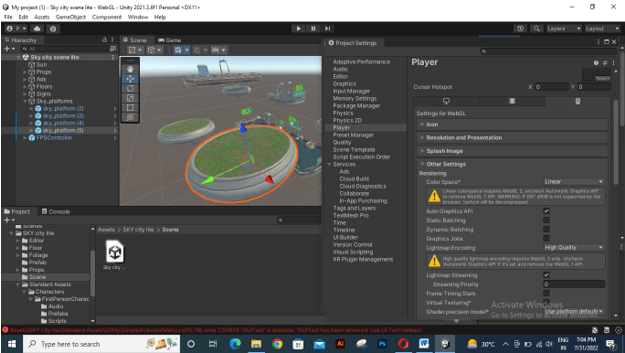
There are two options for lighting one is Gamma, and the other is Linear. According to the scene environment, it gets changed.
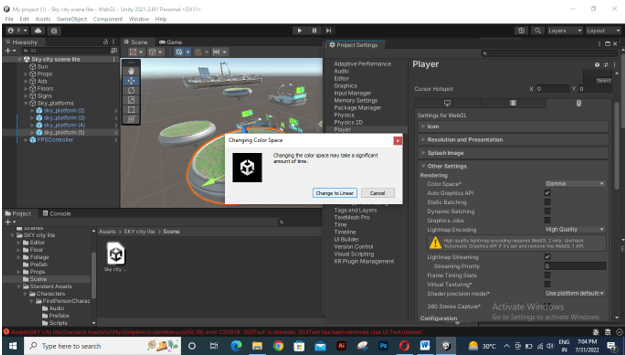
So if you choose the Linear option, then it will take some time.
And you can see the difference here.
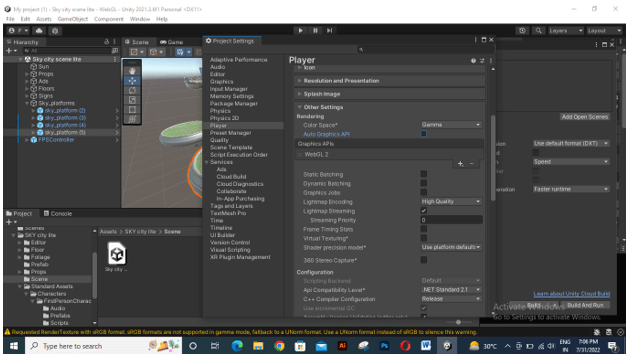
Now disable Auto Graphics API option for working with WebGL.
Once you have done your desired setting, click on the Build button of this dialog box.
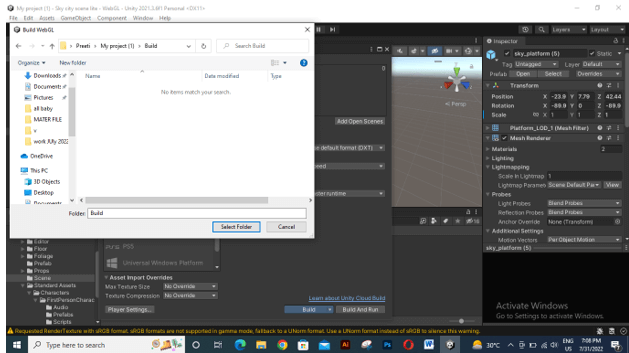
Once you click on this button, a dialog box will be open to choosing the desired location for saving your build file.
Now you can play your published build. But sometimes, you may face playing issues, so to resolve these issues, follow the method below.
Unity WebGL play
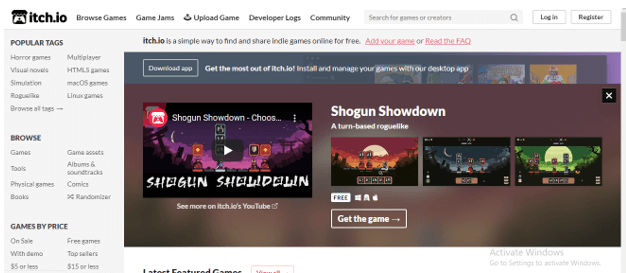
To play your WebGL build, go to the itch.io website and create your account by clicking on the Register button. If you already have an account, then you can go for login.
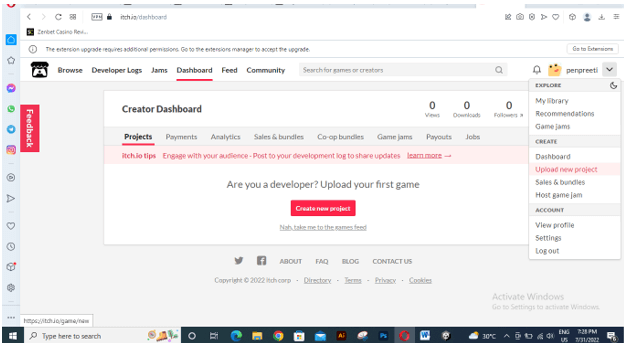
Once you open your account, go to the drop-down button of your profile name on the dashboard area. Here choose the Upload new project option.
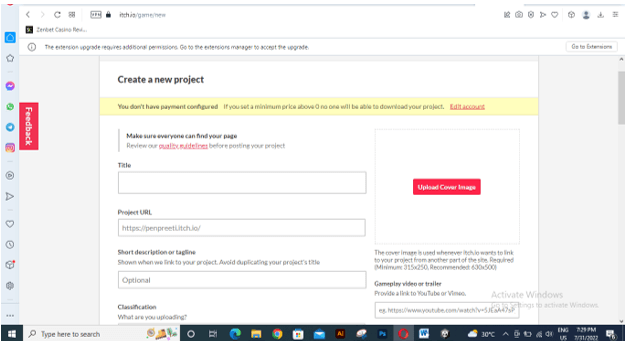
Once you choose this option, a new page will open to fill required related information. So fill it.
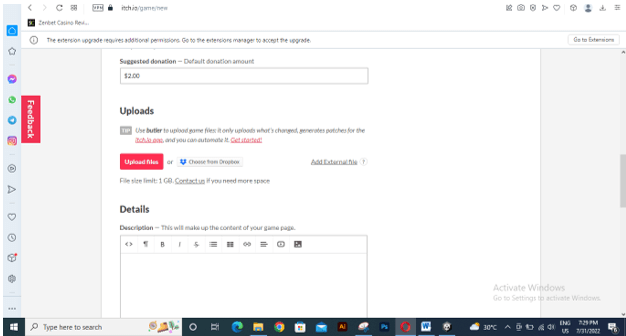
And then click on Upload file to Upload your WebGl build zip file.
It will take some time to get your file ready, and once it is ready, you can play and run it.
Unity WebGL build
After going through the steps of how to create a WebGL build module. You must have some quires regarding it, so you must keep in mind before you start working with WebGL, you must check some important terms, such as whether the Build Support module is installed or not. So for this, follow the following steps:
- Go to Unity Hub.
- Identify that the Unity version is compatible with your build.
- If WebGL builds support is already installed, there will be a WebGL icon.
Next, check the package detail:
- Open your desired project in Unity Editor, which you want to publish.
- Go to the Window menu of the menu bar and select the Package Manager option to open it.
- In the opened window, go to the drop-down list of filter menus and choose the Project Packages option.
- Now check whether WebGL Publisher is installed by searing it. If it is not, install or update it.
This was important information before you go through the building process of your unity content through WebGL build.
Conclusion
Now you have enough information about WebGL build regarding your Unity content, and you can use this for building your game content. You can also use an online hosting platform to play WebGL content perfectly if there are issues during rendering WebGL content. I suggest you try it for your content to see the result of it, and it will help you build your project content.
Recommended Articles
This is a guide to Unity webGL. Here we discuss the Introduction, What Unity Webgl is, and How to create unity WebGL build, and Unity WebGL build. You may also have a look at the following articles to learn more –


