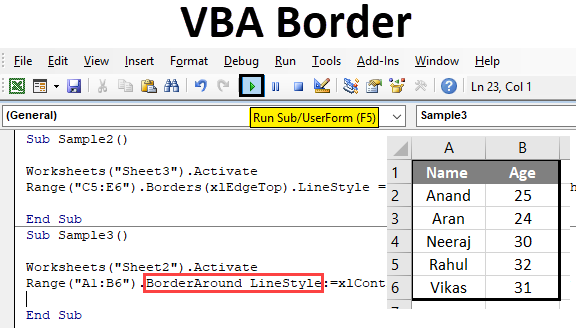
Borders in Excel VBA
Borders are a necessary part of every worksheet or in any word file. Borders separate data from one another it shows which part of data is referred to which area to avoid any confusion. Also, it looks good to have borders in our datasheet. In excel worksheet we have options for inserting borders manually, but how we do it in VBA is what we will learn in this article.
To apply borders in VBA we need to access the properties of a cell and in the current case, the property we need to access is borders. Now we need to keep in mind that there are various types of options available in borders properties. Such as diagonal vertical up down etc. We will cover some of them here.
How to Use Borders in VBA
To use borders in VBA we need to follow these steps as follows:
- Use range method to access the range value.
- Use borders method if we want to format only a portion of cell or borders around if we want to cover the cells with borders.
- Use different line styles to make the borders look pleasant.
Now let us go through some examples and see how we can insert a border in excel cell.
Example #1 – VBA Borders
Let us use the basic enumerations what VBA provides us when we type the keywords to see the borders. We will put borders in cell A1 and see the result.
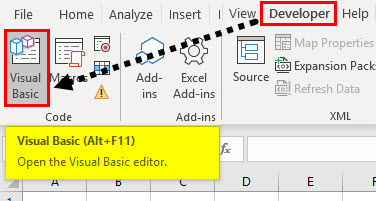
Step 1: Go to Developer’s tab, open visual basic and we will see a VB Editor.
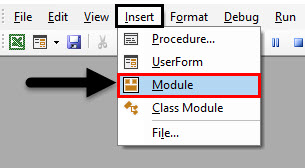
Step 2: Insert a new module from the insert tab provided. Click on the module we just inserted which will open a code window for us,
Step 3: Declare a sub-function which means naming our macro.
Code:
Sub Sample()

End Sub
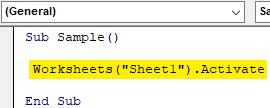
Step 4: Activate the worksheet first in order to use its properties by the following code below,
Code:
Sub Sample()

Worksheets("Sheet1").Activate

End Sub
Step 5: Now let us try to change the border of cell A1. Use the range method as below,
Code:
Sub Sample()

Worksheets("Sheet1").Activate
Range("A1").Borders

End Sub
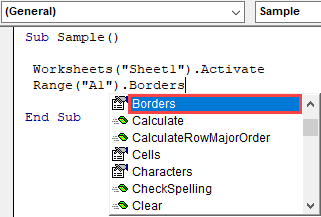
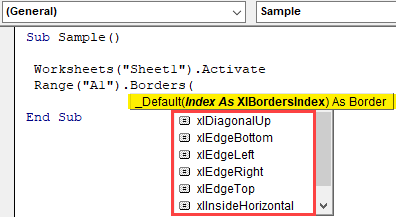
Step 6: Select the borders properties which will give us an option to select the border style as follows,
Code:
Sub Sample()

Worksheets("Sheet1").Activate
Range("A1").Borders(

End Sub
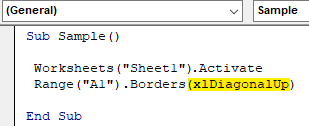
Step 7: Select the first option which is Xdiagonalup as the border style.
Code:
Sub Sample()

Worksheets("Sheet1").Activate
Range("A1").Borders (xlDiagonalUp)

End Sub
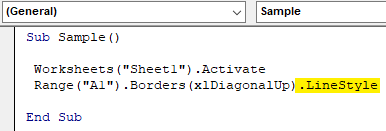
Step 8: Now we need to use the line style for borders. After dot(.) operator use enumerations for line style as follows,
Code:
Sub Sample()

Worksheets("Sheet1").Activate
Range("A1").Borders(xlDiagonalUp).LineStyle

End Sub
Step 9: Type = sign and it will give us the numerous enumerations for linestyle as follows,
Code:
Sub Sample()

Worksheets("Sheet1").Activate
Range("A1").Borders(xlDiagonalUp).LineStyle = XlLineStyle.xlDouble

End Sub
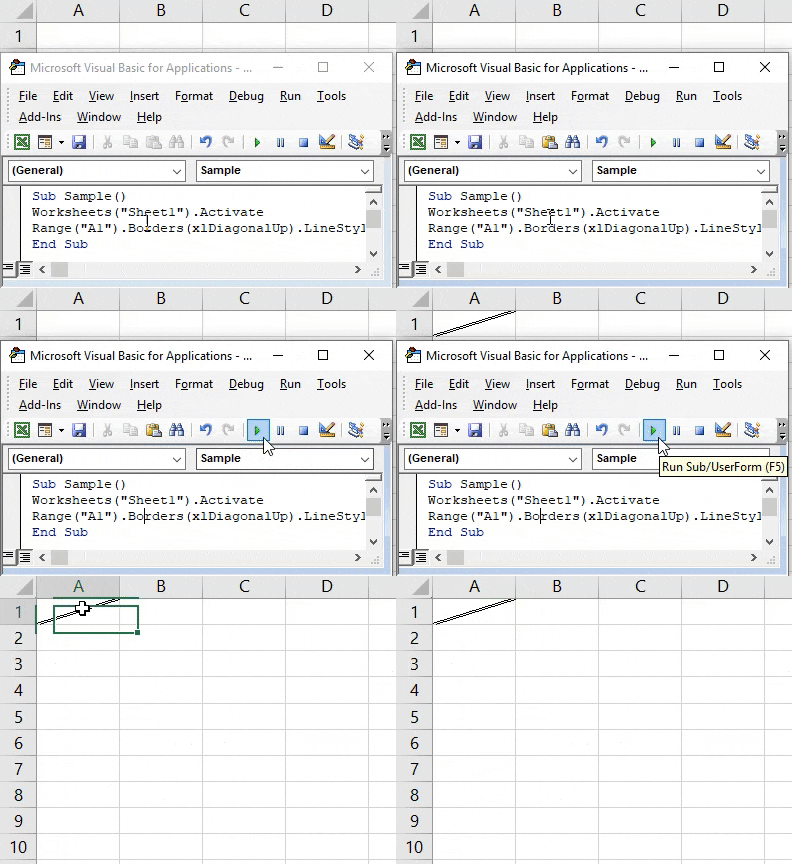
Step 10: Let us run the above code by pressing F5 and see the result in sheet 1 as follows,
Example #2 – VBA Border
Now let us use the other method for the border style in VBA.
Step 1: We already have our module inserted, Name a macro in it with another sub-function as follows,
Code:
Sub Sample1()

End Sub
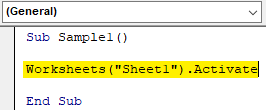
Step 2: Activate the worksheet by the following code written below,
Code:
Sub Sample1()

Worksheets("Sheet1").Activate

End Sub
Step 3: Now let use the range method to activate the border properties such as shown below,
Code:
Sub Sample1()

Worksheets("Sheet1").Activate
Range("C1").Borders(xlEdgeBottom).LineStyle = XlLineStyle.xlDashDot

End Sub
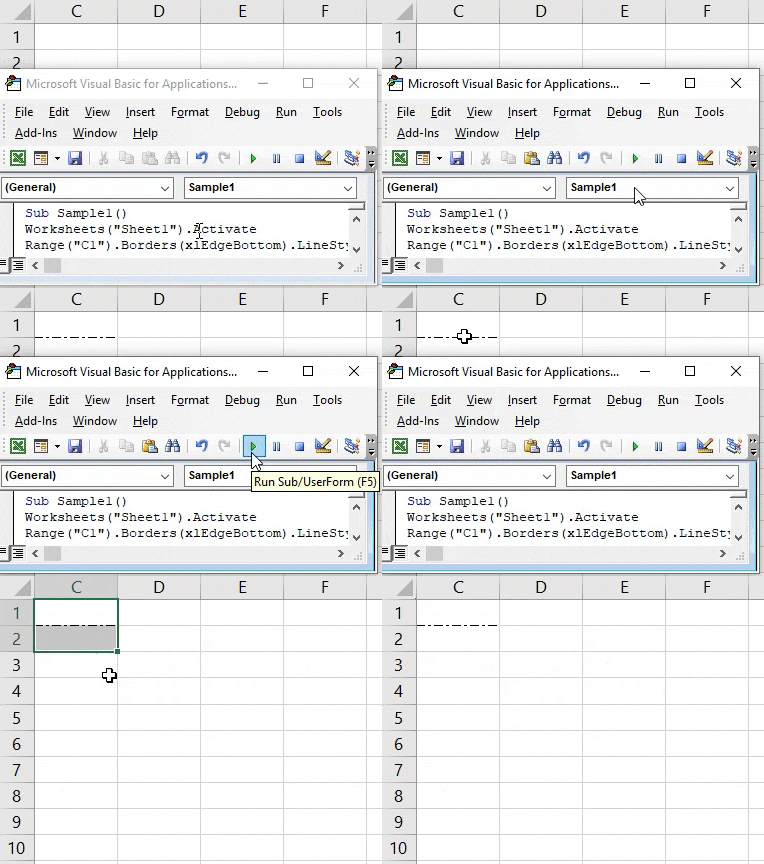
Step 4: Now run the above code and see the result in Sheet 1 as follows,
Example #3 – VBA Border
Let us try a few more of the border and line styles in another cell. This time we will use it in a cell range C5:E6.
Step 1: We already have our module inserted, Name a macro in it with another sub-function as follows,
Code:
Sub Sample2()

End Sub
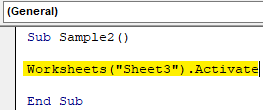
Step 2: Activate the worksheet by the following code written below,
Code:
Sub Sample2()

Worksheets("Sheet3").Activate

End Sub
Step 3: Now let use the range method to activate the border properties such as shown below,
Code:
Sub Sample2()

Worksheets("Sheet3").Activate
Range("C5:E6").Borders(xlEdgeTop).LineStyle = XlLineStyle.xlSlantDashDot

End Sub
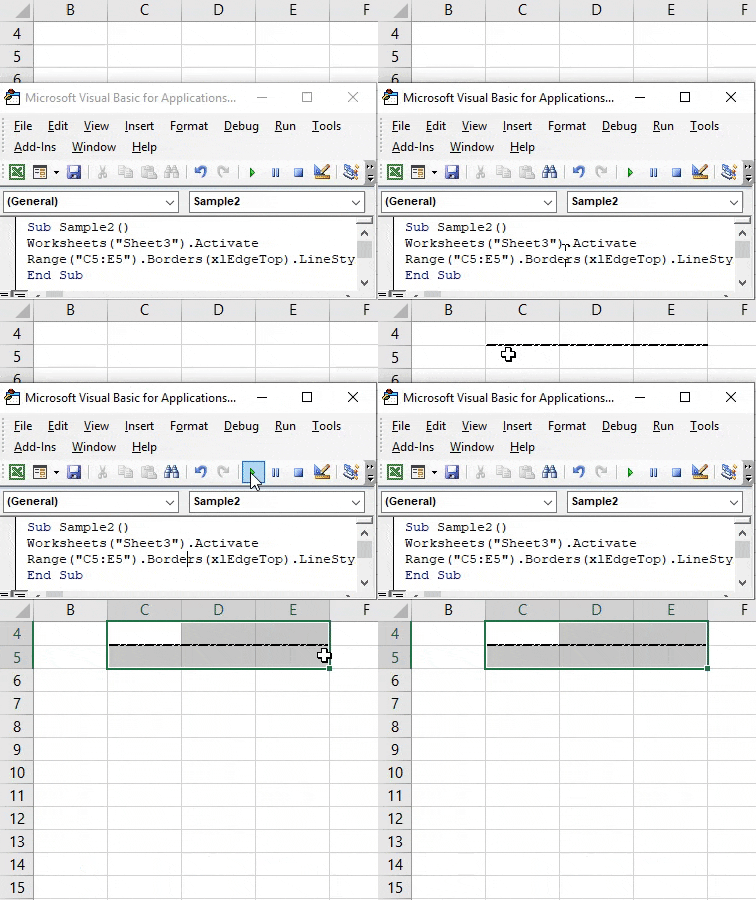
Step 4: Now run the above code and see the result in Sheet 1 as follows,
Example #4 – VBA Border
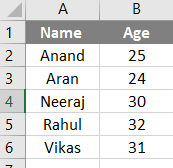
Now in this example, we will use borders around the cell covering the whole cell. Earlier what we did was border only one portion of the cell. Consider the following data we have in sheet 2 as follows,
Let us try to use a border around this data using the border around the method.
Step 1: We already have our module inserted, Name a macro in it with another sub-function as follows,
Code:
Sub Sample3()

End Sub
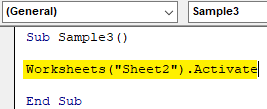
Step 2: Activate the worksheet by the following code written below,
Code:
Sub Sample3()

Worksheets("Sheet2").Activate

End Sub
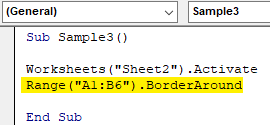
Step 3: Now let’s use the range method to activate the border around properties such as shown below,
Code:
Sub Sample3()

Worksheets("Sheet2").Activate
Range("A1:B6").BorderAround

End Sub
Step 4: Now use the line style and line thickness as follows,
Code:
Sub Sample3()

Worksheets("Sheet2").Activate
Range("A1:B6").BorderAround LineStyle:=xlContinuous, Weight:=xlThick

End Sub
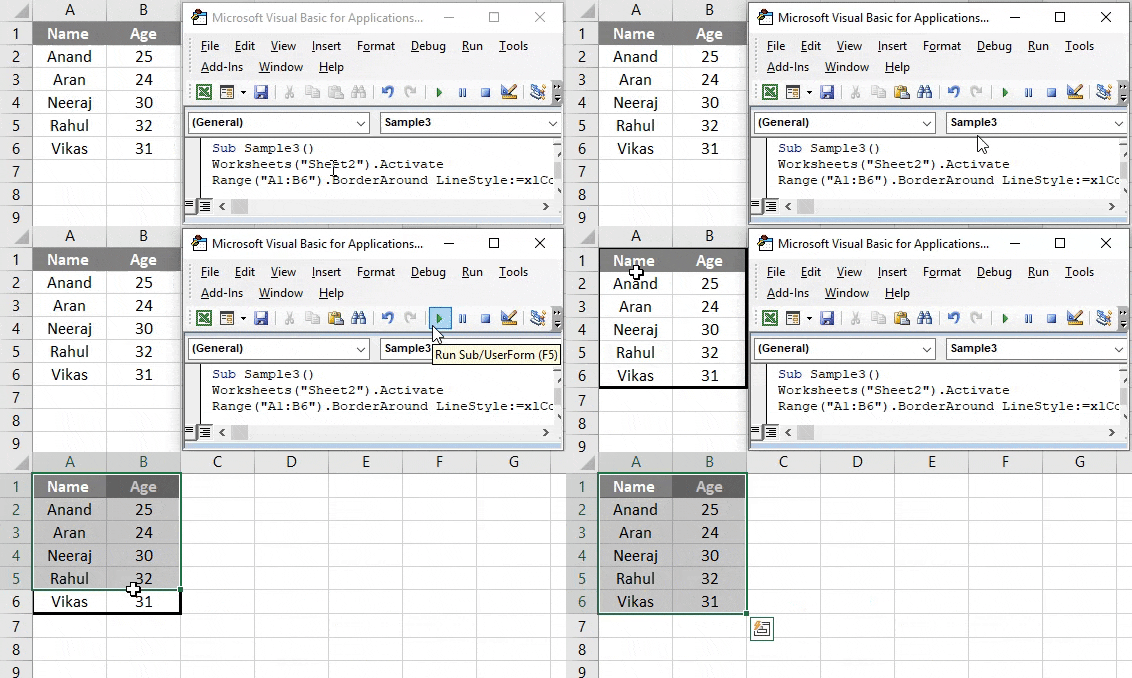
Step 5: Run the above code by pressing F5 and see the result in sheet 2 as follows,
Things to Remember
- Border around is used to cover all parts of cells.
- Borders method is used to cover only a portion of a cell.
- X Linestyles are used to use different types of styles in borders.
- Inserting borders is similar to formatting data.
- Borders in VBA are similar to borders in the worksheet, we need to remember the keyword for it to use.
Recommended Articles
This is a guide to VBA Borders. Here we discuss how to use Borders in Excel VBA along with practical examples and downloadable excel template. You can also go through our other suggested articles –
