Updated June 12, 2023
Excel VBA Do Until Loop
Do until loop will continue to repeat the statements until the condition/criteria become TRUE. It will execute the statements as long as the conditions are FALSE. As soon as the condition/criteria become TRUE, it terminates the loop. It can be seen as the opposite of the Do While loop, where the loop runs as long as the criteria are TRUE and get terminated as soon as the criteria are FALSE.
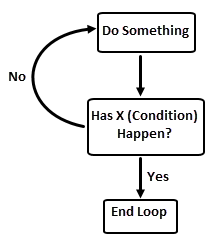
See the flow diagram below, which explains the working of the Do Until loop:
Syntax of Do Until Loop in Excel VBA
Do Until loop has two kinds of syntax in Excel VBA.
Syntax 1:
Do Until [Condition]
[Statements to be executed]
Loop
Syntax 2:
Do
[Statements to be executed]
Loop Until [Condition]
The basic difference between these two syntaxes is execution. In the first syntax, the loop will always check if the condition is True or False. If it is False, it will repeat the loop. It will terminate the loop once the condition/criteria are true. In this case, there is a possibility that the loop gets terminated at the first iteration itself (if the condition is True). Hence, you will not get any output in that case.
However, in the second syntax, the loop will initially execute the statements and then check whether the condition it’s True or False. If the condition is False, it will again execute the same set of statements and check for the condition. If the first iteration gives the condition as True, this loop terminates, but a statement will be executed before that. In that case, we will get at least one iteration (As null output).
Finally, the output of the two codes will be the same. However, the execution is something that differs between these two.
Example of Excel VBA Do Until Loop
Let’s see the examples of Do Until Loop in Excel VBA.
Example #1 – VBA Do Until Loop when conditions are checked at the start
Follow the below steps to apply the Do Until loop in Excel VBA.
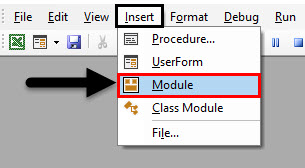
Step 1: Insert a new module under Visual Basic Editor (VBE) to be able to write code.
Step 2: Define a sub-procedure to store the macro code you will write.
Code:
Sub Do_Until_Ex1()

End Sub
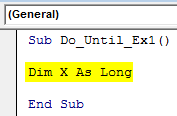
Step 3: Define a new variable, “X,” with the data type as “Long.” This variable can be used as a condition/criteria under the Do Until loop.
Code:
Sub Do_Until_Ex1()

Dim X As Long

End Sub
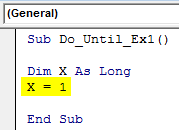
Step 4: Set the initial value to 1 for the variable X.
Code:
Sub Do_Until_Ex1()

Dim X As Long
X = 1

End Sub
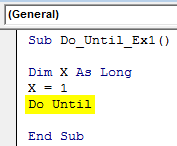
Step 5: Start the loop with the keywords Do Until.
Code:
Sub Do_Until_Ex1()

Dim X As Long
X = 1
Do Until

End Sub
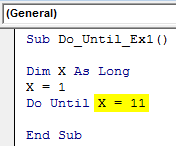
Step 6: Specify the criteria as X = 11 under Do Until. This condition allows the loop to break when it is True. It means the loop will run until the value of X = 11. The loop will terminate as soon as the value for X equals 11.
Code:
Sub Do_Until_Ex1()

Dim X As Long
X = 1
Do Until X = 11

End Sub
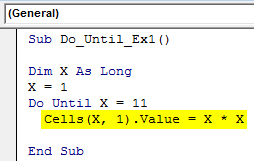
Step 7: Now, use VBA Cells. Value function to add the square of each number until X under the first column.
Code:
Sub Do_Until_Ex1()

Dim X As Long
X = 1
Do Until X = 11
  Cells(X, 1).Value = X * X

End Sub
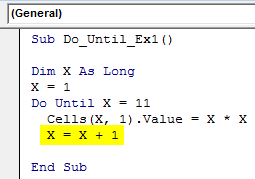
Step 8: Again, we need to set the increment in X by 1 so that every time the loop runs and checks the condition, it will go to the following number and store a squared value of it in the respective cell until number 11.
Code:
Sub Do_Until_Ex1()

Dim X As Long
X = 1
Do Until X = 11
  Cells(X, 1).Value = X * X
  X = X + 1

End Sub
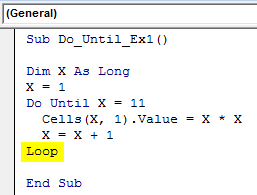
Step 9: Complete this Do Until loop by entering the keyword “Loop” at the end of the code.
Code:
Sub Do_Until_Ex1()

Dim X As Long
X = 1
Do Until X = 11
  Cells(X, 1).Value = X * X
  X = X + 1
Loop

End Sub
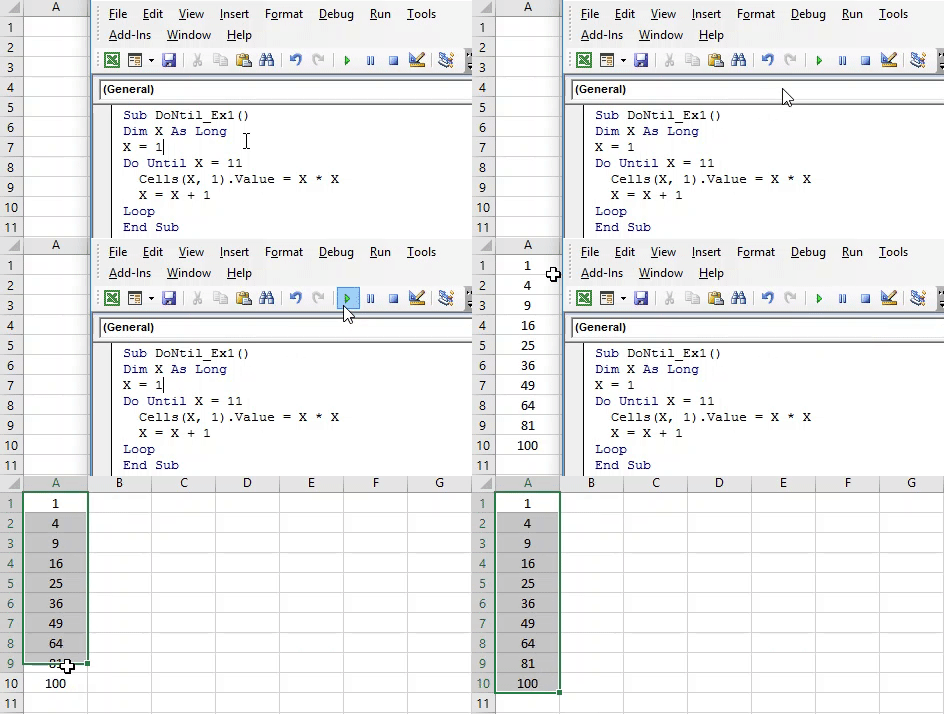
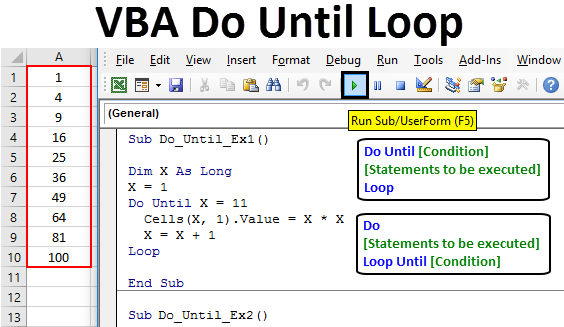
In this code, We wanted to have squared values for numbers starting from 1 until 11 (As soon as a value is 11, the loop terminates). The values will get stored under each cell of the Excel sheet (until cell number 11). The increment of 1 unit allows a number every time to be increased by 1 in the previous value of X, and the squared value of that number is printed in the respective cell. For example, the Squared value for 3 will be printed under the 3rd cell of the active Excel sheet. This loop runs as long as X is not equal to 11. Therefore, from cell A1 to cell A10, we get the squared number values starting from 1 to 10 (at number 11 loop terminated).
Step 10: Hit the Run button or press the F5 key to run this code and see the output.
Example #2 – Do Until loop when conditions are checked at the end of the loop
Follow the below steps to apply the Do Until loop in Excel VBA.
Step 1: Define a new sub-procedure under the VBE module.
Code:
Sub Do_Until_Ex2()
End Sub
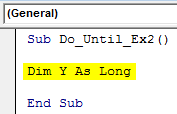
Step 2: Define a variable “Y” with the data type as “Long.” This variable will help loop up the conditions.
Code:
Sub Do_Until_Ex2()
Dim Y As Long

End Sub
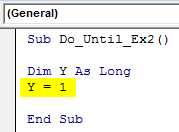
Step 3: Set the initial value of the variable “Y” as 1.
Code:
Sub Do_Until_Ex2()
Dim Y As Long
Y = 1

End Sub
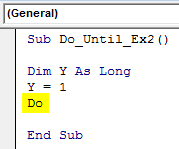
Step 4: Add the Do condition by typing Do on the next line after setting the initial Y value to 1.
Code:
Sub Do_Until_Ex2()
Dim Y As Long
Y = 1
Do

End Sub
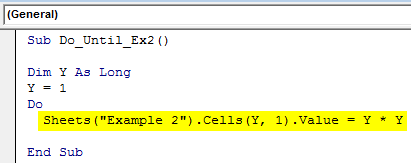
Step 5: Add the piece of code that you want to be executed under the Do loop. Here we will be taking the same example as above (it will help us know how the outputs are the same, but compilations are different for two of these codes).
Code:
Sub Do_Until_Ex2()
Dim Y As Long
Y = 1
Do
  Sheets("Example 2").Cells(Y, 1).Value = Y * Y

End Sub
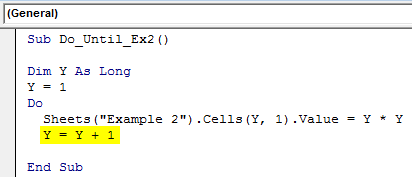
Step 6: To increase the value by 1 unit after each iteration of the loop, set a command for that within the Do section.
Code:
Sub Do_Until_Ex2()
Dim Y As Long
Y = 1
Do
  Sheets("Example 2").Cells(Y, 1).Value = Y * Y
  Y = Y + 1

End Sub
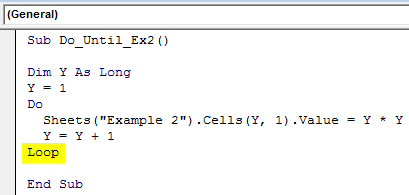
Step 7: Add a closing statement for this loop with the keyword as “Loop.”
Code:
Sub Do_Until_Ex2()
Dim Y As Long
Y = 1
Do
  Sheets("Example 2").Cells(Y, 1).Value = Y * Y
  Y = Y + 1
Loop

End Sub
Hold on! There is something more. You must add the until criteria/condition under this loop, this time after the Loop keyword. It will allow the compiler to check the condition at the end of the loop.
Step 8: Add until Y = 11 as a condition after Loop Keyword.
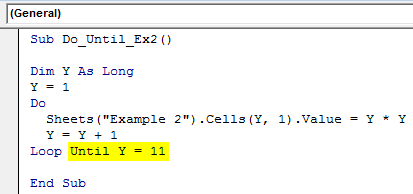
Code:
Sub Do_Until_Ex2()
Dim Y As Long
Y = 1
Do
  Sheets("Example 2").Cells(Y, 1).Value = Y * Y
  Y = Y + 1
Loop Until Y = 11

End Sub
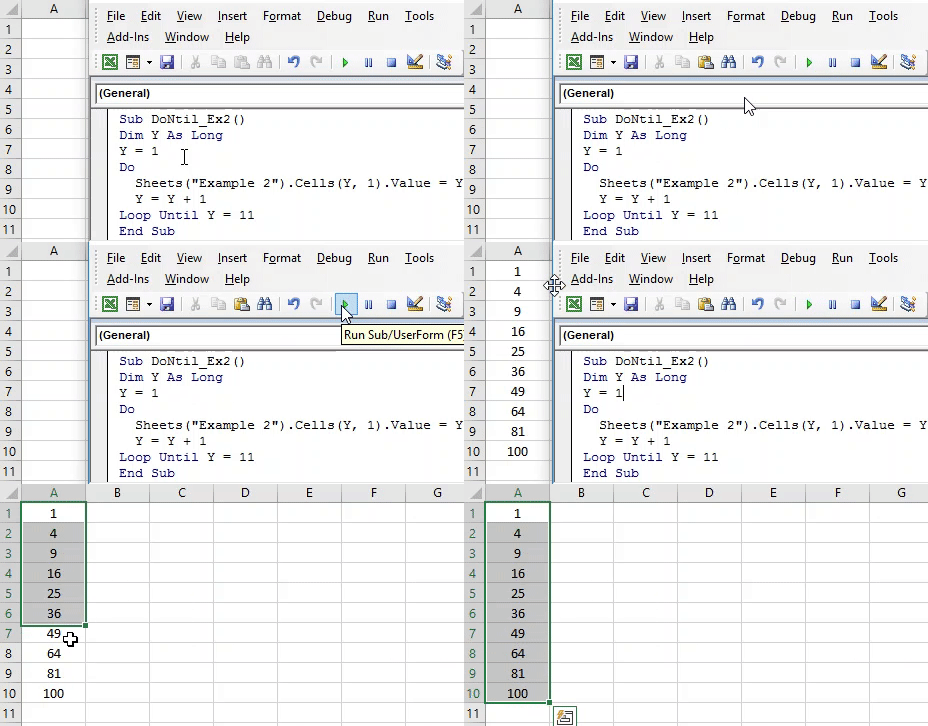
Step 9: Run this code by hitting the F5 or the Run button and see the magic under the sheet named “Example 2”.
How does this code work?
The system squares up to the value of Y every time under the loop and stores it under the second column of the sheet named “Example 2” row by row. After every iteration, the current value of Y is increased by 1 unit, and the updated value is squared and stored up. If the value is less than the criterion value (Y = 11), the code will do the square and store it up. As soon As the value compiler reaches value Y = 11, it stops executing the code and terminates the same.
Both codes give a similar output, but logically there is a difference in compilations for both. The first type of code checks the condition at the beginning of the loop. If the condition evaluates to False, the loop proceeds to evaluate the next expression. However, in the second example, the code starts running a loop and executing Do statements at the start (storing the values in a buffer memory for the execution statements). At the end of the loop, the compiler comes up with a criterion and checks the same with the buffer value.
Things to Remember
- VBA Do Until is precisely the reverse case of Excel VBA Do While. VBA Do While loop runs as long as the condition is TRUE. Once the condition is FALSE, the Do While loop gets terminated. On the other hand, VBA Do Until runs as long as the condition is FALSE. The loop terminates as soon as the condition evaluates to TRUE.
- It has two ways of proceedings, one where the condition is checked at the start of the loop and the other where the condition is checked at the end of the loop.
Recommended Articles
This is a guide to VBA Do Until Loop. Here we discuss how to use Excel VBA Do Until Loop, some practical examples, and a downloadable Excel template. You can also go through our other suggested articles –
