Excel VBA GetObject
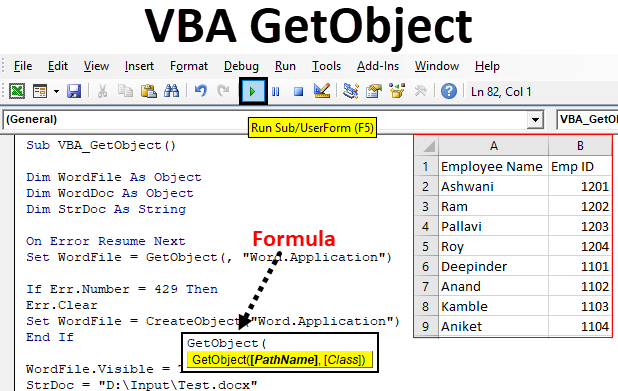
VBA GetObject, as the name, seems like we need to create a code for getting or creating an object. But in fact, it is the process of getting the Tables from any word to excel file. In VBA GetObject, we fetch the data from a word file by putting the location where it is kept and append any number of tables from that Word into the Excel sheet.
Syntax of VBA GetObject
Syntax is explained as shown below:
- PathName = Here we will be giving the path to the Word document where it is kept. This field is optional.
- Class = Here, we need to define the Class of Object function. This one is too optional. But if we are not defining the PathName in the syntax then Class will be must to define.
Both the arguments of the syntax are optional. But anyone of them should be defined.
Here, we will be using appname.objecttype to define the Class. AppName will be the application or type of file from which we will be fetching the data and Objecttype will be kind of file application we will be using.
Example of GetObject Function in Excel VBA
We will be seeing, how to fetch the data which is in the form of Table in a word document and append that data in Excel worksheet.
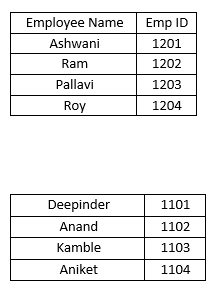
For this, we require such data in word file. Here, we are having a word file below, which has 2 tables of Employee name and Employee ID.
We have saved this file somewhere in our local drive which is easy to access. Follow the below steps to use GetObject function in Excel VBA.
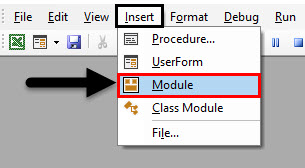
Step 1: Go to VBA window and open a Module from the Insert menu tab as shown below.
Step 2: In the newly opened Module, write the subcategory of VBA GetObject or you can choose any other name as per need.
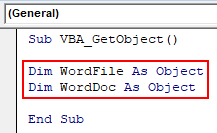
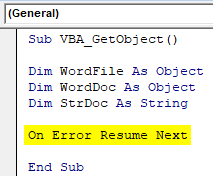
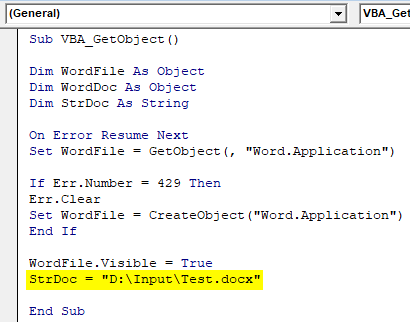
Step 3: First, define the 2 Object variable to access the Object prepared by VBA GetObject.
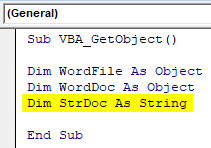
Step 4: We would need another variable for which we will store the location of File as String.
Step 5: To avoid any break if an error occurs we will keep resuming the next step.
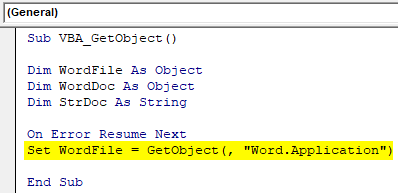
Step 6: Now we would use GetObject function and set it as WordFile object. Keeping Path blank, we will define the Class as Word.Application where Word is the application of Microsoft.
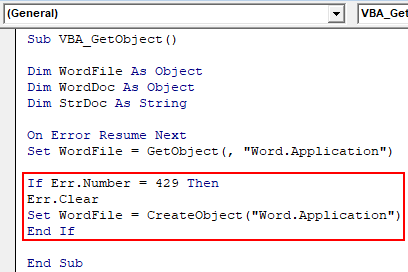
Step 7: To avoid error number 429 which usually occurs in this case, we will clear it as it happens.
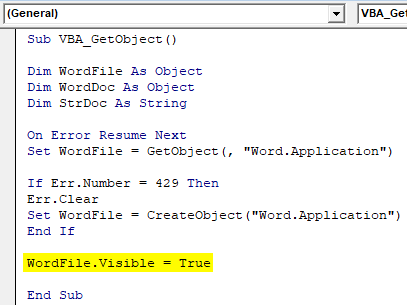
Step 8: Now make the created Object variable WordFile visible.
Step 9: As we haven’t defined the path, so we will assign file location to StrDoc along with the extension.
Step 10: If we did not find anything in the word file, then we should be getting a message prompting that “No Data Available” or “Document Not Found”. And this would be done in If-End If loop.
Step 11: Now activate the Word file.
Step 12: Do the same procedure for setting WordDoc as well. If WordDoc is nothing then we will open the file from the location where it is kept.
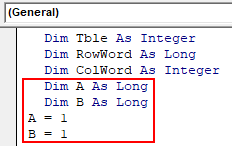
Step 13: Now we will need to define the variables which will help in accessing the table from Word document. By this we will be creating a Table with Rows and Columns.
Step 14: As we all know the vertex of cells is 2 dimensional. So starting from 1st cell, we would need 2 variable where we will define the location from where we need to start our table in Excel. Here, we have considered that position at (1, 1) which is at 1st cell of the sheet.
Step 15: At this stage, we need to check the number of tables in Word file. And if there are no tables found then we should be getting the message for that.
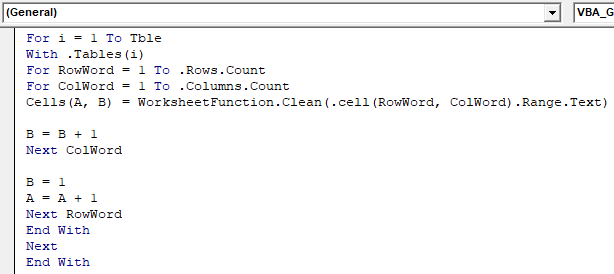
Step 16: In this step, we need to access the table from Word document and map that in Excel file. For this, we will use For loop for each row and column.
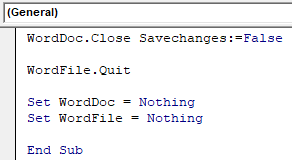
Step 17: At last we will quit the document once it appends the data from word to excel file without saving the file.
Step 18: Now Run the above code by pressing the F5 key or by clicking on the Play button.
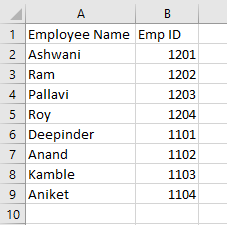
We will see, the data which we have seen at the starting of the article which was separate in 2 different tables, is now appended in a single table in the excel sheet.
Below is the complete code in one sequence:
Code:
Sub VBA_GetObject()

Dim WordFile As Object
Dim WordDoc As Object
Dim StrDoc As String

On Error Resume Next
Set WordFile = GetObject(, "Word.Application")

If Err.Number = 429 Then
Err.Clear
Set WordFile = CreateObject("Word.Application")
End If

WordFile.Visible = True
StrDoc = "D:\Input\Test.docx"

If Dir(StrDoc) = "" Then
MsgBox StrDoc & vbCrLf & "Not Found in mentioned Path" & vbCrLf & "C:\Input Location", vbExclamation, "Document name not found"
Exit Sub
End If

WordFile.Activate

Set WordDoc = WordFile.Documents(StrDoc)

If WordDoc Is Nothing Then Set WordDoc = WordFile.Documents.Open("D:\Input\Test.docx")
WordDoc.Activate

  Dim Tble As Integer
  Dim RowWord As Long
  Dim ColWord As Integer
  Dim A As Long
  Dim B As Long
A = 1
B = 1

With WordDoc
Tble = WordDoc.Tables.Count
If Tble = 0 Then
MsgBox "No Tables Avaiable", vbExclamation, "Nothing To Import"
Exit Sub
End If

For i = 1 To Tble
With .Tables(i)
For RowWord = 1 To .Rows.Count
For ColWord = 1 To .Columns.Count
Cells(A, B) = WorksheetFunction.Clean(.cell(RowWord, ColWord).Range.Text)

B = B + 1
Next ColWord

B = 1
A = A + 1
Next RowWord
End With
Next
End With

WordDoc.Close Savechanges:=False

WordFile.Quit

Set WordDoc = Nothing
Set WordFile = Nothing

End Sub
Pros of Excel VBA GetObject
- It is quite useful in importing the big set of data from word file to excel file.
- We can import any kind of data from any kind of file just by changing the extension of it.
Things to Remember
- Close all the word files before running the code.
- Give the proper extension to the file which is being used.
- GetObject cannot be used to access the reference to class.
Recommended Articles
This is a guide to VBA GetObject. Here we discuss how to use GetObject function in VBA to fetch the data from a word file into the excel sheet along with a practical example and downloadable excel template. You can also go through our other suggested articles –
