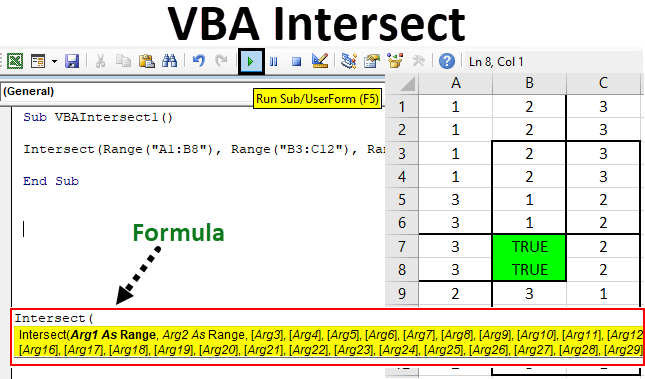
Excel VBA Intersect
VBA Intersect in mathematics or in geometry means when two or more lines or area crosses each other. The common point or area created after that is called Intersection point or area. In excel also we can highlight and measure the Intersect area.
Syntax of Intersect Function in Excel VBA
Intersect function has the following syntax in Excel VBA :
As we can see, Arg1 and Arg2 are mentioned, Range. And rest of the arguments are in brackets. Which means that the first two arguments must be selected as Range. Or in other words, minimum 2 areas must be included for finding Intersect. Rest of the arguments can be selected as Range or it can include some other things or parameters as well as per need. This syntax can accommodate a maximum of 30 Arguments.
How to Use Excel VBA Intersect Function?
We will learn how to use a VBA Intersect function with few examples in Excel.
VBA Intersect – Example #1
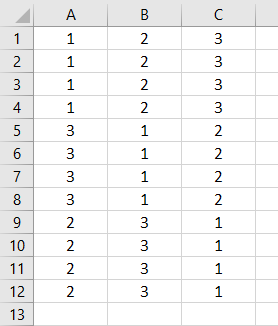
In the first example, we will highlight and create Intersection area when we have some dataset. For this, we have sample data which has 3 columns filled with numbers as shown below.
Now we need to find the area of intersection of an above data table using VBA Intersect. For this, follow the below steps:
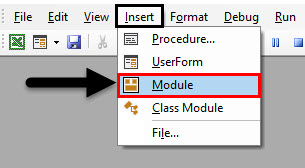
Step 1: Go to the VBA window and open a Module from the Insert menu option as shown below.
We will get a blank window of the module.
Step 2: Now write Subcategory of VBA Intersect or in any other name as per your choice.
Code:
Sub VBAIntersect1()

End Sub
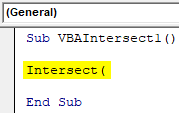
Step 3: Now directly insert Intersect command as shown below.
Code:
Sub VBAIntersect1()

Intersect(

End Sub
As we already explained the detailed syntax of Intersect, we will add an area of intersection. We can choose N number of ranges but a minimum of two Ranges should be there.
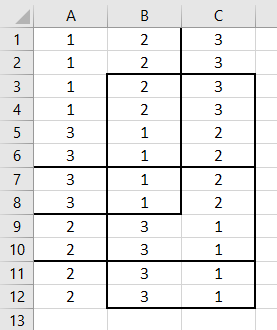
Let’s consider below an area of intersection where the first area is from A1 to B8, the second area is B3 to C12 and the third area is A7 to C10. We can consider and choose any combination of a pattern of intersections.
Now let’s see at what point (/s) these areas meet and intersect each other. The common area created by all the above areas will be our area of intersection.
Step 4: Now in VBA Module of Intersect, select the first area range as shown below.
Code:
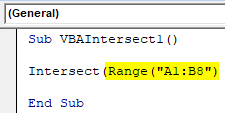
Sub VBAIntersect1()

Intersect(Range("A1:B8")

End Sub
We have added the first range, but our syntax is still incomplete.
Step 5: Now further insert rest of two areas which we have discussed above separated by commas.
Code:
Sub VBAIntersect1()

Intersect(Range("A1:B8"), Range("B3:C12"), Range("A7:C10"))

End Sub
Step 6: Now give the condition as “True”.
Code:
Sub VBAIntersect1()

Intersect(Range("A1:B8"), Range("B3:C12"), Range("A7:C10")) = True

End Sub
This completes our code.
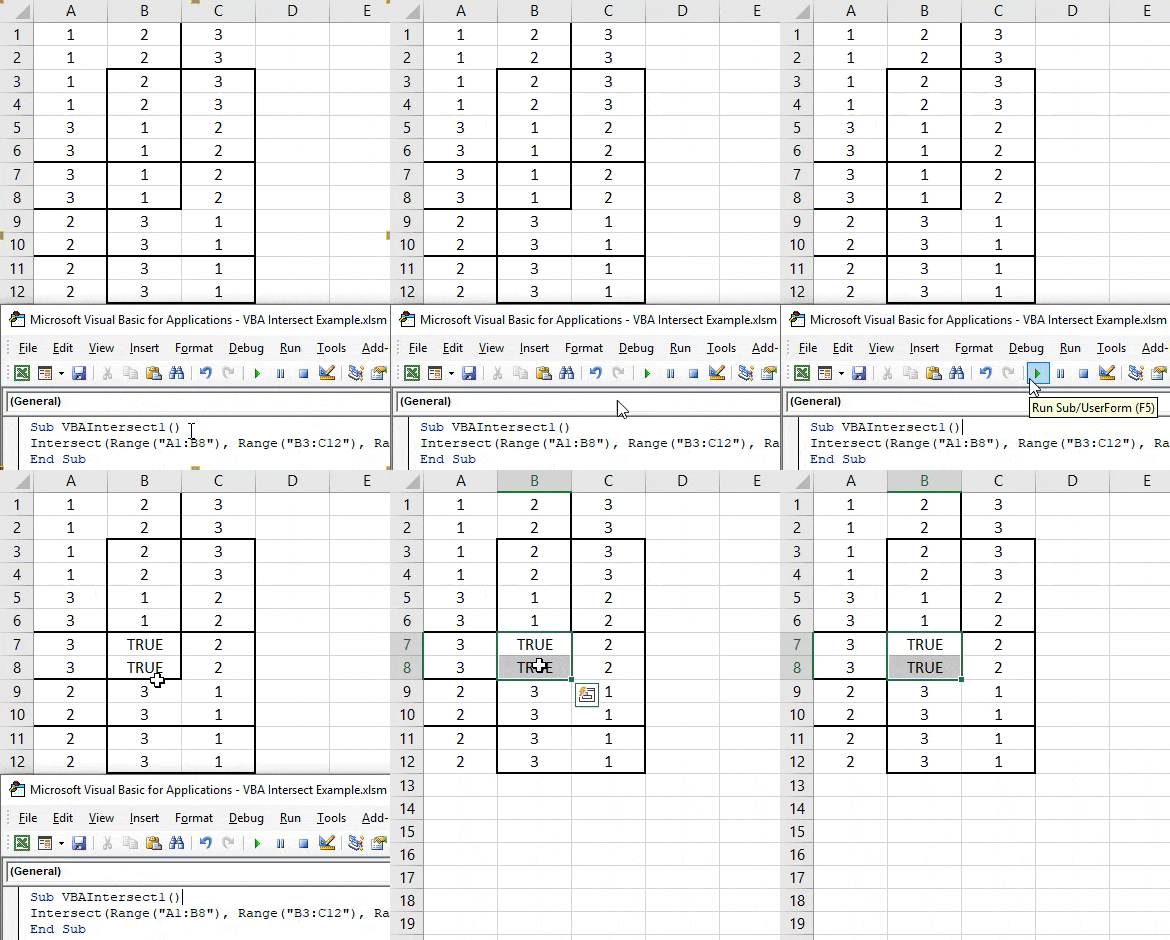
Step 7: Now compile the code and run by clicking on the Play button which is located below the menu bar as shown below.
We will get the common area or intersected area which has value TRUE as shown above. Although we got the intersect area, that TRUE has replaced the data which was there in the intersected area.
Step 8: Now to avoid losing this we can change the background of color, those common cells to any color of our choice. For this after the syntax of Intersect use Interior function along with Color as shown below.
Code:
Sub VBAIntersect1()

Intersect(Range("A1:B8"), Range("B3:C12"), Range("A7:C10")).Interior.Color =

End Sub
Step 9: Now in VBA, we cannot use the name of the color which we want to use directly. For this, we need to add “vb” which is used to activate the colors available in VBA. Now use it and add any name of the color of your choice. We are selecting Green here as shown below.
Code:
Sub VBAIntersect1()

Intersect(Range("A1:B8"), Range("B3:C12"), Range("A7:C10")).Interior.Color = vbGreen

End Sub
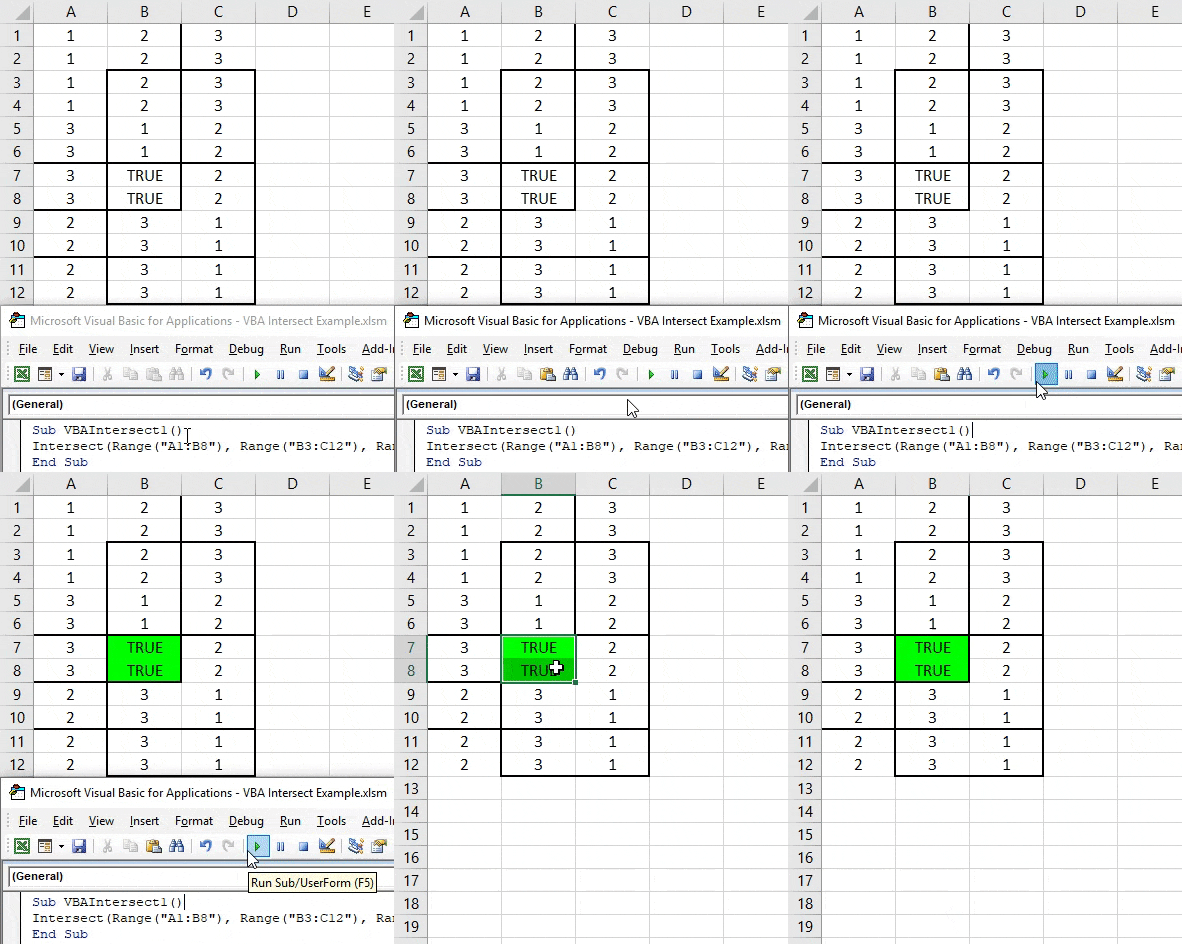
Step 10: Now again compile the written code in one go as the code is quite small and run it.
We will see the color of the intersected area is changed to Green and common area which is created by the intersection of different 3 areas in B7 to B8.
VBA Intersect – Example #2
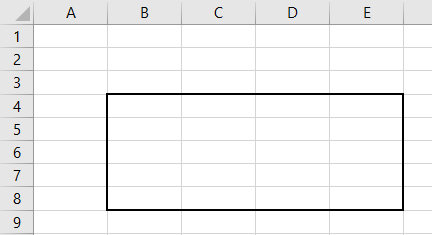
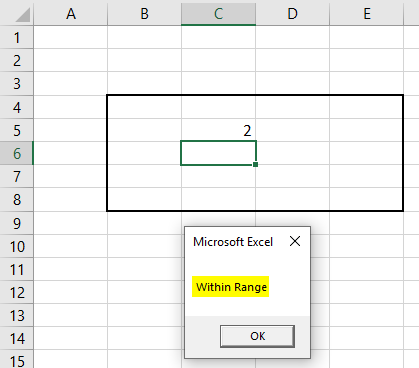
There is another but a quite a different way to use VBA Intersect. This time we use intersect in a specific worksheet. In Sheet2 we have marked an area from B4 to E8 as shown below.
Follow the below steps:
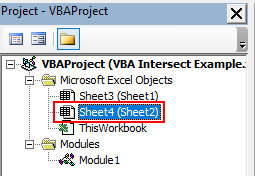
Step 1: In VBA, go to Sheet2 of current Workbook as shown below.
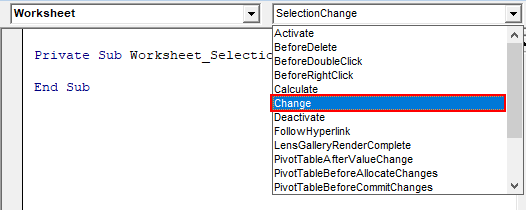
Step 2: Now select the Worksheet from this first drop down option. This will allow the code to be used in this current sheet only.
Step 3: And from the second drop-down select the option Change as shown below. This is used to target the changes done in the selected range.
Step 4: We will write our code in the first Subcategory only.
Code:
Private Sub Worksheet_Change(ByVal Target As Range)

End Sub
Step 5: We will use the If-Else loop for forming a condition for intersect function.
Code:
Private Sub Worksheet_Change(ByVal Target As Range)

If

End If

End Sub
Step 6: First select the target range from B4 to E8 as shown below. This will target intersect of the area covered in B4 to E8 mainly.
Code:
Private Sub Worksheet_Change(ByVal Target As Range)

If Intersect(Target, Range("B4:E8"))

End If

End Sub
Step 7: And if there is nothing in the target area then we need to write a statement which will redirect the code ahead.
Code:
Private Sub Worksheet_Change(ByVal Target As Range)

If Intersect(Target, Range("B4:E8")) Is Nothing Then

End If

End Sub
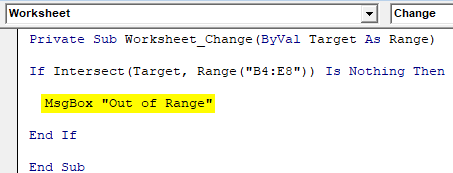
Step 8: And if really the target is out of range, we can use a message box with a message of alert as shown below.
Code:
Private Sub Worksheet_Change(ByVal Target As Range)

If Intersect(Target, Range("B4:E8")) Is Nothing Then

  MsgBox "Out of Range"

End If

End Sub
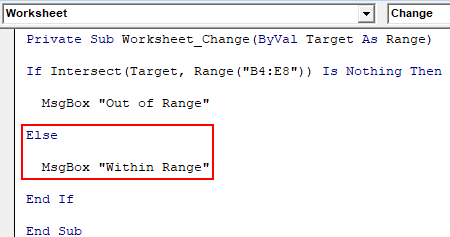
Step 9: And In the Else statement where something in written inside the box then we should get a prompt message if the written content is inside the box as shown below.
Code:
Private Sub Worksheet_Change(ByVal Target As Range)

If Intersect(Target, Range("B4:E8")) Is Nothing Then

  MsgBox "Out of Range"

Else

  MsgBox "Within Range"

End If

End Sub
Step 10: Now compile each step of written code and close the worksheet of VBA. As we have written the code specific to the sheet then it will work in the same.
Step 11: Now write something inside the box.
As we can see we wrote 2 in cell C5 inside the box we got the message or “Within Range”.
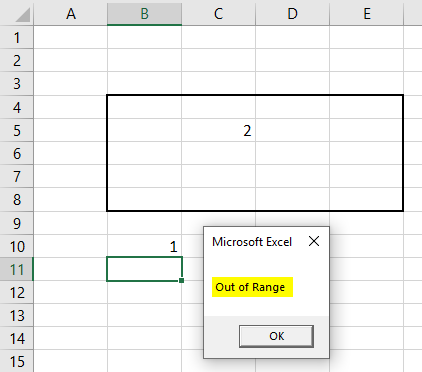
Step 12: Again write something out of the box. We wrote 1 in cell B10 and we got the message of “Out of Range” as shown below.
This is another way to using Intersect in Excel VBA.
Pros of Excel VBA Intersect
- It is very easy to at least highlight the area which intersects by the process of example-1.
- This is very useful where we need to filter or work on that kind of data which has intersection from a different area such as Dates, Owner, etc.
Things to Remember
- Remember to save the file in Macro Enable Excel format, so that code will function in every use.
- Writing code in Sheet instead of the module as shown in example-2, make the code applicable only for that sheet. That code will not work on any other sheet.
- Using Target Range as shown in example-2 is useful in specifying the area to hit.
Recommended Articles
This is a guide to VBA Intersect. Here we discuss how to use Excel VBA Intersect Function along with some practical examples and downloadable excel template. You can also go through our other suggested articles –

