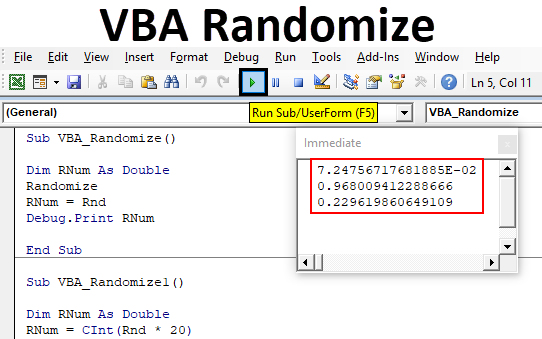
Excel VBA Randomize
To randomize the list in Excel, we must have a little large set of data from which we can select a random population. This process is also known as sampling the Randomize List in Excel. It can be done using RAND function, which creates random numbers each time when we press enter and all the created numbers are unique. RAND function generates the random number only between 0 and 1. Using RAND function along with INDEX and MATCH by which we can also generate the random numbers.
The main thing about VBA Randomize is that it does not have any syntax. We just need to use it along with RND function which has the syntax to apply.
How to Randomize a Number in Excel VBA?
Below are the different examples to Randomize a number in excel using VBA Rnd Function.
Excel VBA Randomize – Example #1
It is very easy to create customize random numbers by VBA Randomize. For this, follow the below steps:
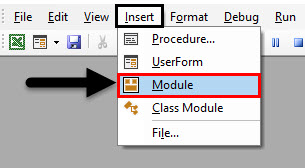
Step 1: Go to the VBA window, under the Insert menu tab select Module as shown below.
Step 2: Now write the subcategory of VBA Randomize or we can use any name to define the VBA code.
Code:
Sub VBA_Randomize()

End Sub
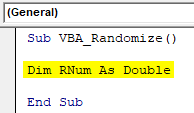
Step 3: Now define a variable. Here, we have considered the variable RNum as data type Double. The logic behind using Double is that we will get minor changes in generated random numbers. Double will help us to see the numbers in decimals.
Code:
Sub VBA_Randomize()

Dim RNum As Double

End Sub
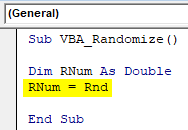
Step 4: Now assign the VBA RND function to defined variable RNum.
Code:
Sub VBA_Randomize()

Dim RNum As Double
RNum = Rnd

End Sub
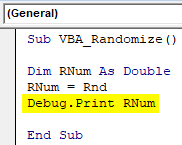
Step 5: Now to see the generation of random numbers, we will use Debug.Print which is used for printing the message.
Code:
Sub VBA_Randomize()

Dim RNum As Double
RNum = Rnd
Debug.Print RNum

End Sub
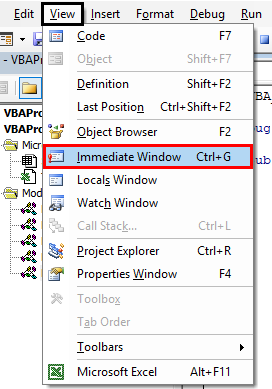
Step 6: To see the value or number generation, open the Immediate Window from the View menu list. Or we can use a short cut key as Ctrl + G to get this window.
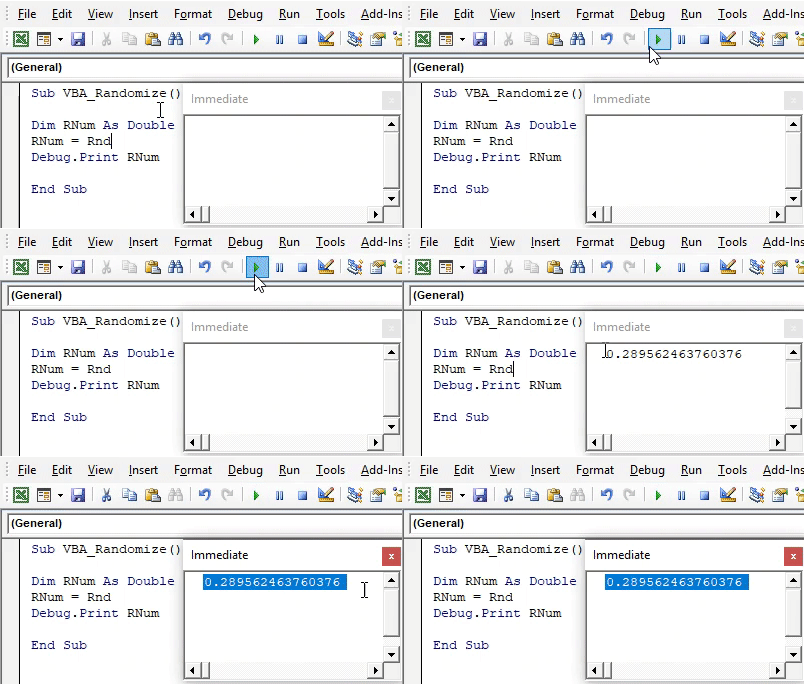
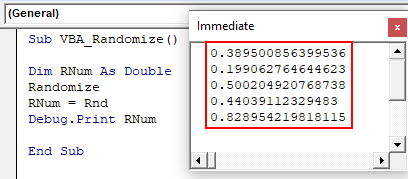
Step 7: Now compile the code and run it by clicking on the Play button located below the menu bar. We will see the first random number in immediate window as shown below.
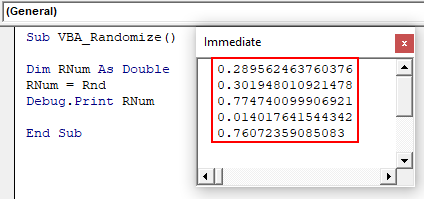
And if we run the code, again and again, multiple times, then we would see a few more random numbers.
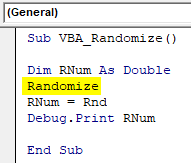
Step 8: Now if we apply Randomize before RND function, then it will change the seed input which RND function was getting.
Code:
Sub VBA_Randomize()

Dim RNum As Double
Randomize
RNum = Rnd
Debug.Print RNum

End Sub
Step 9: Again run the code multiple times to see what numbers are getting generated.
This is how Randomize function works in VBA if used with RND function.
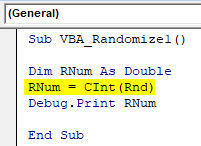
Let’s see some more experiment with the same coding. We will now use CInt function with RND which is used for Data type conversion. Which means, it will convert the generated random number as Double into Integers.
Code:
Sub VBA_Randomize1()

Dim RNum As Double
RNum = CInt(Rnd)
Debug.Print RNum

End Sub
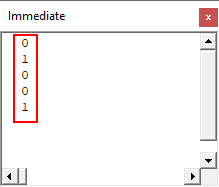
Now again run the code. We will see, now the random numbers are getting generated as Integers. But the values are in the range of 0 and 1.
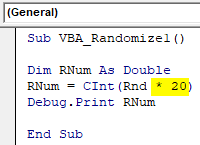
We have already seen, if we keep on using the Double, then the values were coming in between 0 to 1. This is because we used Randomize along with RND function. Now let’s multiply the RND function with any number. Let’s say 20.
Code:
Sub VBA_Randomize1()

Dim RNum As Double
RNum = CInt(Rnd * 20)
Debug.Print RNum

End Sub
Now again run the code.
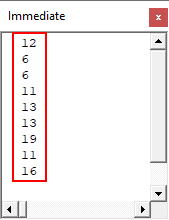
Now the scene is changed. The random values generated are greater than 0 but are less than 20.
Excel VBA Randomize – Example #2
There is another way to see how VBA Randomize works. We will apply some mathematical formula along with Randomize and see how to randomize helps in generating random values. But in this example, we will see the output in the message box. For this, follow the below steps:
Step 1: In a module, write the subcategory of VBA Randomize as shown below.
Code:
Sub VBA_Randomize2()

End Sub
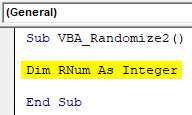
Step 2: Consider the same variable which we defined in the last example but as Integer.
Code:
Sub VBA_Randomize2()

Dim RNum As Integer

End Sub
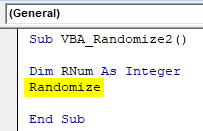
Step 3: Now select the Randomize function here before we start putting mathematical formula.
Code:
Sub VBA_Randomize2()

Dim RNum As Integer
Randomize

End Sub
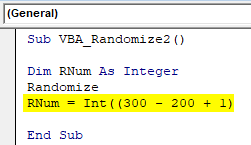
Step 4: Now consider any mathematical formula such as addition, subtraction as per your requirement as shown below.
Code:
Sub VBA_Randomize2()

Dim RNum As Integer
Randomize
RNum = Int((300 - 200 + 1)

End Sub
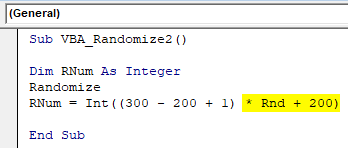
Step 5: Now use RND function as shown below.
Code:
Sub VBA_Randomize2()

Dim RNum As Integer
Randomize
RNum = Int((300 - 200 + 1) * Rnd + 200)

End Sub
You have noticed that we have used most of the mathematical expression which is generally used.
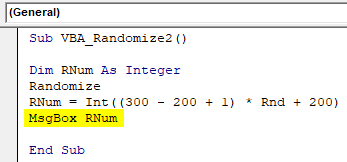
Step 6: Now use Msgbox with a defined variable to see the generated Random numbers.
Code:
Sub VBA_Randomize2()

Dim RNum As Integer
Randomize
RNum = Int((300 - 200 + 1) * Rnd + 200)
MsgBox RNum

End Sub
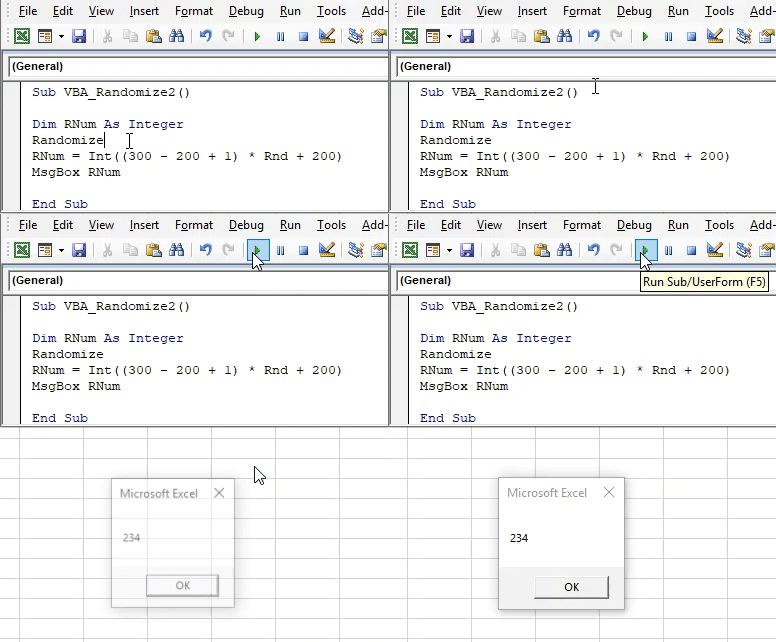
Step 7: Now run the code. We will get a random number as 234. This is because the number is multiplied by (300-200+1) and then added with 200. Which means that the random number is quite less in nature and because of mathematical expressions used, it is coming as 234.
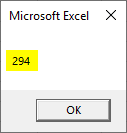
And we run the code again, it will give us the message as 294.
Pros of Excel VBA Randomize
- We can generate any random number between any ranges we want.
- As the range becomes limited but still there is no limit on the generation of random numbers.
- We can limit the range of random number generation which would be greater than 0.
Things to Remember
- Randomize can be used with different functions as well. But, using this with RND function gives the result which we need.
- Randomize gives random numbers between 0 and 1 if used alone with RND.
- If we use any other number or mathematical expression with RND, then Randomize will be generated the random numbers between the highest value could be generated.
- Once done, save the file in Macro Enable excel format.
- Randomize can be used where need to generate the random numbers but between some range seed inputs.
Recommended Articles
This is a guide to VBA Randomize. Here we discuss how to Randomize a number in Excel using VBA code along with practical examples and downloadable excel template. You can also go through our other suggested articles –
