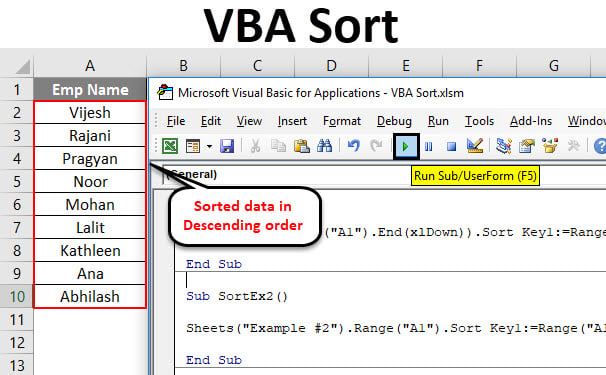
Excel VBA Sort
There are different ways to sort the data in Microsoft Excel. There is a sort icon under Excel Data tab ribbon from where you can sort your data in a jiffy and get the results. Why there is a need to write the complex VBA code then?
You need to keep it in your mind every time, VBA codes are there to automate the things. Suppose you have a data which gets updated every now and then. Maybe every Day, Weekly, Monthly, etc. and you need your data in a specific sorted manner. In such cases, VBA SORT function can be used and will come out as a handy tool for your reference.
VBA has a Range.Sort method to sort the data for you. Where Range specifies the range of cells which we want to sort out in ascending or descending order.
The syntax for Range.Sort is as given below:
Where,
- Key – Column/Range you need to sort. Ex. If you want to sort cells A1:A10, you should mention Range(A1:A10)
- Order – This is the parameter which allows you to sort the data in ascending or descending order.
- Header – This is the parameter which specifies whether your column/range has headers or not.
These three parameters are enough for our proceedings. However, there are some other parameters like MatchCase, SortMethod, etc. which you can always explore and see how they work.
How to Use Excel VBA Sort Function?
We will learn how VBA Sort can be used to sort the column without headers, a column with headers and Multiple columns with examples in excel.
VBA Sort Function – Example #1
Sorting single column without a header
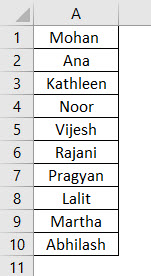
Suppose you have a column with names as shown below and all you need is to sort this data alphabetically in ascending or descending order.
Follow the below steps to use Sort function in VBA.
Step 1: Define a new sup-procedure under a module and create a macro.
Code:
Sub SortEx1()

End Sub
Step 2: Use Range.Sort function to be able to sort this column in ascending order.
Code:
Sub SortEx1()

Range("A1", Range("A1").End(xlDown)).Sort

End Sub
Here you are giving range starting from cell A1 to the last used/non-empty cell (see the function .End(xlDown)) to Range.Sort function.
Step 3: Now, input the argument values.
Code:
Sub SortEx1()

Range("A1", Range("A1").End(xlDown)).Sort Key1:=Range("A1"), Order1:=xlAscending, Header:=xlNo

End Sub
As we have discussed earlier, Key, Order, and Header are the important and necessary arguments to be provided. We have given Range(“A1”) as the column starting range which we need to sort. Order is provided as Ascending and Header as No (Which means column doesn’t have header).
This code will check for all non-empty cells starting from A1 and then sort them in ascending order starting from cell A1.
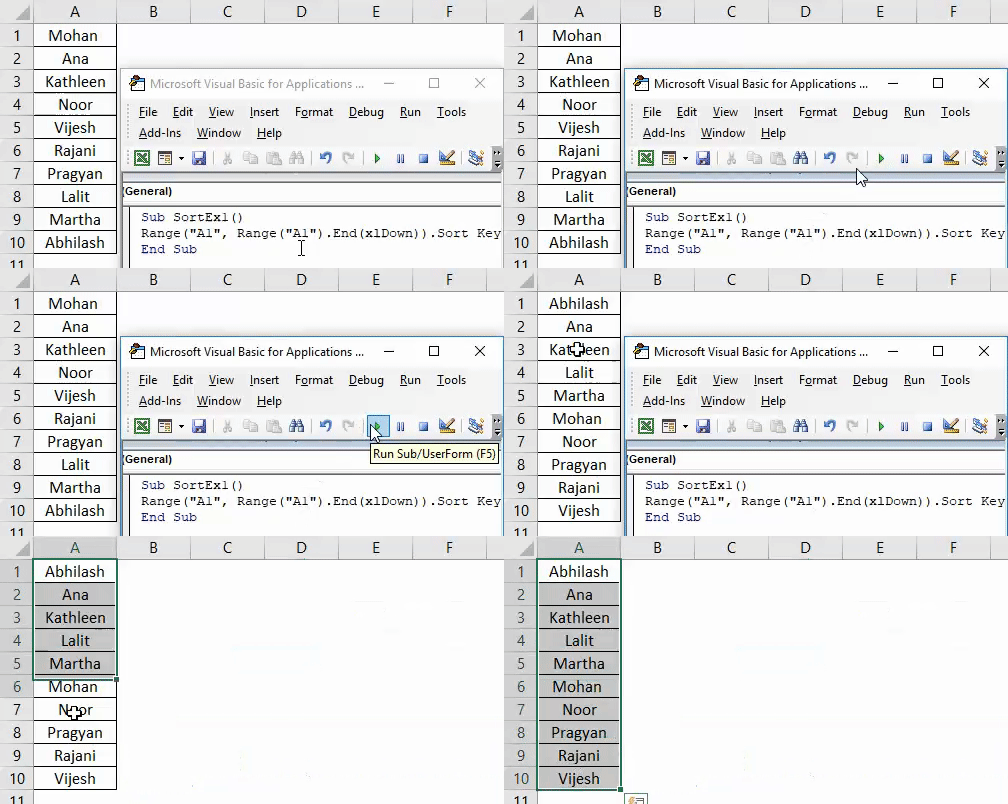
Step 4: Run this code by hitting F5 or Run button manually and see the output.
If you can compare this with the image at the start of this example, you can see that names are sorted in ascending order.
VBA Sort Function – Example #2
Sorting a Single Column with Header
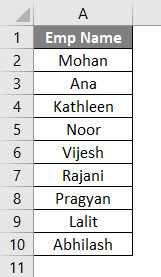
Suppose you have a column with the header as shown below. And you wanted to sort this column in ascending or descending order.
Follow the below steps to use Sort function in VBA.
Step 1: Define a new sub-procedure under a new model to store the macro.
Code:
Sub SortEx2()

End Sub
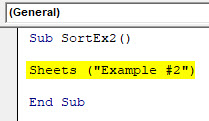
Step 2: Use Sheets(“Example #2”) to specify which sheet your data is.
Code:
Sub SortEx2()

Sheets ("Example #2")

End Sub
Step 3: Use Range(“A1”).Sort in front of the above code line to make it a sort function.
Code:
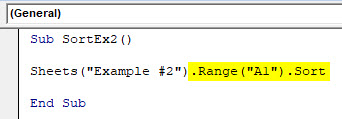
Sub SortEx2()

Sheets("Example #2").Range("A1").Sort

End Sub
Step 4: Provide Key1 as Range(“A1”) to sort the data from cell A1, Order1 in order to sort the data in ascending or descending order and Header as Yes in order to let the system know that first row is header in your data.
Code:
Sub SortEx2()

Sheets("Example #2").Range("A1").Sort Key1:=Range("A1"), Order1:=xlAscending, Header:=xlYes

End Sub
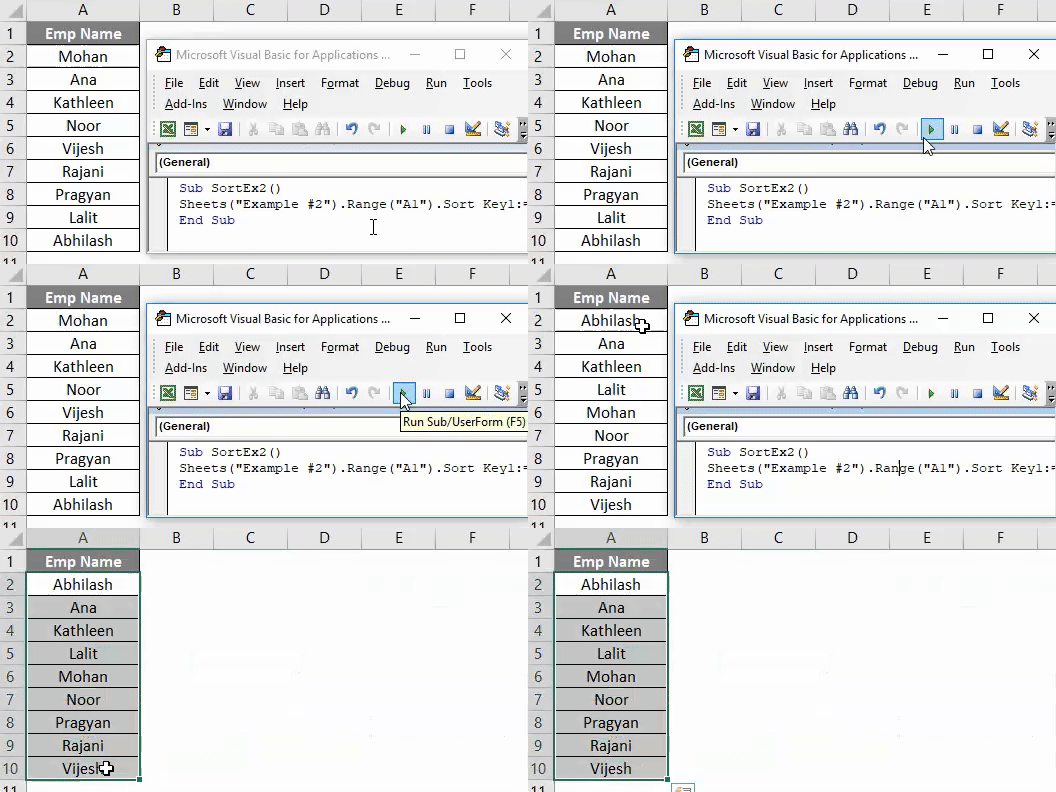
Step 5: Run this code by hitting F5 or Run button manually and See the output.
Here, the data from Example #2 of given excel workbook is sorted in ascending order given that it has a header. Which means that, while sorting this data, first row (which contains Emp Name) is neglected because it is considered as a header for this data in column A.
You can also sort the same data in descending order of alphabets. All you need to do is change the order from ascending to descending.
Step 6: Change order1 to descending in order to sort the data in descending order.
Code:
Sub SortEx2()

Sheets("Example #2").Range("A1").Sort Key1:=Range("A1"), Order1:=xlDescending, Header:=xlYes

End Sub
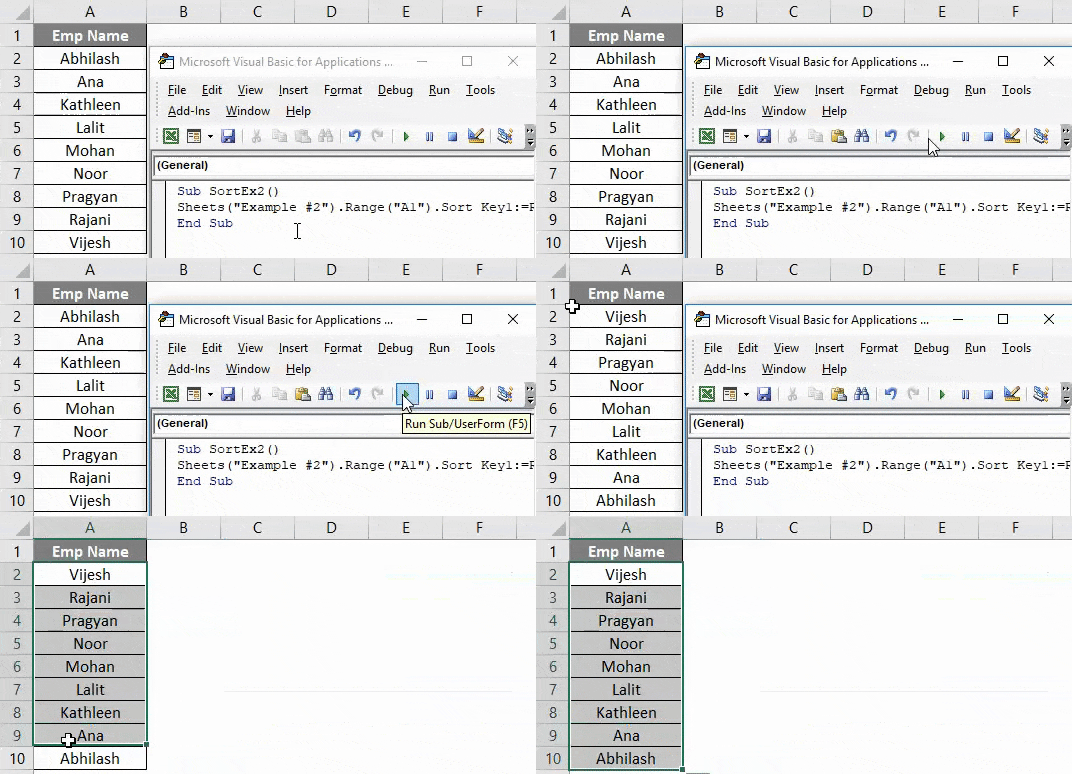
Step 7: Run the code and see an output as given below.
You can see that the data is sorted in Descending order.
VBA Sort Function – Example #3
Sorting Multiple Columns with Headers
Till now, we have covered how to sort a single column data in ascending or descending order (without header and with header). What if you have data which you need to sort based on multiple columns? Is it possible to write a code for the same?
The answer is, “Yes, surely it can be done!”
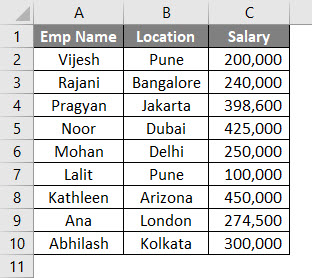
Suppose you have data as given below:
You wanted to sort this data first by Emp Name and then by Location. Follow the below steps to see how we can code it in VBA.
Step 1: Define a new sub-procedure to add a macro under a new module.
Code:
Sub SortEx3()

End Sub
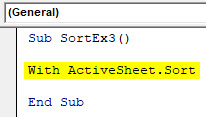
Step 2: Use a With… End With statement to add multiple sort conditions in a single loop.
Code:
Sub SortEx3()

With ActiveSheet.Sort

End Sub
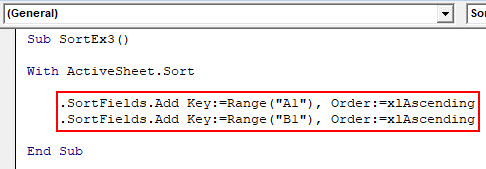
Step 3: Now, use SortFields.Add to add the multiple sort conditions in the same worksheet.
Code:
Sub SortEx3()

With ActiveSheet.Sort

   .SortFields.Add Key:=Range("A1"), Order:=xlAscending
   .SortFields.Add Key:=Range("B1"), Order:=xlAscending

End Sub
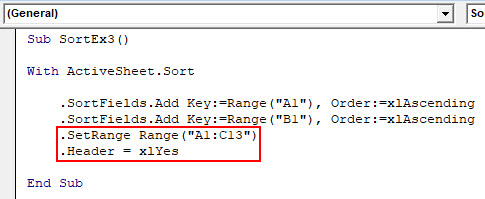
Step 4: Decide sheet range to be sorted and header In next step.
Code:
Sub SortEx3()

With ActiveSheet.Sort

    .SortFields.Add Key:=Range("A1"), Order:=xlAscending
    .SortFields.Add Key:=Range("B1"), Order:=xlAscending
    .SetRange Range("A1:C13")
    .Header = xlYes

End Sub
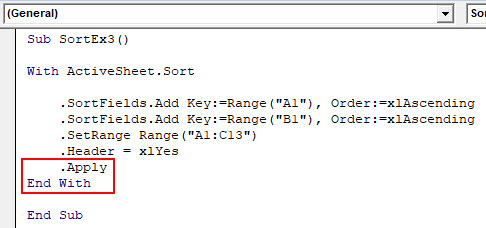
Step 5: Use .Apply to apply all these things under with statement and close the loop writing End With.
Code:
Sub SortEx3()

With ActiveSheet.Sort

    .SortFields.Add Key:=Range("A1"), Order:=xlAscending
    .SortFields.Add Key:=Range("B1"), Order:=xlAscending
    .SetRange Range("A1:C13")
    .Header = xlYes
    .Apply
End With

End Sub
Step 6: Run this code by hitting F5 or Run button manually and see the Output.
In this code, ActiveSheets.Sort helps the system identify the sheet under which data is to be sorted. SortFields.Add allows adding two sorting conditions with their order (Ascending in both cases). SetRange allows the system to set the range from A1 to C13. You can move this range up as well. Apply statements allows the system to apply all the changes made in With loop.
Finally, you’ll get the data which is sorted based on Emp Name First and then by Location.
Things to Remember
- Under VBA Sort, you can create named ranges instead of cell references and use the same. Ex. If you have created the named range for cell A1:A10 as “EmpRange”, you can use it under Range.Sort like Range(“EmpRange”).
- You can sort the data in ascending as well as in descending order same as that of in excel.
- If you are not sure whether your data has a header or not, you can use xlGuess under Header section to let system guess whether the first line of data is a header or not.
Recommended Articles
This has been a guide to Excel VBA Sort. Here we discussed VBA Sort and how to use Excel VBA Sort Function along with practical examples and downloadable excel template. You can also go through our other suggested articles –

