Updated May 22, 2023
VBA TIMER
Excel VBA TImer is used for detecting and calculating the time passed for completing any activity. In Excel VBA TIMER function can be used in many ways. We can calculate the time to complete any activity; we can calculate the time required to reach from start to end phase of any activity; or even we can calculate the time required to click on any function as well.
This function cannot be performed in Excel. In Excel, we can only see the time and add it to any cell but cannot measure it as Timer.
Examples of VBA TIMER
Following are the different examples:
Example #1
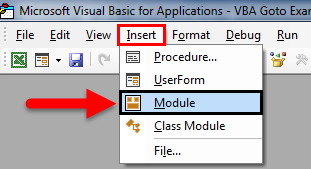
In this example, we will see how to count or measure the time to run the completed code. For this, go to the insert menu of VBA and select a Module as shown below.
Once we do that, it will open a new module, as shown below. Write the sub-category of the current function name or any other name you choose.
Code:
Sub Timer1()

End Sub
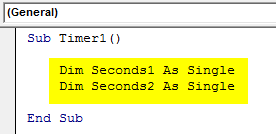
Now define two dimensions as Seconds1 and Seconds2 as a SINGLE function, which means there were two individual single number data (Without decimal).
Code:
Sub Timer1()

    Dim Seconds1 As Single
    Dim Seconds2 As Single

End Sub
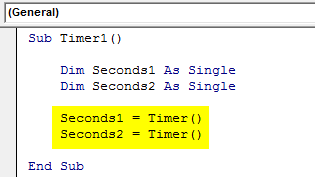
To Start the Timer, select the defined dimension Seconds1 and assign the function TIMER. And do the same thing for another dimension Seconds2 as shown below. The purpose of doing this is to measure the start and end of the time.
Code:
Sub Timer1()

    Dim Seconds1 As Single
    Dim Seconds2 As Single

    Seconds1 = Timer()
    Seconds2 = Timer()

End Sub
This completes the timer portion of the code. Now we need to see the time-lapse in running the code. We need to print the output in the message box, as shown below.
In the below screenshot, we printed the text “Time taken:” and the difference between Seconds2 and Seconds1 with unit seconds.
Code:
Sub Timer1()

    Dim Seconds1 As Single
    Dim Seconds2 As Single

    Seconds1 = Timer()
    Seconds2 = Timer()

    MsgBox ("Time taken:" & vbNewLine & Seconds2 - Seconds1 & " seconds")

End Sub
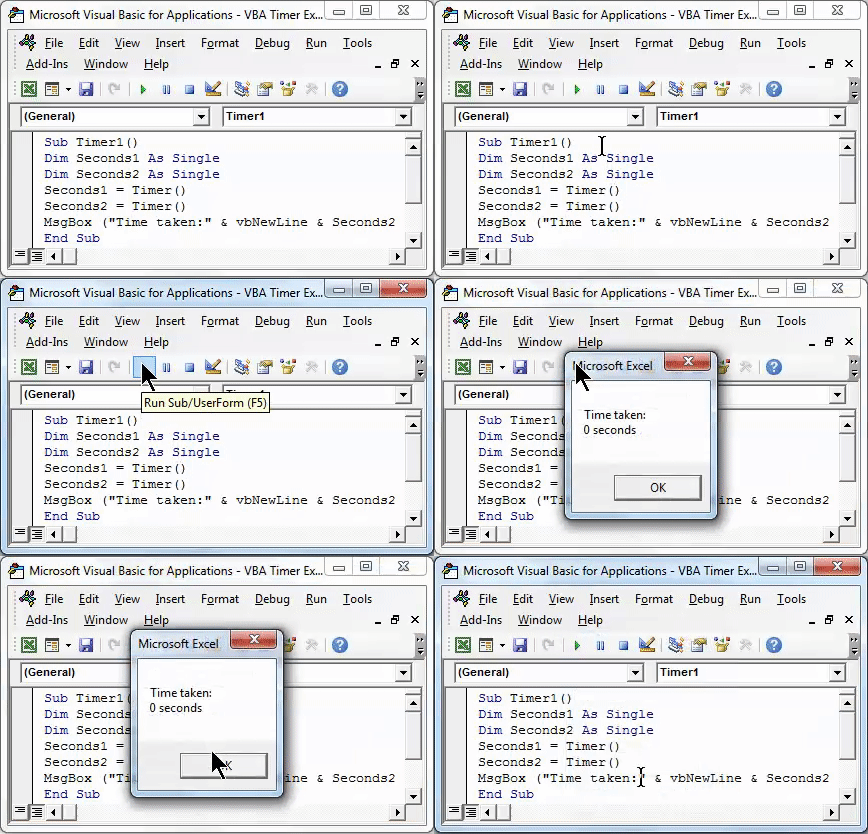
Once done, run the complete code using the F5 key or click the play button as shown below.
We will see a message box with a counted time of 0 Seconds, as the time required to run the complete code was 0.
We may see slightly more differences if the written code is huge.
Example #2
There is another method where we can choose a time-lapse of any small amount of waiting time and let the user or operator wait till the process gets completed. This can be used to create a tool or macro with a huge line of code structure. Doing this will allow the user to wait for the whole code to run and the operation to complete because doing something when the code is running may crash the file.
For this, open a new module and write the Sub-category in the name of the required function or any name, as shown below.
Code:
Sub Timer2()

End Sub
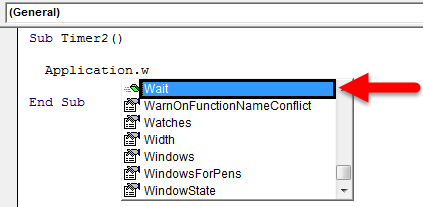
Now to make this code small and simple, we will use the inbuilt functions of VBA. And for this type of Application, follow a dot (.), and then, from the list search, select the Wait function as shown below.
This Wait function will allow us to add waiting time till the complete code may get run. This wait time is Boolean. After that, when running the program, it will display the execution time as 0 seconds plus the desired waiting time using TimeValue.
Code:
Sub Timer2()

  Application.Wait Now + TimeValue("00:00:10")

End Sub
Here we consider 10 seconds as the waiting time to complete the code run.
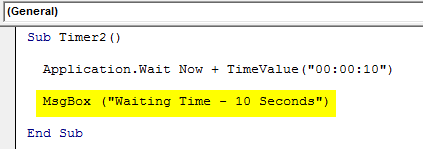
To print the waiting time, we need to print the message in the message box with the help of the command MsgBox, as shown below.
Code:
Sub Timer2()

  Application.Wait Now + TimeValue("00:00:10")

  MsgBox ("Waiting Time - 10 Seconds")

End Sub
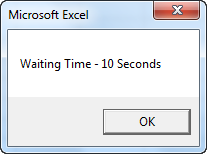
As we can see, in the message box, we added the text “Waiting time – 10 Seconds” to be printed.
Now run the code using the F5 key or manually. After waiting for 10 seconds, we will see a message box with the message used in the code.
Example #3 – VBA Timer
There is another easy way to see and show the current time in VBA. For this, we will directly use MsgBox and the rest of the code there only. For this, open a new module in VBA and write Sub-category in the name of the used function or any other name as shown below.
Code:
Sub Timer3()

End Sub
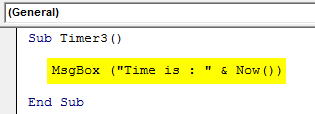
Now write MsgBox, which is a command to print the message. In the bracket, we can write any message to be printed in the message box. Here we have chosen “Time is:” as our text, and along with it, “& Now ()” is used. It will display the current time with the date in the pop-up message box.
Code:
Sub Timer3()

   MsgBox ("Time is : " & Now())

End Sub
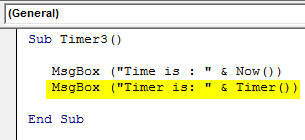
Now in another message box, we will count the number of seconds passed in the whole day till the current time by the clock. For this, write MsgBox, and between the brackets, write the text “Timer is:” along with “& Timer (),” as shown below.
Code:
Sub Timer3()

   MsgBox ("Time is : " & Now())
   MsgBox ("Timer is: " & Timer())

End Sub
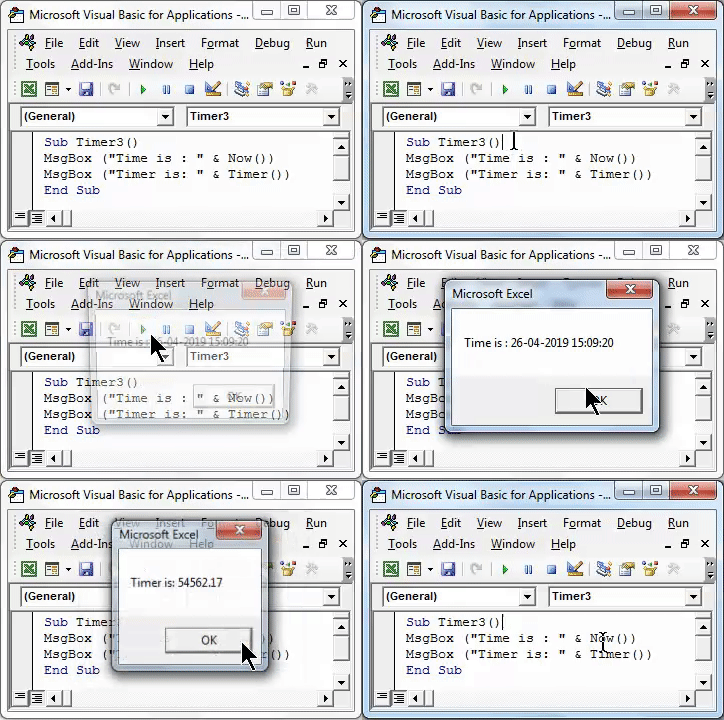
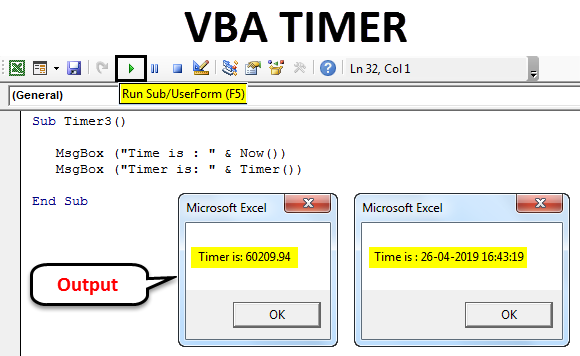
Once done, run the code using the F5 key or manually. We will get two separate message boxes, as shown below.
In the first message box, we will get the current date and time in DD/MM/YYYY and hh:mm:ss AM/PM format, which is the default format Excel. In the second message box, we will see time lapsed on that day in seconds.
The second message box shows Timer is 59953.62 Seconds. If we divide that by 60 Seconds and 60 Minutes, we will get the exact Timer in hours lapsed on that day which is 16.65 Hours.
Things to Remember About VBA TIMER
- Always save the file in Marco Enabled Workbook to avoid losing the written VBA Code.
- Always compile the complete code step by step to ensure every code is incorrect.
- In example #1, the SINGLE function displays the number as a whole. Even if we use DOUBLE, it will give the result in decimal.
Recommended Articles
This has been a guide to Excel VBA TIMER. Here we discussed how to use the VBA TIMER function, some practical examples, and a downloadable Excel template. You can also go through our other suggested articles–
