Introduction to Wiggle Expression in After Effects
Wiggle Expression in After Effects is a great way to make objects move randomly, and one of the good features of Wiggle Expression is to apply vibration like effect on any object during motion graphics, and it also helps you for enhancing the effect of speed on any object. Here in this article, we will discuss Wiggle Expression in After Effect and understand Wiggle Expression’s different parameters.
How to Apply Wiggle Expression in After Effect?
We can apply wiggle expression on different types of objects. Here we will apply this effect on a text layer with a background layer. So let us have a look at different sections of this software.
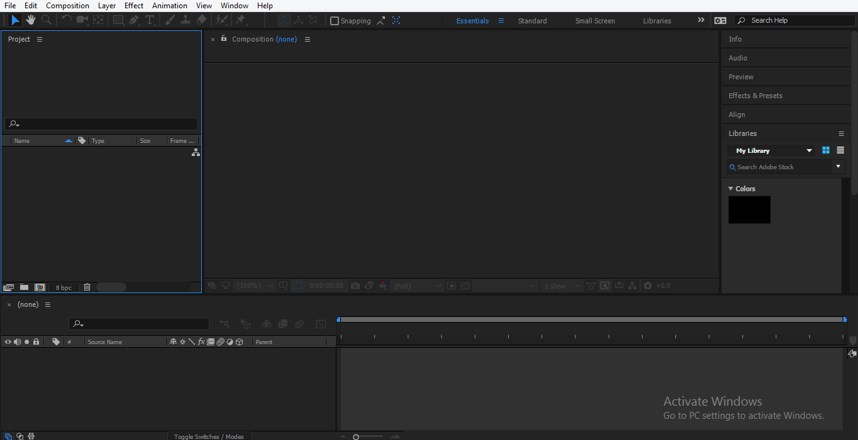
Step 1: The topmost ribbon of this software is the Menu Bar which helps in the management of features of this software; just below Menu Bar, we have Tool Panel section, which has a different type of tools of this software and also shows properties of the activated tool, below portion of Tool Panel, is divided into three sections that are Project Panel, which shows the number of the composition of any project, Composition section which shows you current composition, and Right side section has some parameters which help in managing of parameters of any animation, at the bottom end of this software we have two sections that are Layer section which shows you the number of layer of any composition, and Timeline Section which offers you different handling points for setting the parameters of animation.
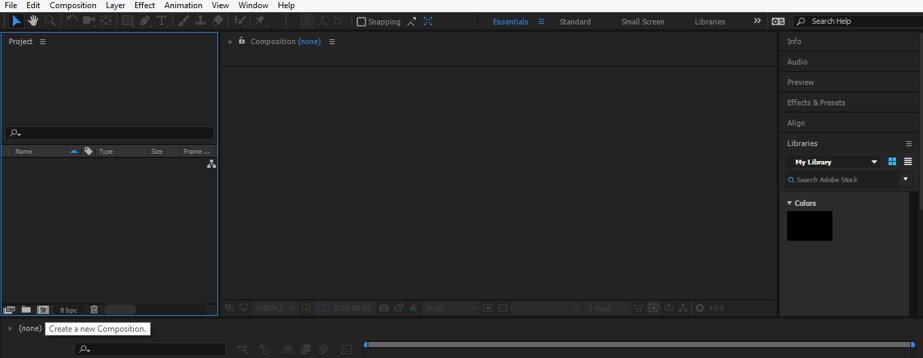
Step 2: First of all, we will take a new composition for our work. Go to File Menu of Menu bar and choose the ‘New Composition’ option from the drop-down list of File Menu.
Step 3: Or you can take a new composition from the Project panel of this software. Just click on the ‘New Composition’ icon at the bottom of the Project Panel.
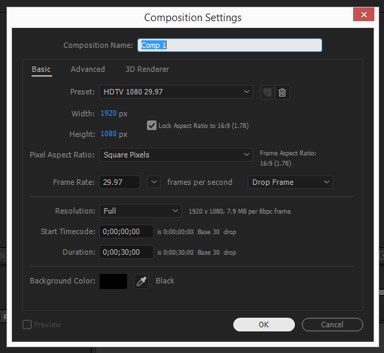
Step 4: A dialog box for Composition Settings will be open. Set parameters of a new composition from here according to the requirement of your project work and click on the Ok button of this dialog box.
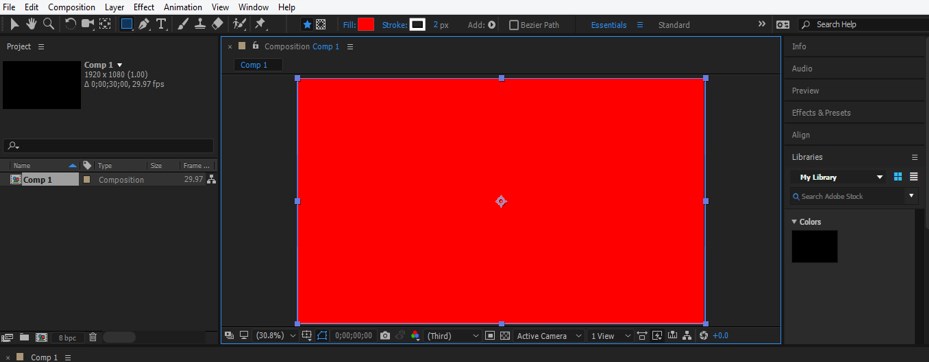
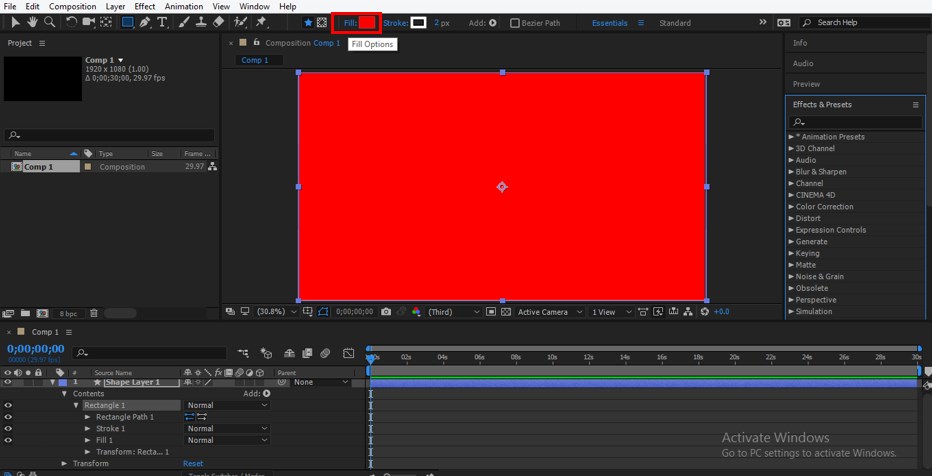
Step 5: Now, take a Rectangle tool from the tool panel for making a background layer in this composition.
Step 6: Make a rectangle in this way that it covers the whole composition.
Step 7: Now click on the Fill option of this shape which is at the tool panel ribbon.
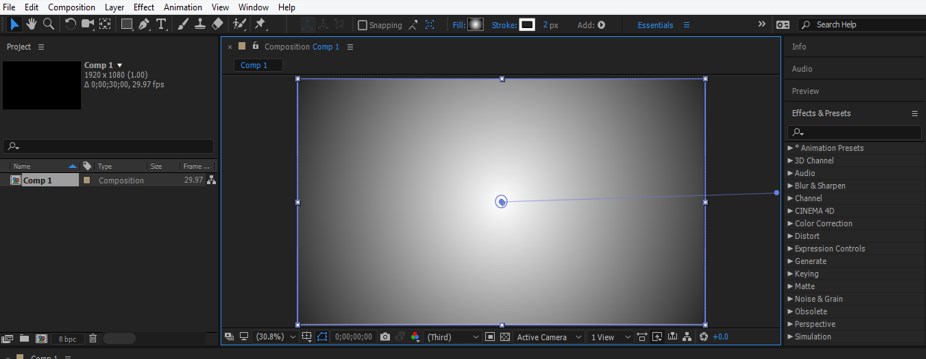
Step 8: A Fill option box will open, choose the Radial Gradient option and click on the Ok button of this box.
Step 9: Now increase the size of the inner gradient color by dragging the pointer in the outward direction.
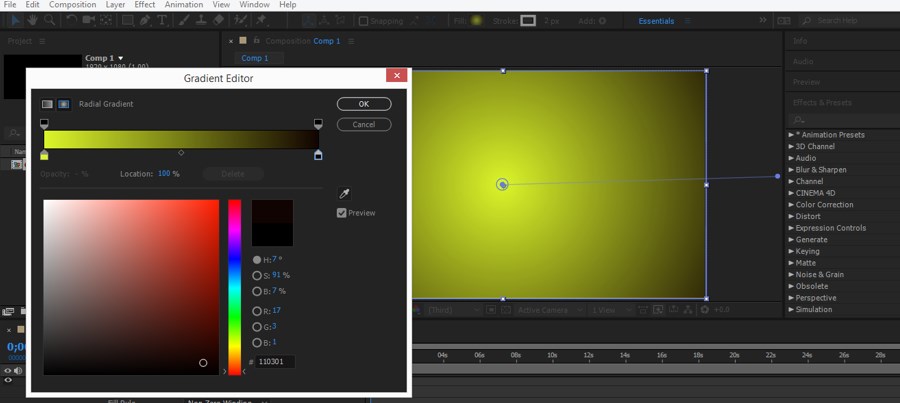
Step 10: Now click on the color box of the Fill option for changing the color of the background layer. A Gradient Editor box will open. Choose your desired color from here.
Step 11: Now, take a text tool from the tool panel, which is at the top of this software.
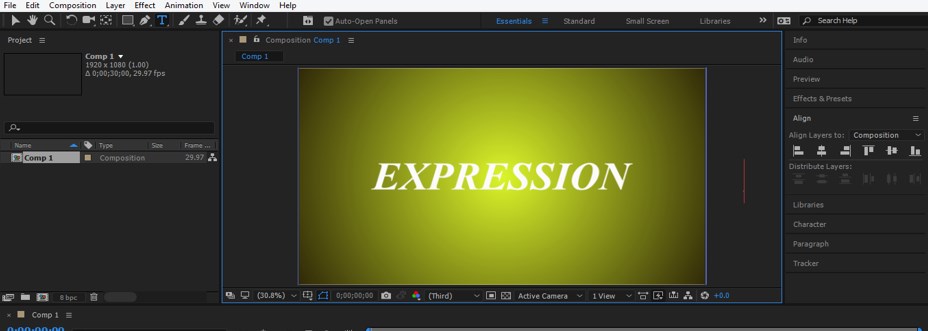
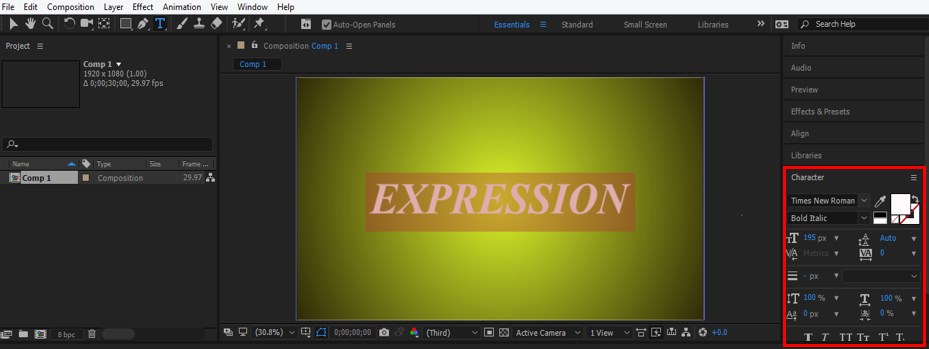
Step 12: Type your desired text with the help of the text tool. Align this text at the center of the background layer by using the Align option of this software at the right side of the composition area. You can use shortcuts of aligning tool for alignment of text layer with the background layer.
Step 13: Adjust the Font, Size, and Shape of the text according to your requirement.
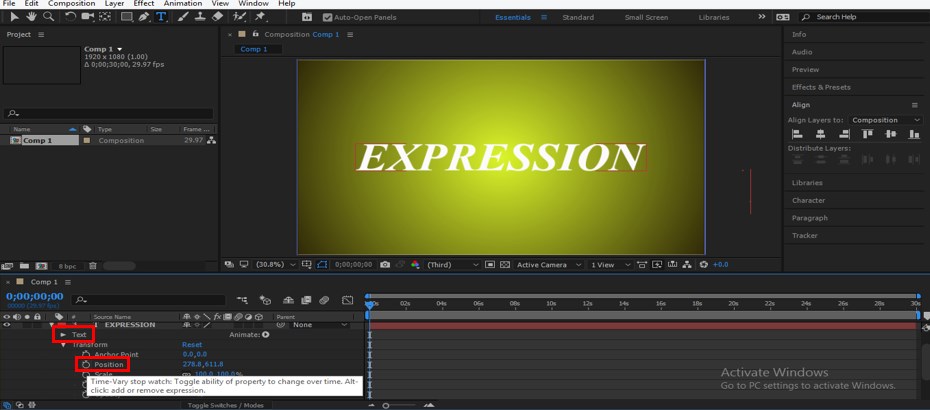
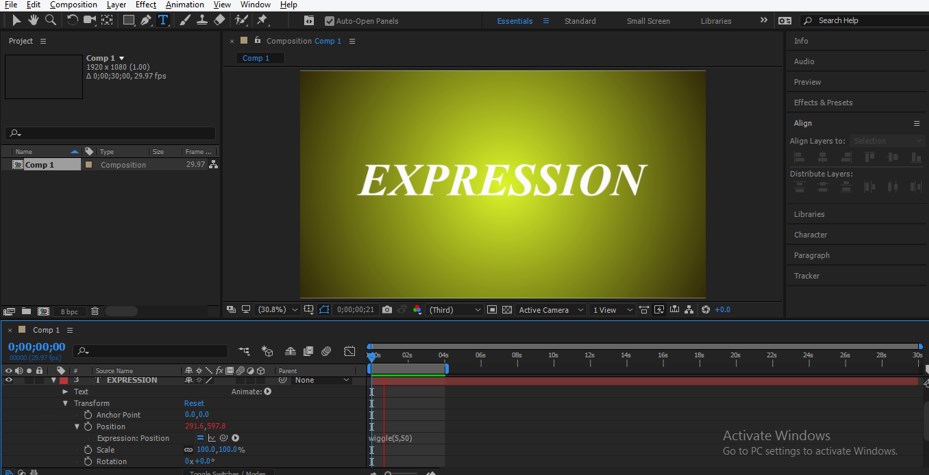
Step 14: Now click on the small arrow button of the text layer for opening the properties of this layer. Now click on the small clock icon of Position property by holding the Alt button of the keyboard for adding wiggle expression on this property.
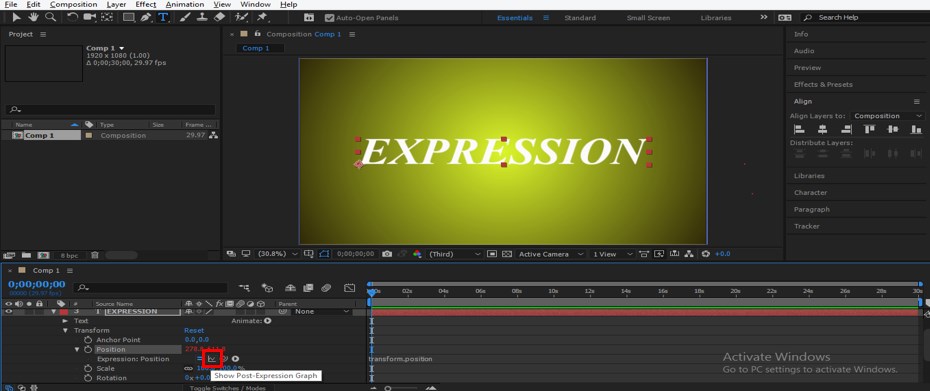
Step 15: When you click on the small clock icon of the Position property, the wiggle expression command will be open in the keyframe area of the Timeline section in front of this property.
Step 16: We can Enable wiggle expression by clicking on this icon of Expression of the Position property.
Step 17: We have a Graph icon also in wiggle expression to show a graph of wiggle expression parameters.
Step 18: The next option of wiggle expression is Pick Whip which is used for connecting the wiggle expression of this layer with the property of other layers.
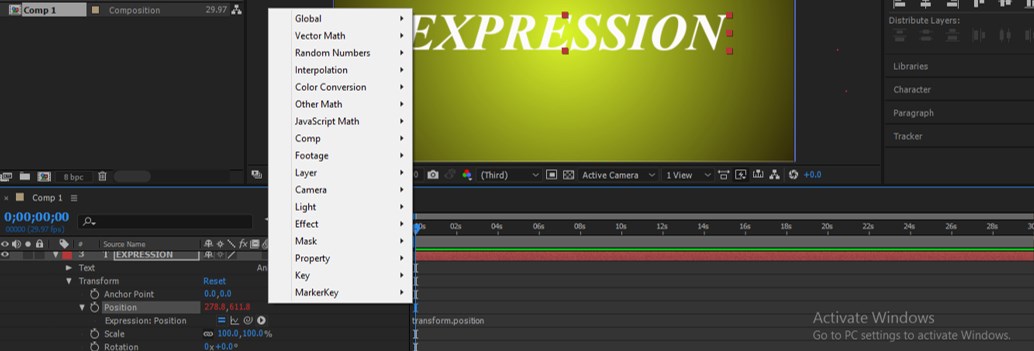
Step 19: The next option of wiggle expression is Language Menu which has presets of command of wiggle expression of different languages.
Step 20: Now type wiggle (5,50) as the command in the wiggle expression section of the keyframe area. Here 5 denotes the number of vibration, and 50 denotes the number of pixels for which the text will be wiggle.
Step 21: Now press the Spacebar on the keyboard for playing the wiggle expression, or you can play it from the Preview tab of this software which is on the right side of the composition area. When you play it, the text will give you a vibrating effect on its position.
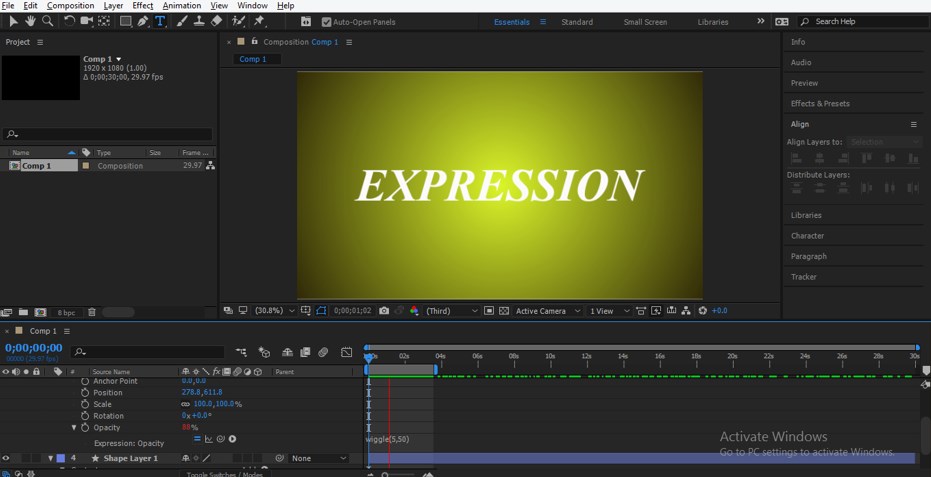
Step 22: You can also apply wiggle on other property of this text. Go to the Opacity property of the text layer and follow the same steps as we did for wiggling on the Position property.
Step 23: Now, when you play the expression, the text will be blink like this.
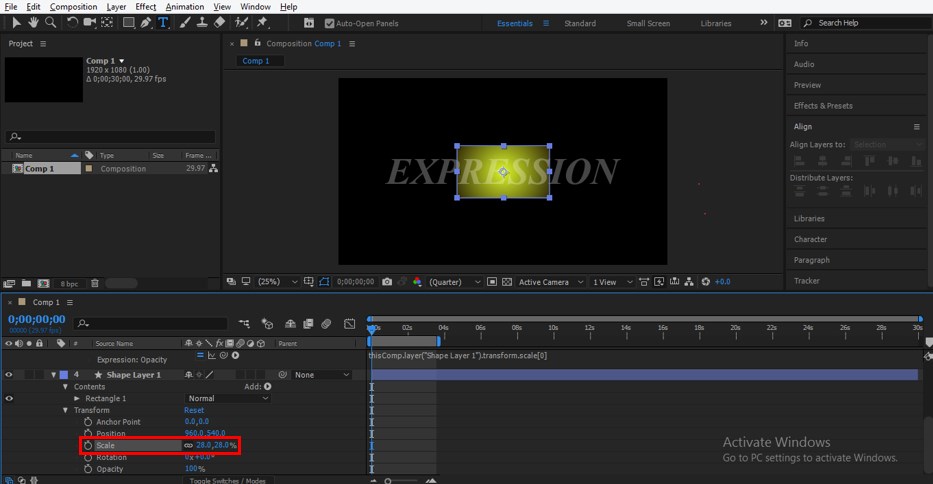
Step 24: You can connect the wiggle expression of opacity property with the property of the background layer. For connecting it with the Scale property of the background layer, just click on the Pick Whip option of wiggle expression of Opacity property and drag it to the small clock icon of Scale property of the background layer.
Step 25: It will be connected like this, and command of connection will be generated in the keyframe area of wiggle expression of Opacity property.
Step 26: Now, when you increase or decrease the value of the Scale property of the background layer, the opacity of the text layer will be change with variation of the Scale property of the background layer.
In this way, you can use Wiggle Expression in After Effect software.
Conclusion
After going through this article, you can now understand the Wiggle Expression of After Effect software and easily use it as a good effect in your project work. You can have command on this expression by practicing on the parameter of this expression.
Recommended Articles
This is a guide to Wiggle Expression in After Effects. Here we discuss a simple and easy way to apply Wiggle Expression in After Effects in a step by step manner. You can also go through our other related articles to learn more –
