Introduction to Zbrush 3D
Zbrush 3D can understand as 3D modeling or sculpting in this software and Zbrush offers us a number of features as well as a tool that makes our sculpting or 3 modeling work very easy. In Zbrush, there are a number of brushes that work as sculting tools and help us in the creation of very effective 3d models and you can learn it very easily if you keep practicing on these tools. You can create props, characters, ornaments, and many other 3d models and shapes in ZBrush that you need for your modeling project. So today I am going to tell you some of the important aspects of ZBrush 3d and how its works.
How to Create Zbrush 3D?
To start creating 3d modelings in this software, you have to understand some features so that you can understand the working methodology of Zbrush. So let us start our discussion.
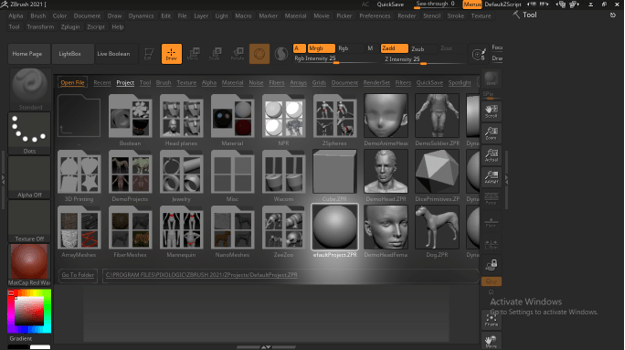
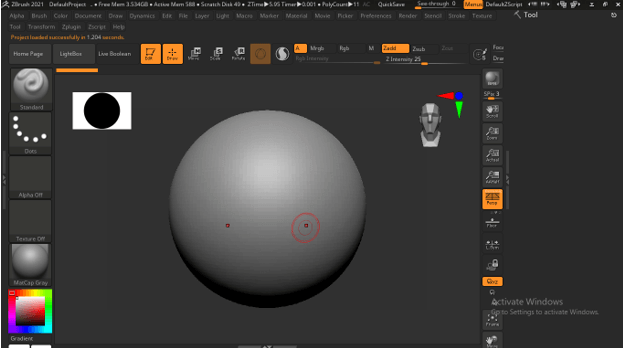
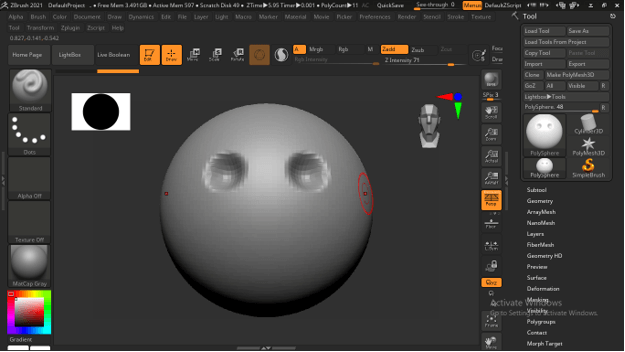
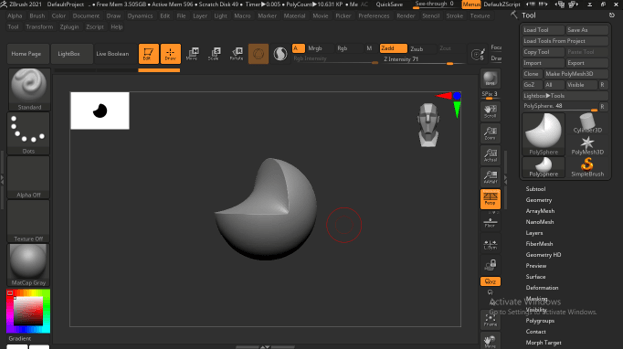
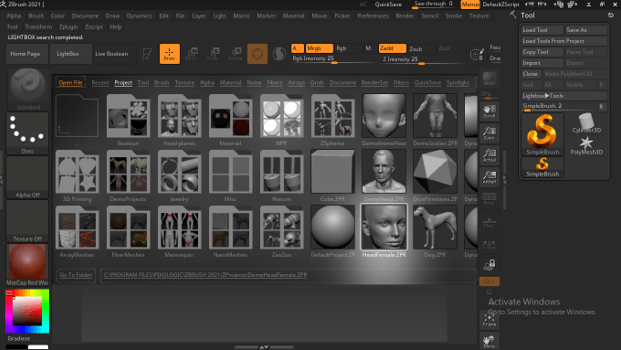
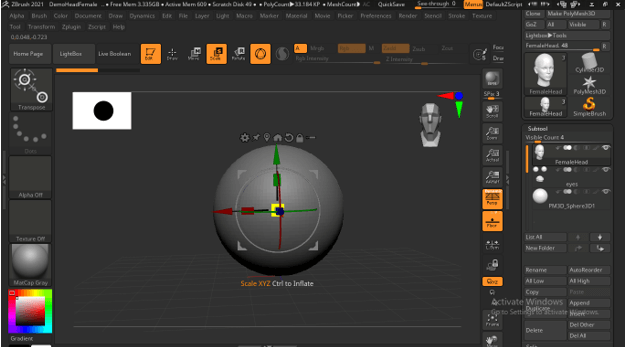
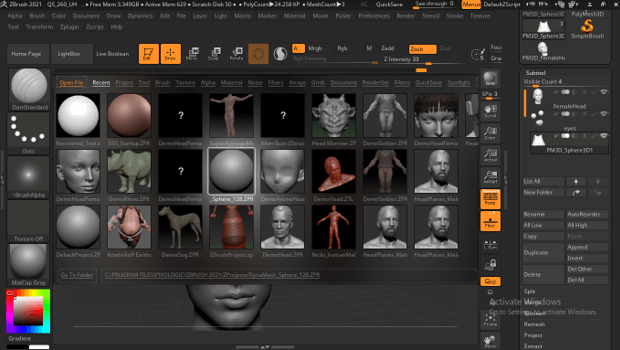
Here at the top of this user screen, we have Lightbox in which we can find some the pre-created model shapes as well as clay shapes for start sculpting. So I will choose this sphere and make a double click on it for having in on the working area.
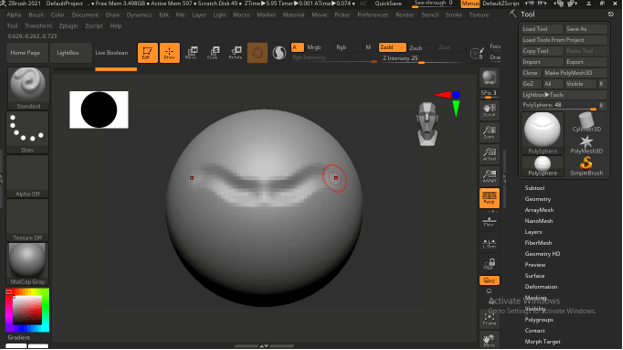
You can see we have a brush mouse cursor with which we will create 3d shapes. There are two dots on the mouse cursor and it will create some structure on both sides of the clay if we sculpt something. You can press the X button on the keyboard for working in non-symmetry mode.
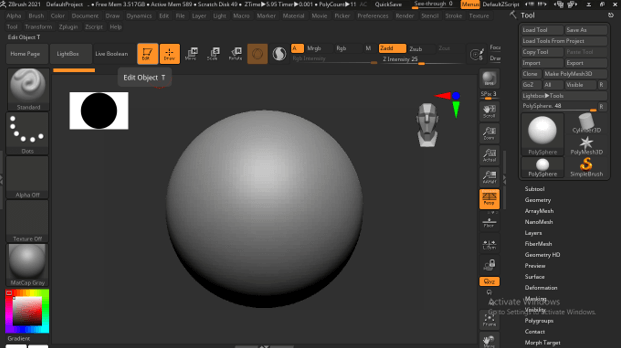
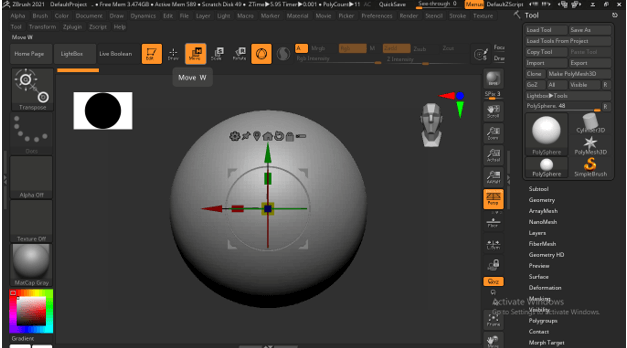
At the top we have some modes such as Edit mode, Draw mode, Move tool mode, and so on.
If we click on the Move button then we can move this shape on the floor area of the working window and for doing sculpting or modeling we have to again switch to Draw mode.
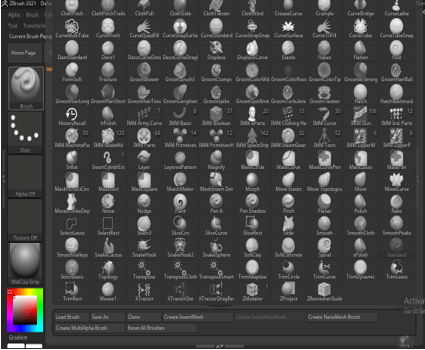
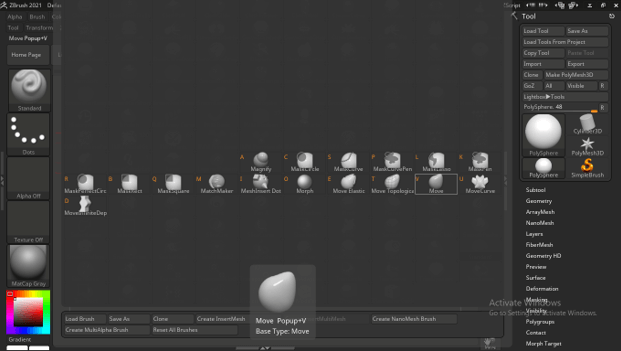
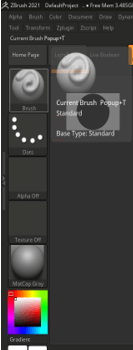
At the left side section, we have a Brush panel in which we have a number of brushes for doing 3d modeling in different ways.
Now if you drag the mouse cursor on the surface of clay it will draw an embossed shape like this.
If you hold the Alt button of the keyboard then the mouse cursor switch to negative mode and an engraved shape will draw.
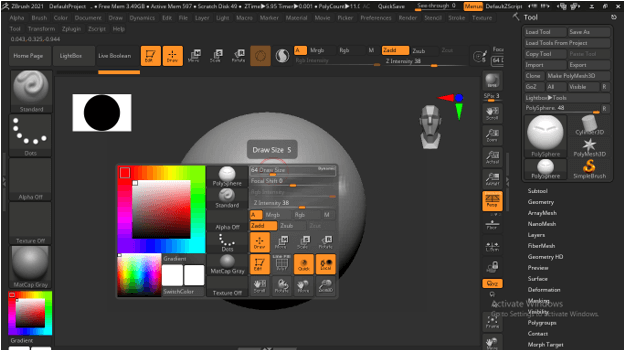
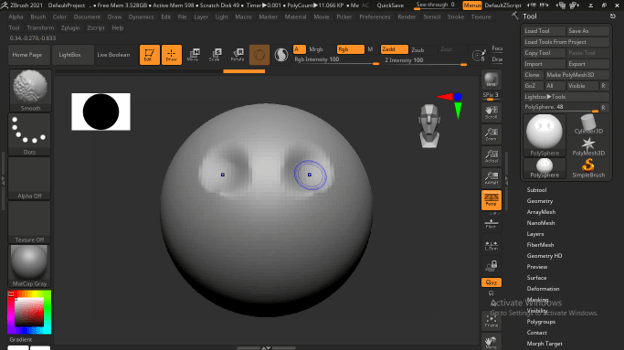
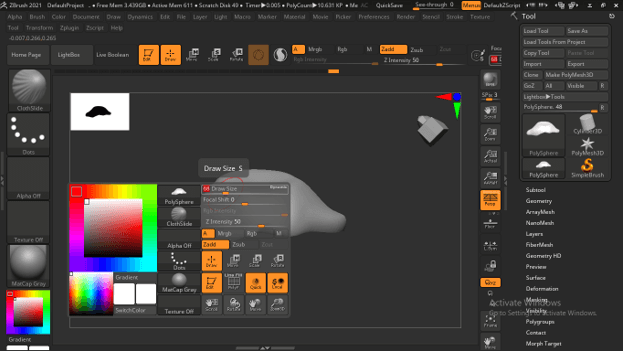
If you hold the Spacebar of the keyboard then you will have some parameters panel from where you can adjust the Draw size of the brush, Intensity of the brush, and so on.
If you have created any structure and want to smooth out it.
Then hold the Shift button on the keyboard and the mouse cursor will turn into a Smooth brush and you can smooth out your desired area.
Let us understand 3d sculpting by some examples so that you can have an idea of what type of things we can do in Zbrush 3D.
Creating Cloth Piece
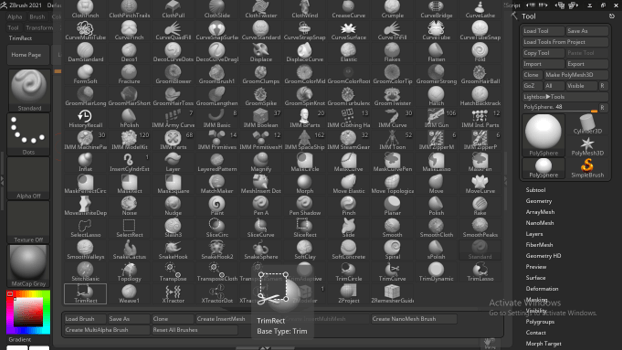
If you want you can cut any part from clay and for that I am using the TrimRect brush from the brush panel.
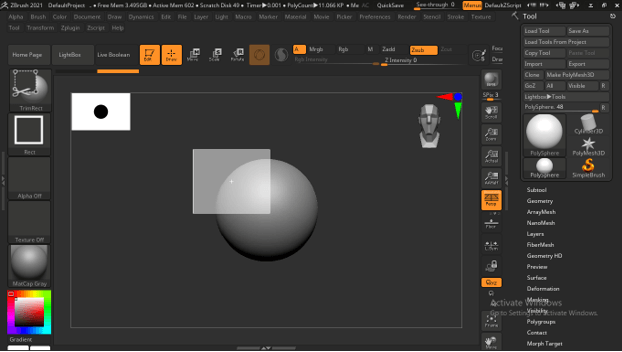
And by holding the Ctrl + Shift button of the keyboard a will drag the mouse cursor on the area which I want to trim.
And it will trim this sphere like this.
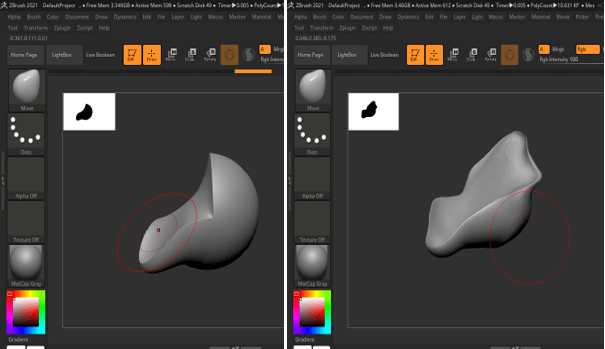
Now I will turn it into a cloth piece and for that, I will first take the Move brush from the brush panel. You can press the first letter on the keyboard of any brush for finding that brush easily.
And start shaping this like a cloth. I have increased the brush size so that when I click on the surface of this clay and drag it then it moves a large part of this shape. So according to our requirement, we can increase or decrease the brush size.
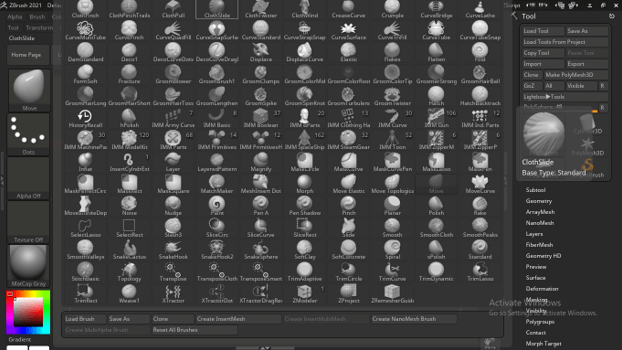
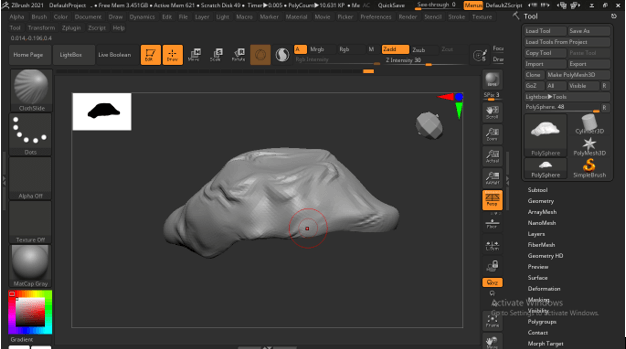
And once I will satisfy with my shape I will take a Clothslide brush from the brush panel.
Now adjust the size of the brush by changing the value of Draw size.
Now you can drag the mouse cursor on the surface of this shape for adding cloth folds to it.
Creating cap-like shape:
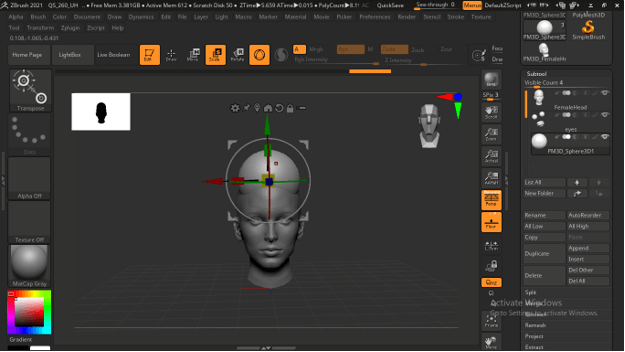
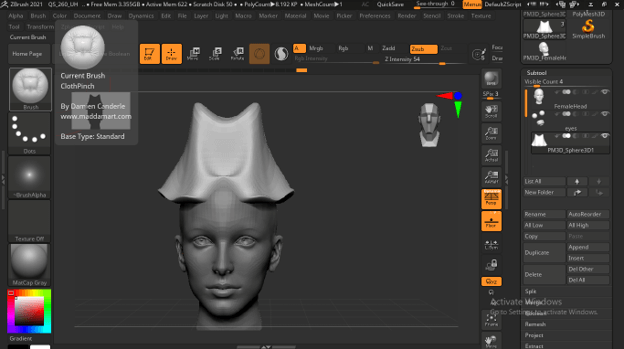
In the next example, I will tell you how you can create a cap-like shape for a model. I will take this female model for explaining this example.
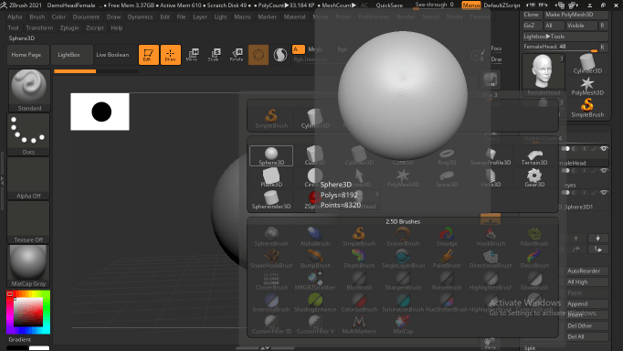
Now in the Subtool panel of the toolbar, you can find the Append tab. In this tab, you can have other sub tools. I will take a sphere from here.
And switch to the Scale tool.
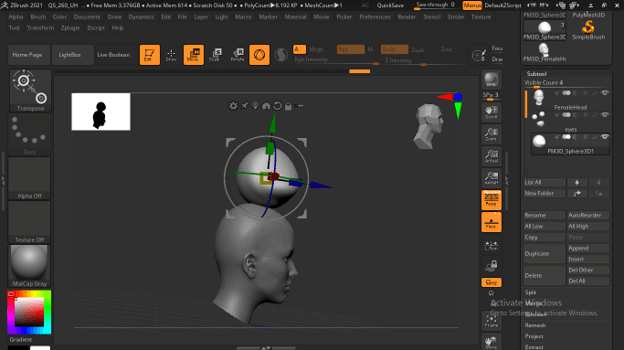
And scale down this sphere like this.
Now move it to adjust it.
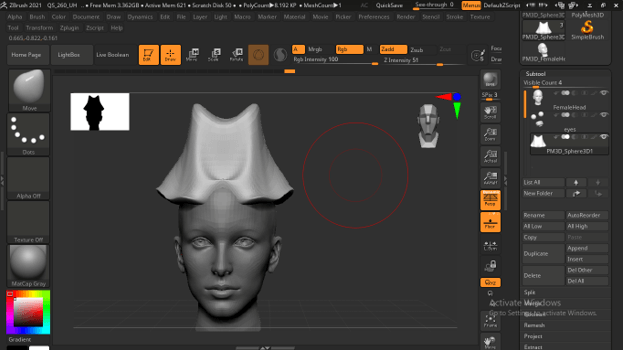
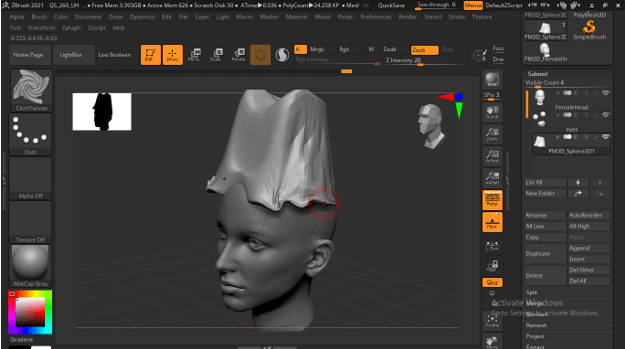
Now with the Move brush, I have created this cap-like shape.
If you want to give a cloth-like effect on this cap then you can use a Cloth brush from the brush panel.
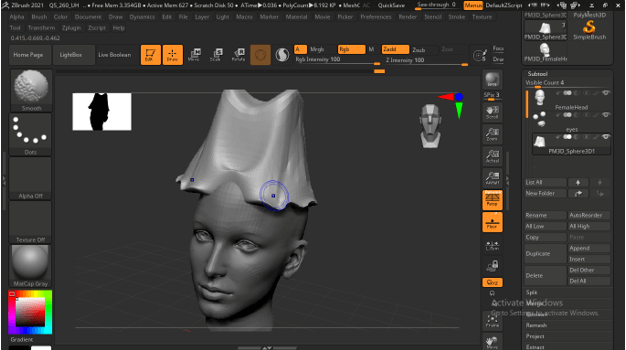
And make it more précised.
Hold the Shift key of the keyboard for making your sculpting shape smoother.
Creating Model Faces
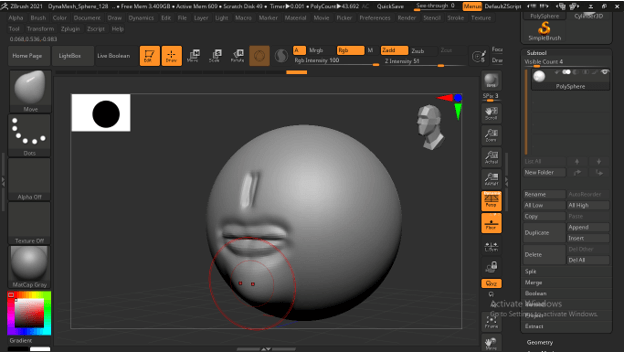
Now in the next example, I would like to tell you how you can create a basic shape of the face of any model and for that I will again take a sphere from Lightbox.
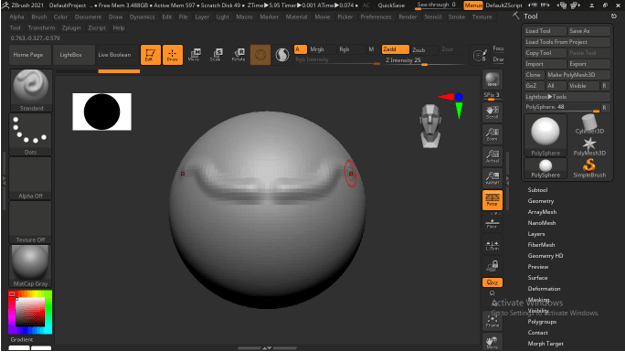
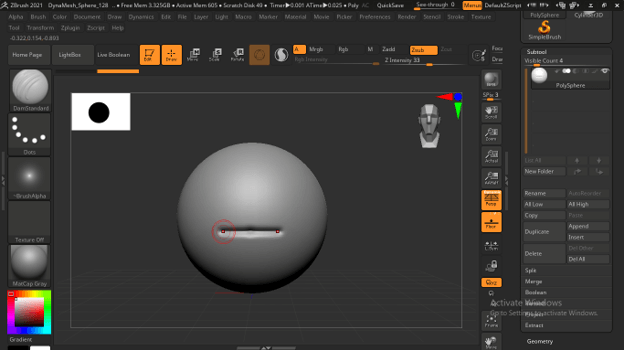
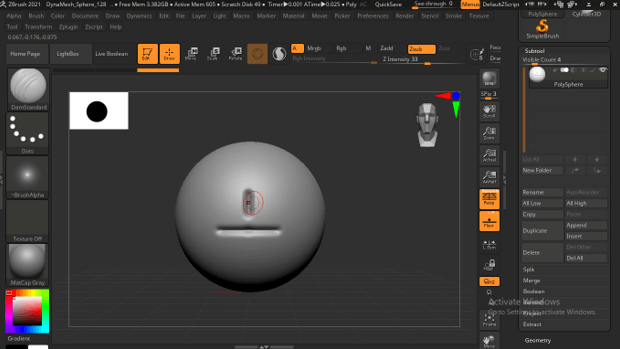
Now with the DamStandard brush, I will create a baseline for the mouth area.
Same as you can create a baseline for another part of the face.
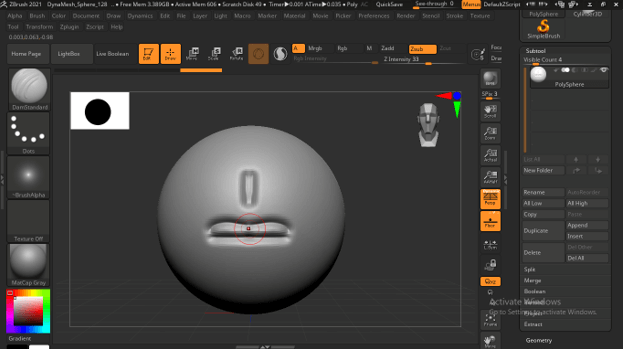
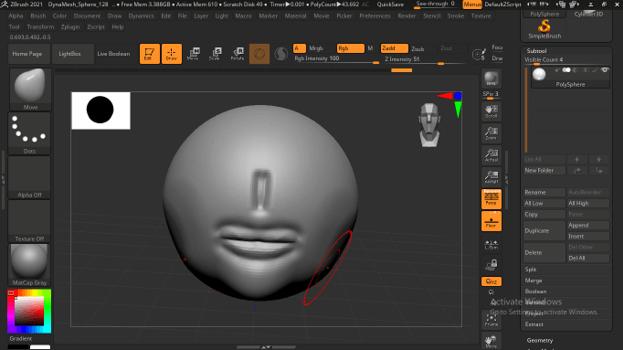
Now with the same brush, I will create lines so that we have lip structure here like this.
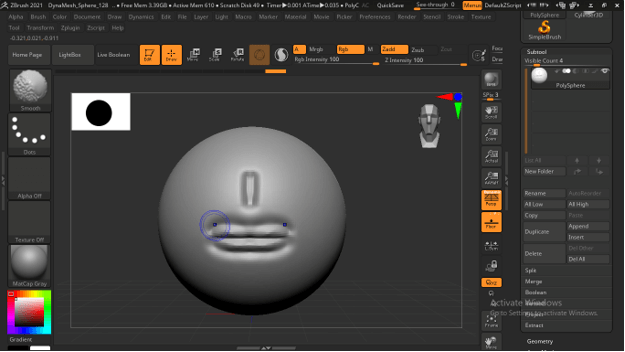
You can smooth out areas with a smooth brush.
Now you can use the Move brush tool for shaping face structure. Like I will switch to Move brush and drag out this part of the sphere for having chin shape.
With the same Move brush tool, you can sculpt face shape.
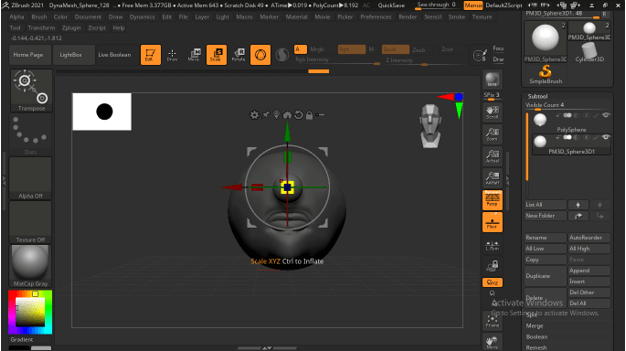
For creating another part of the face you can use another sub tool such as have I taken this Sphere sub tool and positioned it at the surface of this face with the help of the Move and Scale tool.
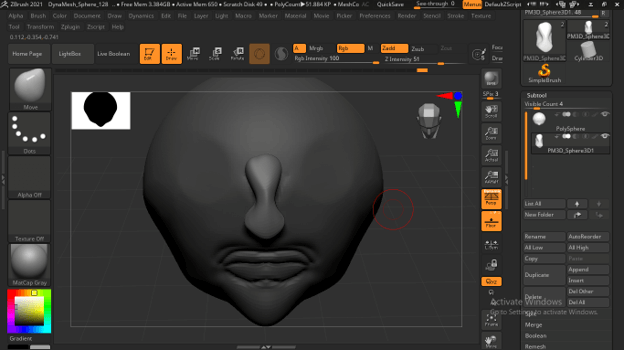
Now you can shape it as a nose shape.
So this way you can create 3d shapes in this software.
Conclusion
I have explained some of the basic features through which you can start creating 3d shapes and models in Zbrush and I am sure you find it helpful. Now you can start practicing on different tools of this software for having more and more command on 3d modeling as well as sculpting process.
Recommended Articles
This is a guide to Zbrush 3D. Here we discuss the Introduction, How to create Zbrush 3D, Creating Cloth pieces, Creating a cap-like shape. You may also have a look at the following articles to learn more –
