Introduction to Zbrush Goz
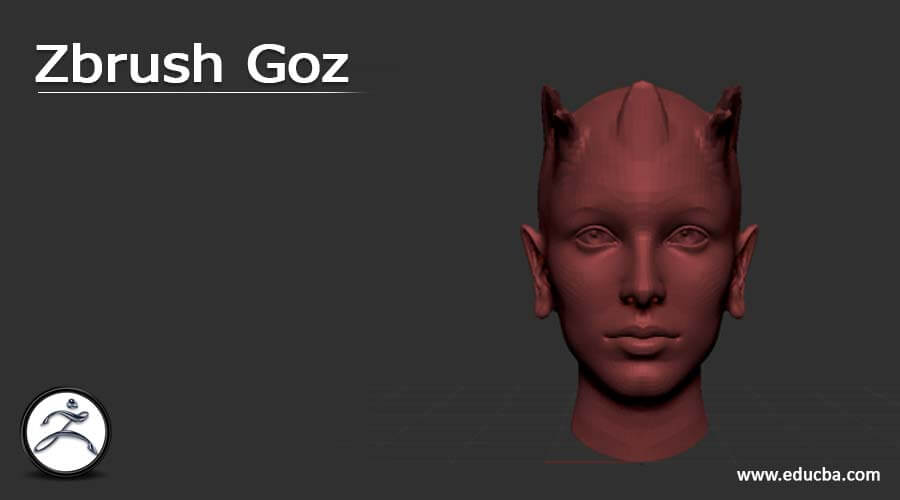
ZBrush GoZ can understand as a dynamic bridge between Zbrush software and other 3D software as well as image editor software for doing other 3D manipulation and rendering processes of created 3d model of Zbrush software. GoZ automatically sends our model by just clicking on one button to our desired chosen software for doing further designing work in it. You can update your model in Zbrush anytime and the sent model can also get updated. So it is very nice features of this software through which we can easily communicate with other designing software for doing several types of designing purpose. Here in this article, I am going to tell you all about GoZ.
How to Use GoZ in Zbrush?
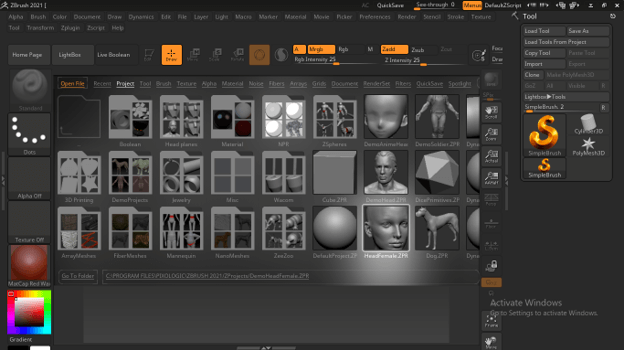
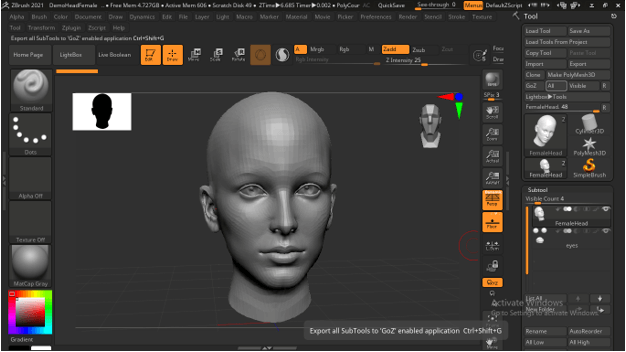
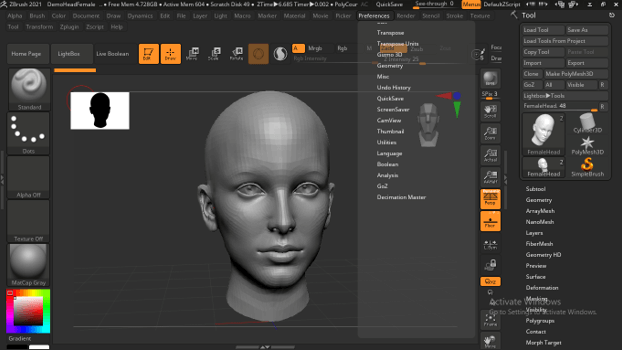
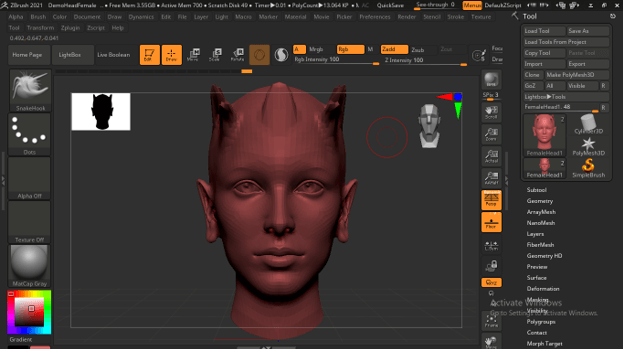
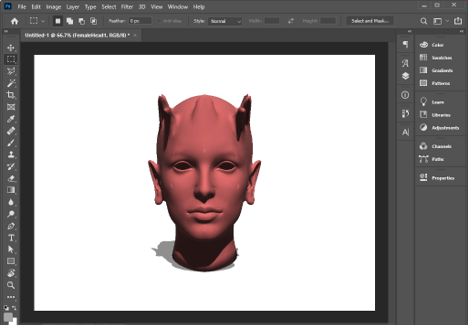
It is quite a simple process to start using GoZ in this software, you just have to follow some instructions for the proper execution of exporting your model to your desired software. So let us start our discussion what are the things which we need to know for doing this. To start our discussion about this topic let us have a model which we will import into Photoshop by using GoZ feature of this software. For having a model I will go to the LightBox button of this software and choose this Female head model. You can use your own model for this purpose.
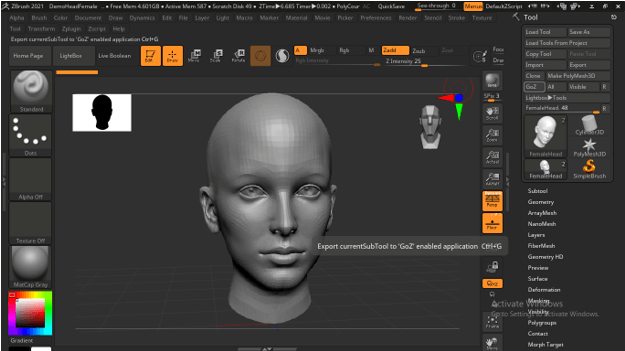
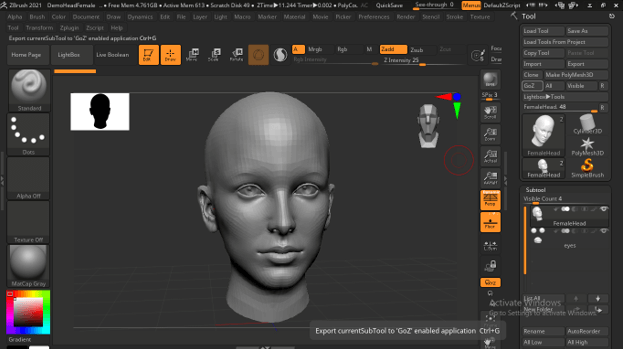
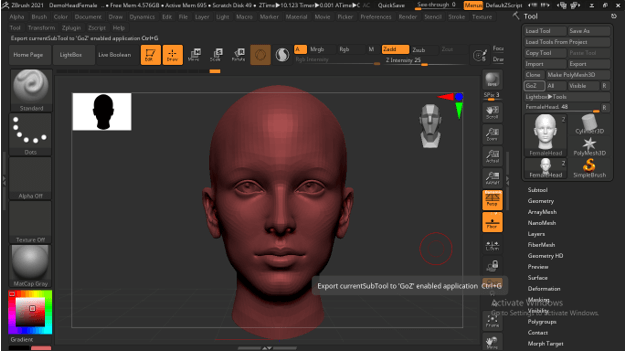
At the right of the working screen of this software, you will find the Tool Bar panel and in it, we have the Goz button.
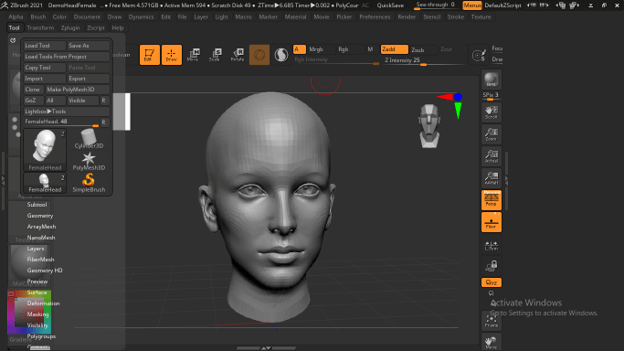
If there is no tool panel at the right side section of your software then you can go to the Tool menu of the menu bar and click on it. Then click on the small arrow button on the left side of this panel and it will automatically come into the right side section of this software.
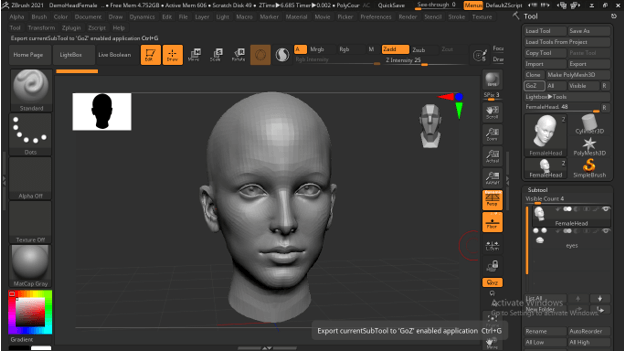
If you have set the path for exporting your model to your desired software then you can directly click on this GoZ button. If you click on this button it will send only the current selected subtool.
Or if you want to send the whole subtool then click on the All button which is next to the Goz button.
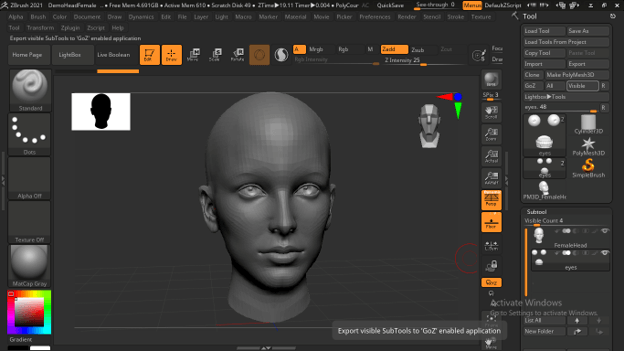
Same as another button Visible button will send only visible subtools if you click on it.
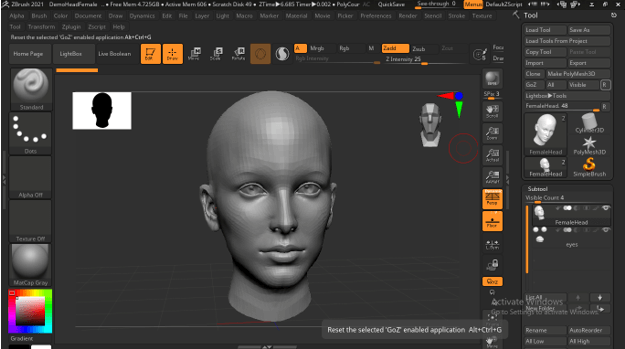
There is an R button at the end. So click on it and let us see what purpose is.
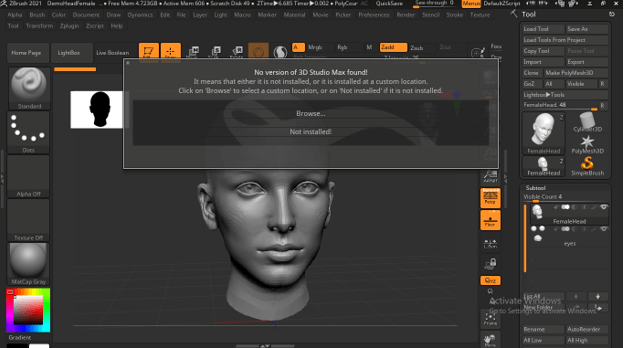
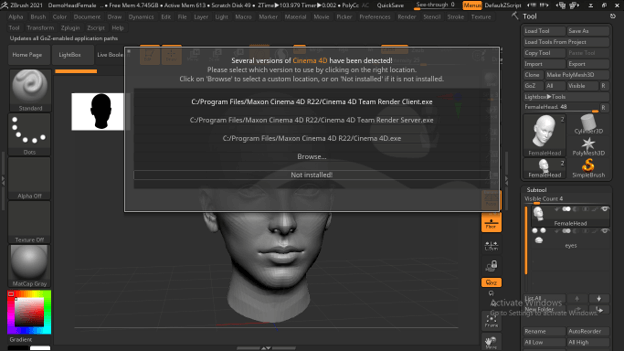
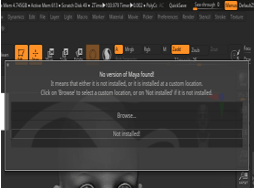
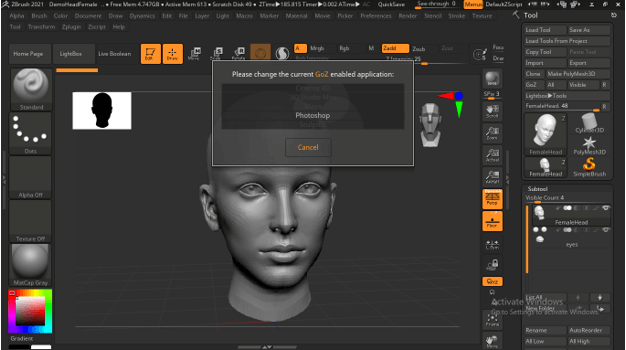
By clicking on it we can see the currently selected path. If there is no path selected then it will show you software that you have installed in your computer for choosing a path. Such as it is showing me a message for having 3D MAX. Currently, I haven’t it so I will click on the Not installed button of this box. Do the same for other software.
Or you can go to the Preferences menu of the menu bar and click on it.
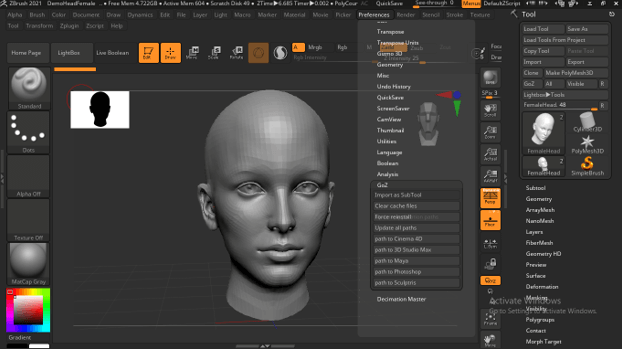
Once you click on it you will have a list of options and when you scroll down this list you will have GoZ option.
You can see there are a number of sub-options under this GoZ option. You can choose any one path according to which software you want to work with the GoZ feature.
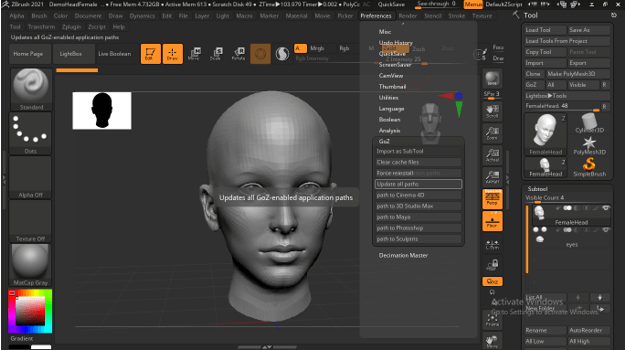
Or click on the Update all paths option for updating paths according to the installed software of your system.
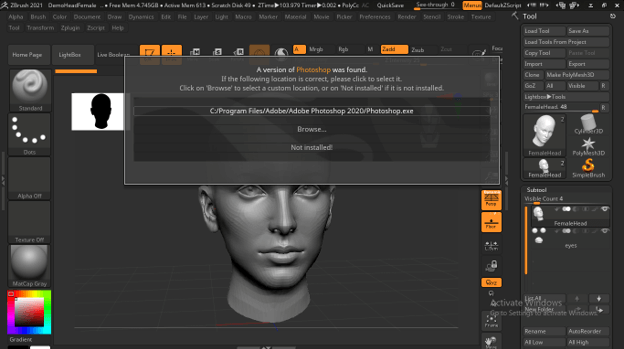
Once you click on it you will have options for installed software. You can click on Not installed if you have not it.
Do the same for other software. You can click on the Browse button if you want that software installed.
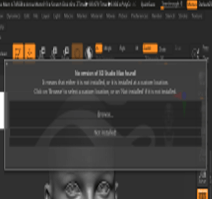
You can see I have Photoshop installed in my system that is why it is showing me a path for it so click on the path to make it the default path of the Goz feature.
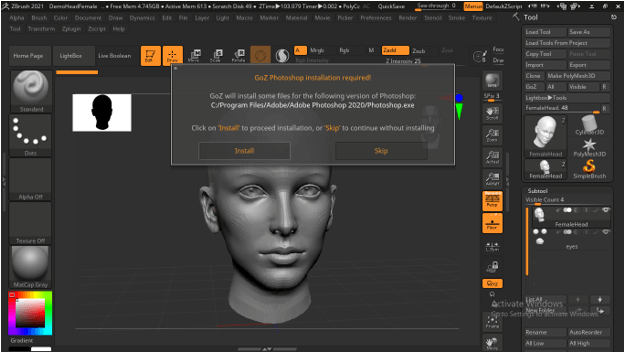
Once you make click a new dialog box will open so click on the Install button of.
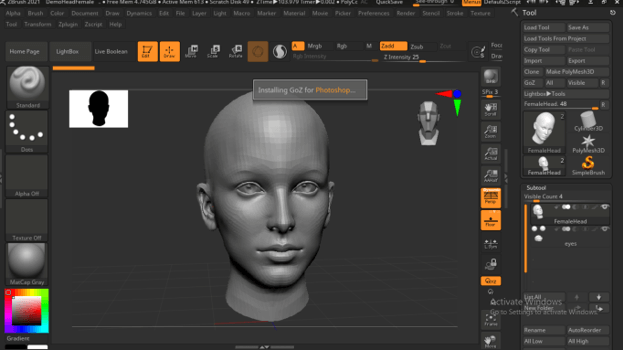
Now our path is getting ready for Photoshop.
By clicking on R button you can see your path is set now.
Now I will click on the GoZ button to send this model into Photoshop.
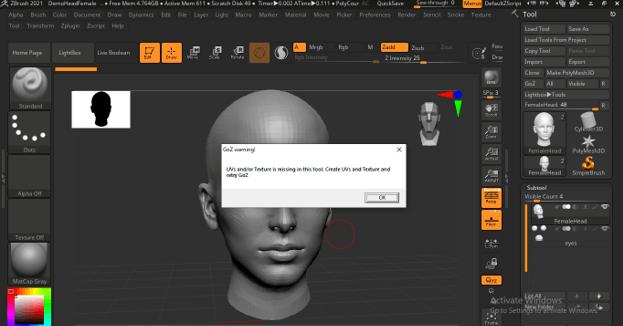
You can see it is showing some message to me that is we have to create UV map and texture map for doing this process.
At the toolbar section, you can see we have no UV map active and no texture also.
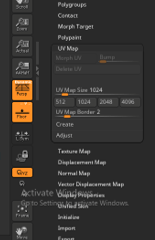
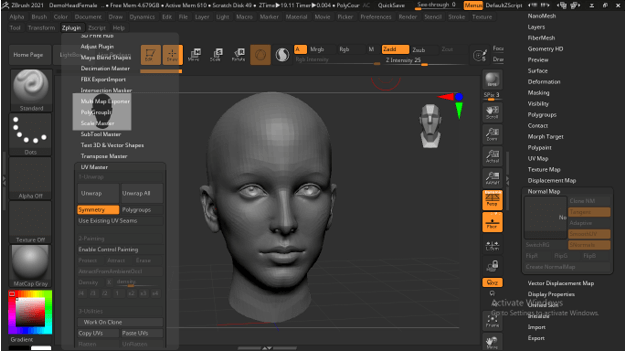
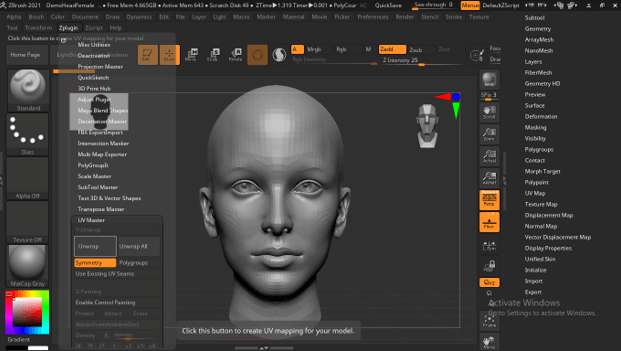
So for having a UV map go to Zplugins menu of the menu bar and click on it.
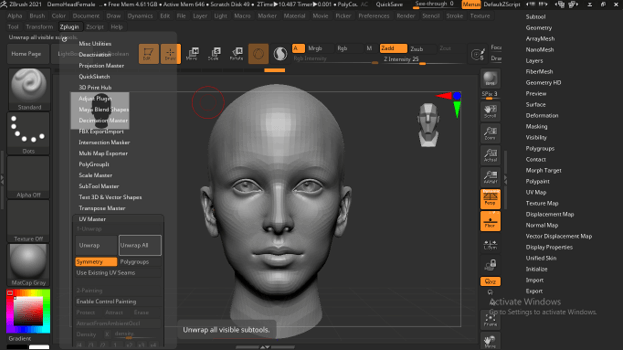
Here in the list of plugins, you will have UV Master Option so click on it, and under it we have Unwarp button click on it for having a UV map for the current model.
You can click on Unwrap All button if there are a number of subtools and parts.
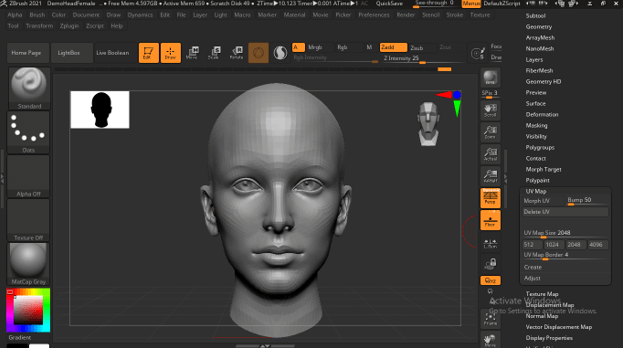
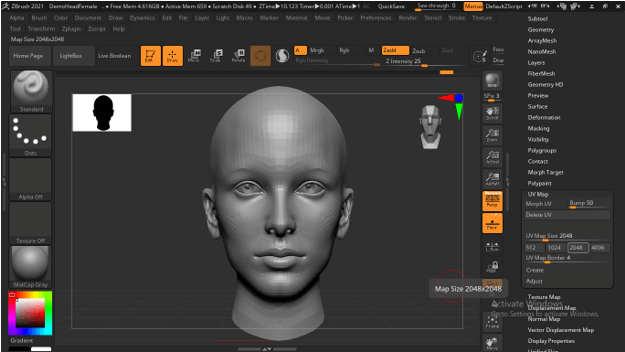
Now you can see we have UV Map parameters enabled.
From UV map parameters you can change the size of the map.
Or the value of Over paint border.
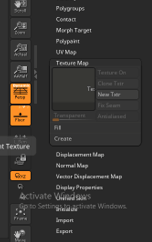
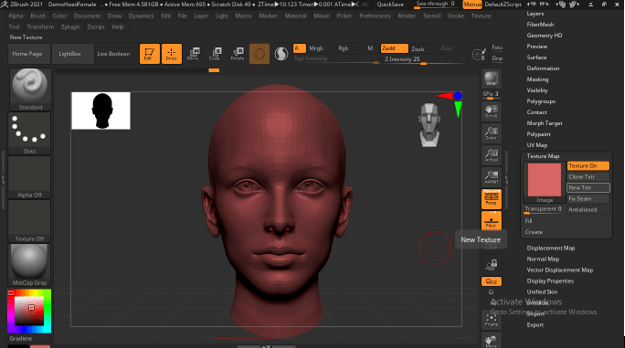
For texture, map click on New texture button of Texture tab of tool bar.
And it will choose texture according to selected color on color pallet.
Now again click on GoZ button.
And it will start sending this model to your selected path. I have selected Photoshop so it will automatically opening Photoshop software.
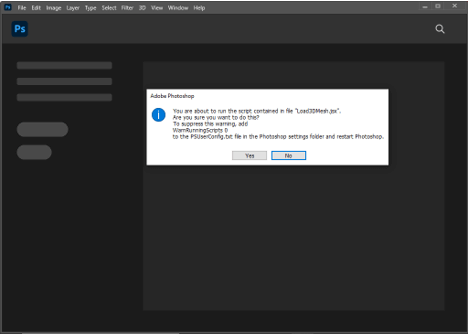
Now it will show you some parameters related to your model so click on Yes button of this dialog box.
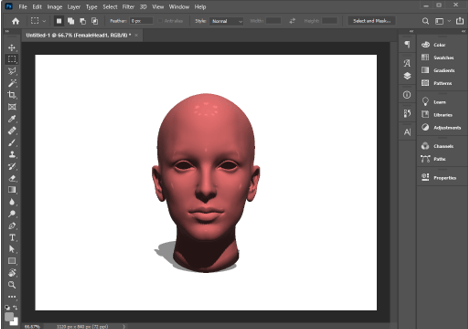
And your model open in Photoshop for further several type of processing.
Let us make some changes in our model in Zbrush and after that, I will again click on Goz button.
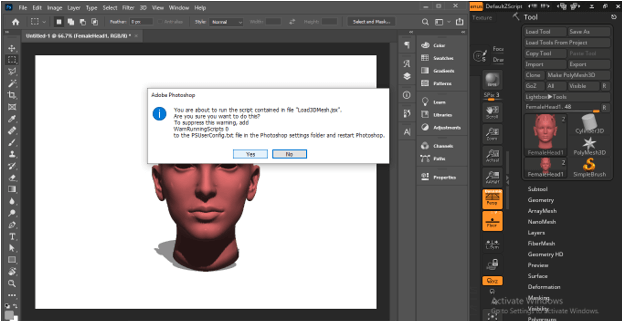
You can see it is again showing you message so click on Yes button.
And your model will update automatically with your done changes.
This way you can create a nice workflow between Zbrush and other 3D software by using Goz features.
Conclusion
Now I am sure you have a good understanding of the GoZ feature of Zbrush software and you are going to use it for communicating your model with your other desired software. You can also find this GoZ feature in other 3D software for sending files from that software to Zbrush.
Recommended Articles
This is a guide to Zbrush Goz. Here we discuss the introduction, How to Use GoZ in Zbrush? You may also have a look at the following articles to learn more –
