Introduction to ZBrush hotkeys
In this article, we are going to learn about ZBrush hotkeys. Hotkeys not only saves you time but also saves the headache of browsing through multiple nested menus. Now imagine if you are using the same command over and over then using the shortcut is the way to go as it will definitely save you time. Zbrush not only provides the default hotkeys but also you can customize every item to a hotkey with a proper modifier. There are also hotkeys for brushes which is sequences of letter to select the brush which is also handy if you are using a specific brush over and over. Hotkeys also make many quality-of-life improvements like popups which make the work flow faster.
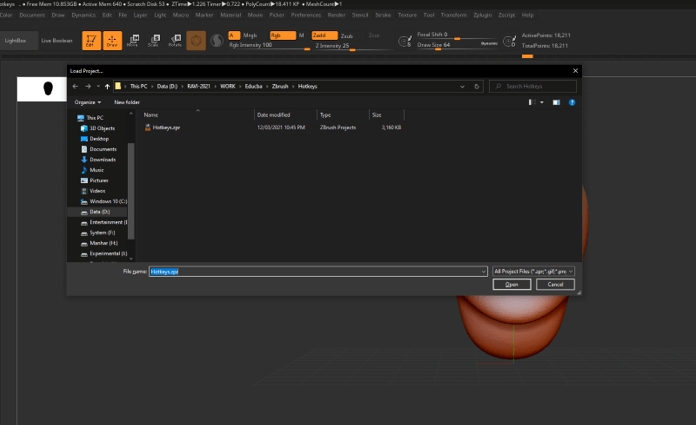
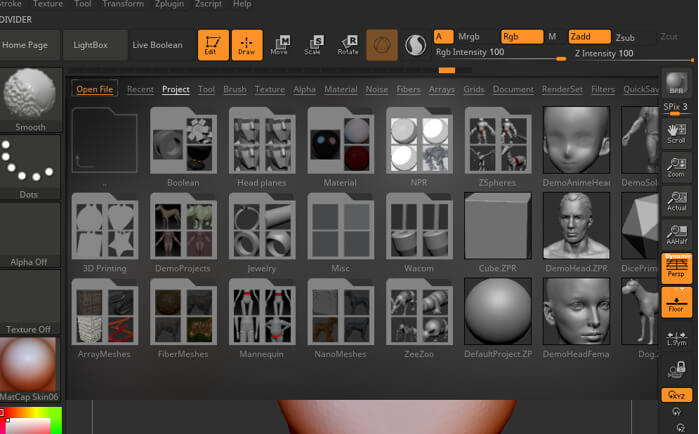
Step 1: Let’s start with first hotkey or shortcut is to open a project. Press Ctrl + O and navigate to a .zpr file which will open the project.
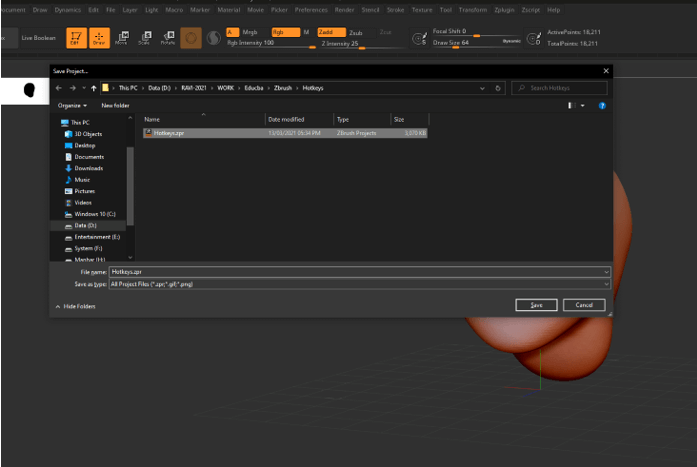
Step 2: Next is saving the project for which the hotkey is Ctrl + S and you will be asked the location where you want to save.
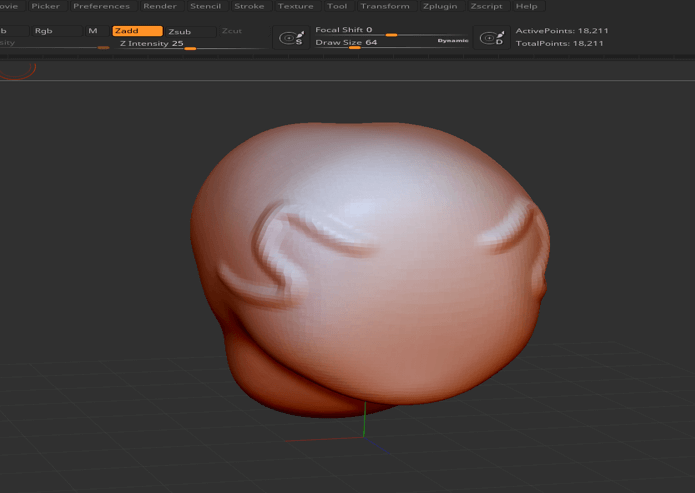
Step 3: Now suppose you have made a stroke for example and you want to undo it the simply press Ctrl + Z to remove the stroke which we have created. If you want to redo what you have undone then press Ctrl + Shift + Z.
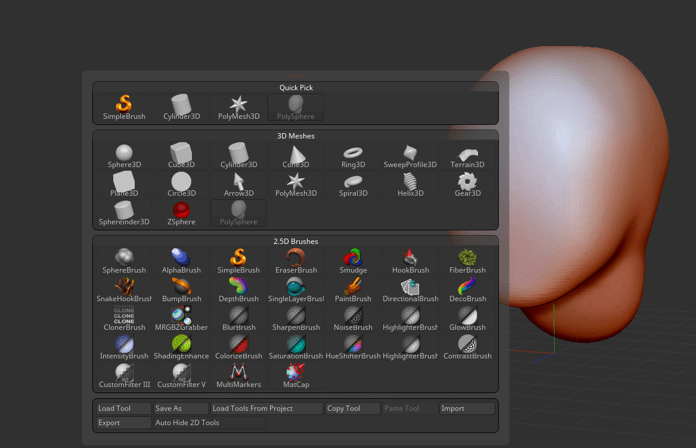
Step 4: Now let’s see the popup selection hotkeys. To open tools popup press F1.
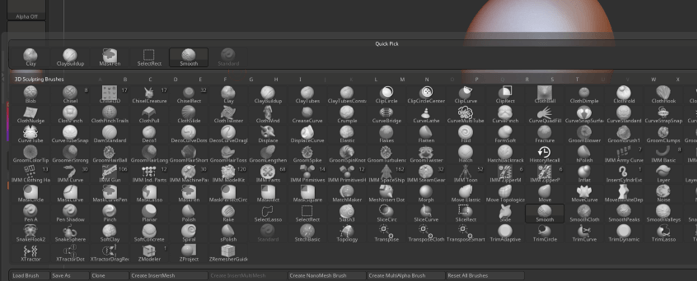
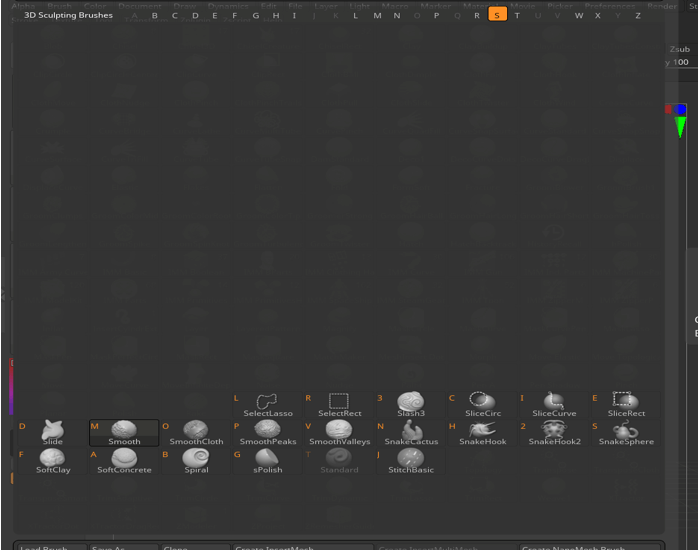
Step 5: Then press F2 to open brushes panel or you can also press B.
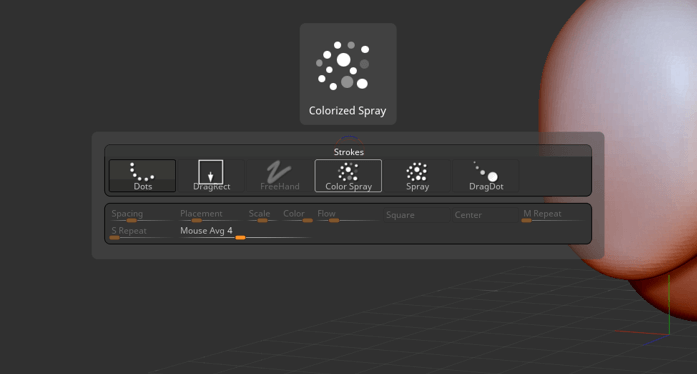
Step 6: Then F3 will open the popup for the type of stroke you need.
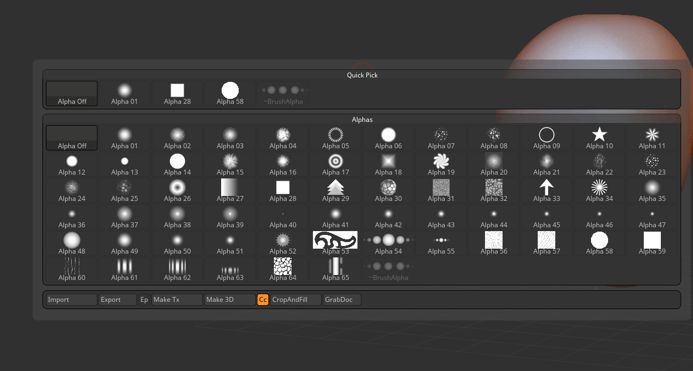
Step 7: Then F4 is the hotkey for the alpha popup.
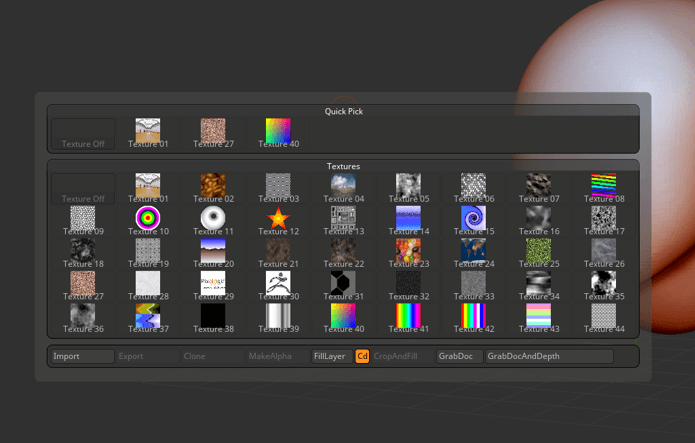
Step 8: And F5 gives you the popup for the textures.
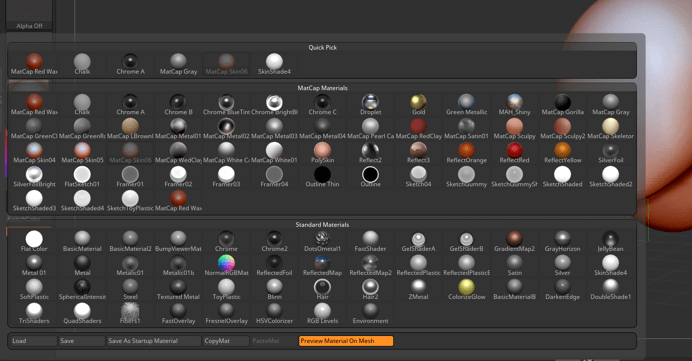
Step 9: Top open material popup press F6 but make sure that you are off the canvas.
Step 10: Then press space or right click which will show the quick menu.
Step 11: Then using Tab hotkey will show or hide the floating palettes.
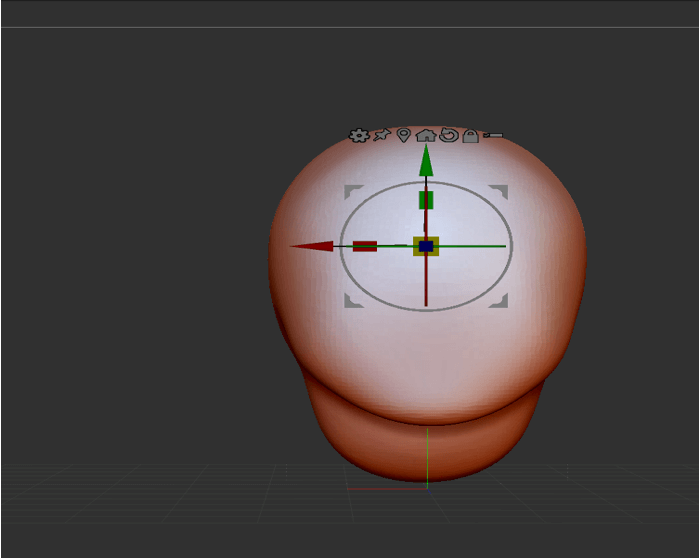
Step 12: Now for navigation, there are some hotkeys which work for 3D mesh in Edit mode. To Free rotate click and drag background and to move alt + click and drag background. If you want to constrain the rotation to 90 degrees then press Shift while you click and drag. Now for scaling first you have to do an alt+ Click and then release alt and then drag the background. You can also rotate along Z-axis by Shift + click and then release shift and drag.
Step 13: To show or hide Lightbox use, [comma key], and then by double-clicking any of the thumbnail you can load it.
Step 14: Now to load a standard brush use the hotkey B – S – T. Similarly, we can select other brushed like move elastic using B – M – E and clay using B – C – L.
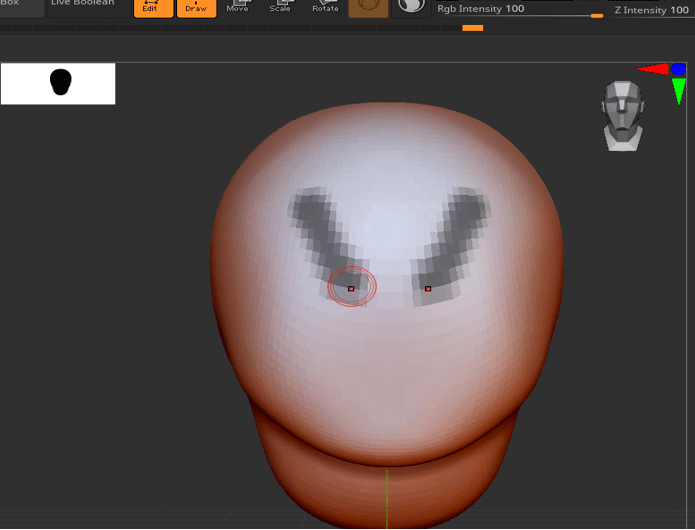
Step 15: Holding Ctrl while drawing will make use of mask pen.
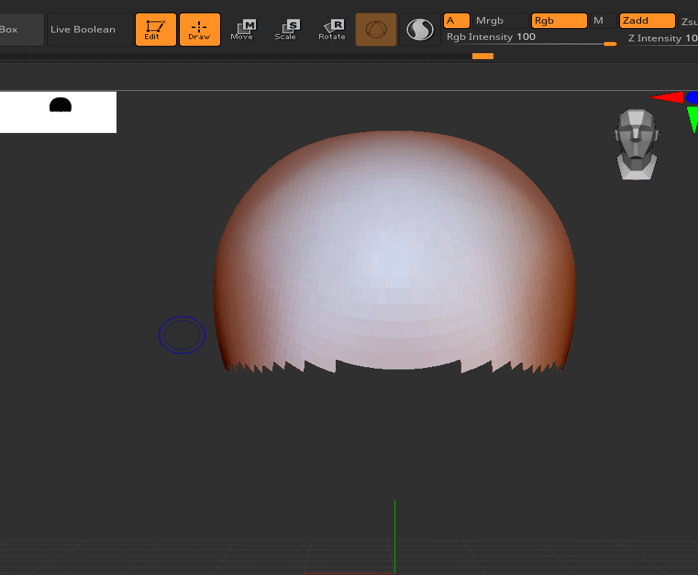
Step 16: Press Ctrl + Shift which will use a clip brush as shown.
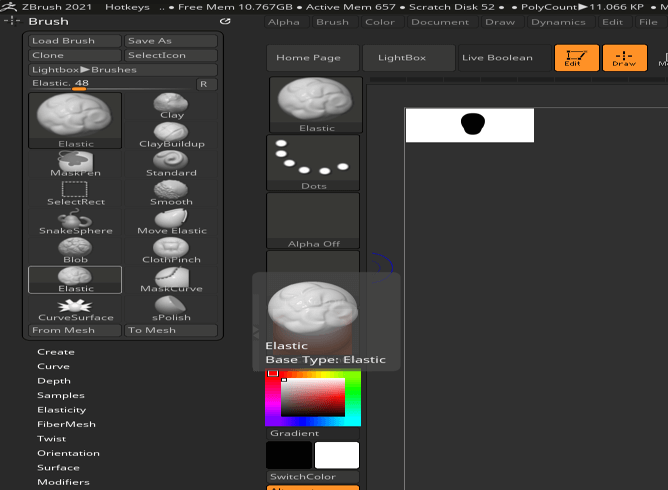
Step 17: Now suppose we want to assign a custom hotkey to this Elastic brush the press Ctrl + Alt and click and the status prompt will be to press any key combination to assign custom hotkey or press Esc or Mouse button to cancel or if you have previously assigned a hotkey then you can press DELETE key to remove the custom assignment.
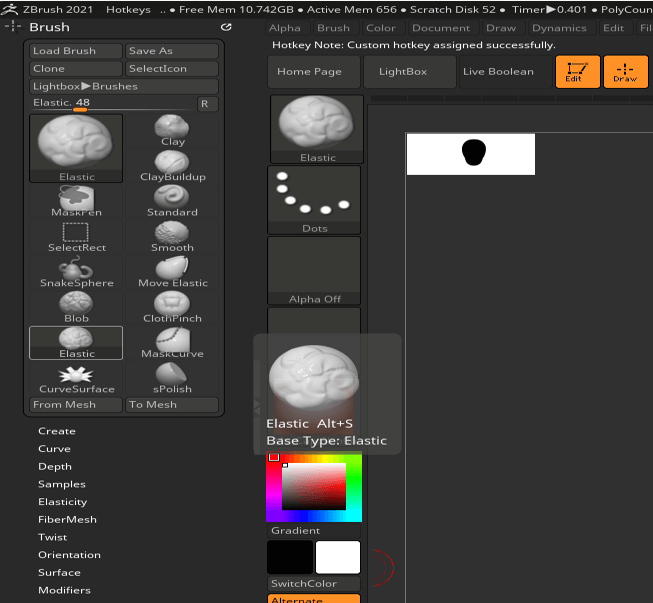
Step 18: So now we have assigned a custom hotkey Alt + S to the Elastic brush.
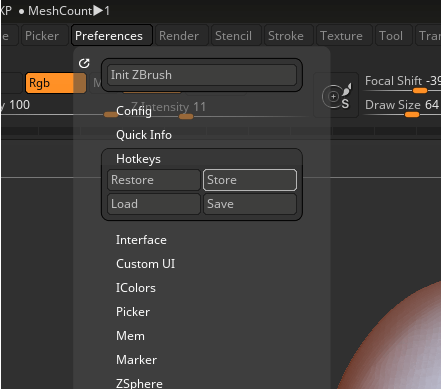
Step 19: When you go to Preferences Menu and in Hotkey submenu, there are 4 options. First is Restore which will restore the hotkeys to Zbrush initial hotkey setup. To store the hotkey press Store so that they are always usable. Load will load your own custom configuration. Then there is option to save which will save to the file but not make it usable.
Note: As with other ZBrush configuration files, the StartupHotkeys.txt file is stored in a Public folder on your computer.
On Windows, this is: Users\Public\Documents\ZBrushData\ZStartup\Hotkeys
On Mac OSX this is: Users/Shared/ZBrushData/ZStartup/Hotkeys
Step 20: In document palette press 0 to view actual size and Ctrl + 0 to view half size which is antialiased as shown. Then use + [plus sign] to zoom in and use – [minus sign] to zoom out.
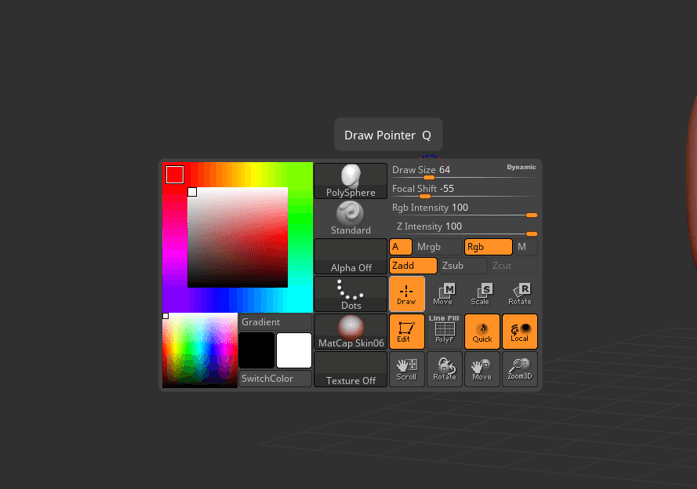
Step 21: Then W, E, R are the shortcut for move, scale, and rotate respectively. You can press Q to again return to draw mode.
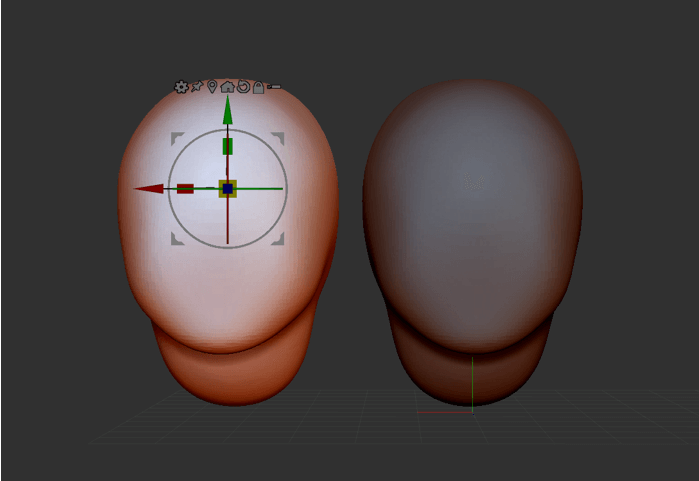
Step 22: Then to duplicate Ctrl and click and drag the handles.
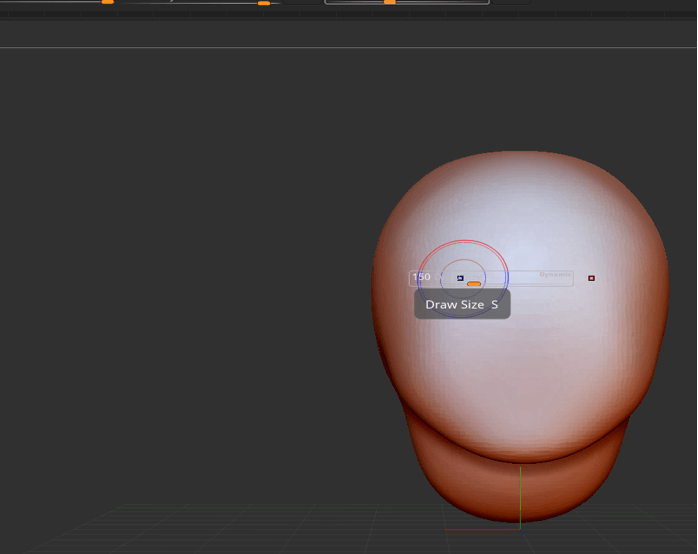
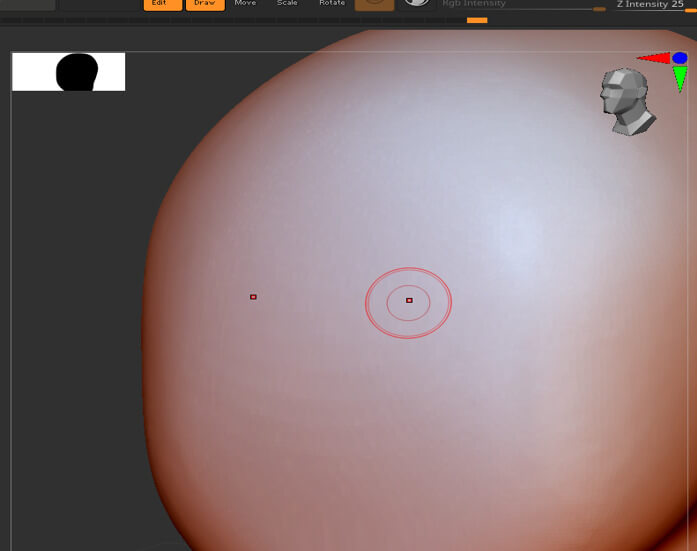
Step 23: Now for sculpting and painting options you can set draw size by pressing S.
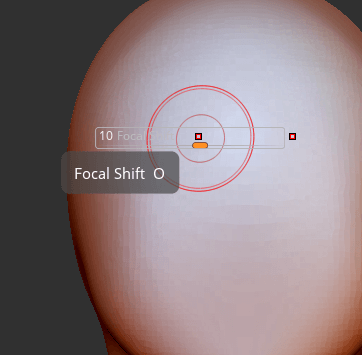
Step 24: Then you can do focus shift by pressing O.
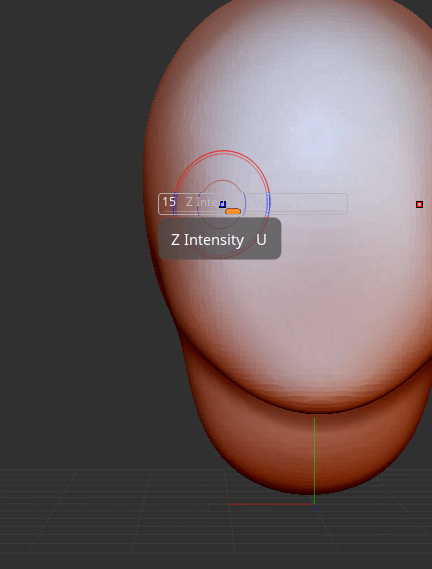
Step 25: Then you can setup Z intensity by pressing U.
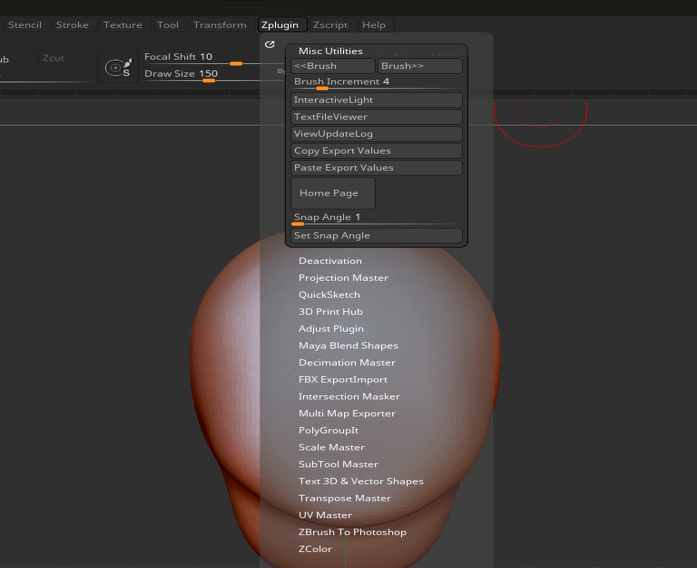
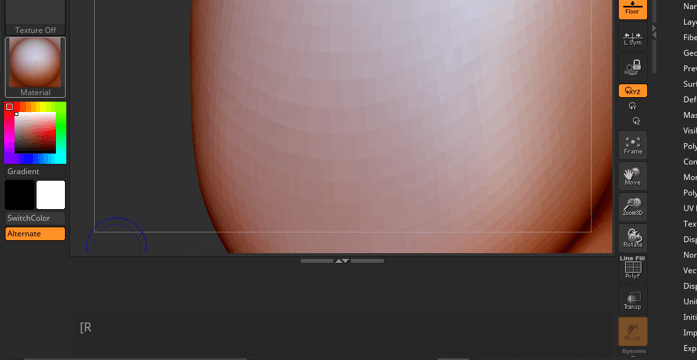
Step 26: You can increase draw size by set units using ] and decrease draw size by set units using [ (you can set the increment in Zplugin -> Misc Utilities > Brush Increment slider.
Step 27: Press Ctrl + D to divide the geometry and press Shift + D to lower Res. If you want higher-res then press D and for Edge loop press Ctrl + E which works on partially hidden meshes.
Step 28: To load a ZScript press Shift + Ctrl + L, to reload a ZScript press Ctrl + L, and to show/hide ZScript Window press H.
Step 29: You can use Best Preview Render (BPR) using Shift + R, render everything in the scene using Shift + Ctrl + R or do cursor selective render using Ctrl + R.
Conclusion
In this article, we have learned how to used hotkeys in Zbrush. Firstly, we started with some basic shortcuts like opening and closing documents, then we have seen how various popup selections work. Then we have seen the working of navigation hotkeys along with hotkeys for brushes. Then we have seen how to setup custom hotkeys for any tool. Then we have seen some hotkeys for rendering and scripting in Zbrush.
Recommended Articles
This is a guide to ZBrush hotkeys. Here we discuss the Introduction, some basic shortcuts like opening and closing documents, how various popup selections work. You may also have a look at the following articles to learn more –
