Introduction to Zbrush Texture
Zbrush Texture can understand as a file that contains varieties of images as well as patterns which we can apply on our 3D model for giving them a real-world look. We can use texture during the poly painting process also. In Zbrush, we can import the obj file format of the 3D model for applying texture on it. Not only 3d model we can also import its texture file along with it which will be saved in the library of Zbrush. There are some settings of parameters of texture panel of this software through which you have to go for applying our imported texture on our model in proper.
So today we are going to discuss how we can work with imported objects and their texture. We can use poly paint on texture also and use it as a new texture. So let me tell you about these things.
How to Import and Apply Textures in Zbrush?
Importing and Applying texture to a 3D model is not a very big task in this software we just have to follow proper instructions and steps for this and after that, we can get our desired result without any issue.
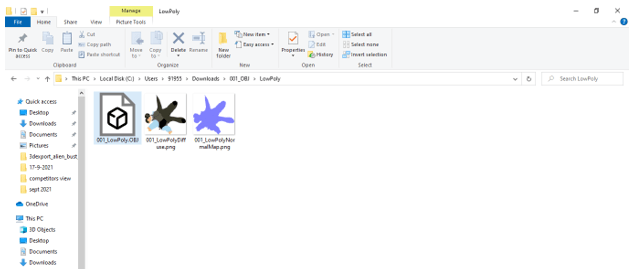
The very first thing which I have done for this purpose is downloaded this 3D model from the internet and I will explain this topic with the help of it. You can work with any of the models as per your choice. Here we have the OBJ file of the model along with its texture file in .png format. We also have a normal map here in this file which you can also use as per your requirement.
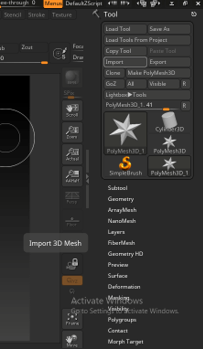
Let us jump into Zbrush software and here at the right side of the working screen, we have the Toolbar section. So go to it and click on the Import button for importing the obj file of our downloaded model.
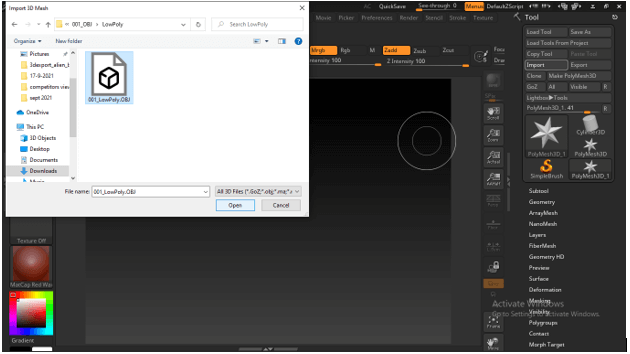
Once we click on it we have a dialog box for choosing our importing file from its saved location. I will navigate for the .obj file format of my downloaded model on my computer and select it then click on the Open button of this dialog box. You can select your model from its saved location.
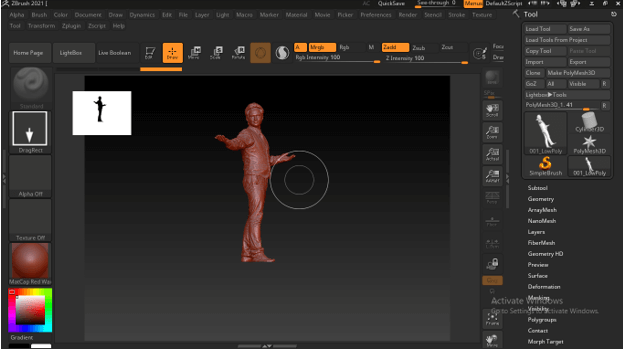
Now I will simply drag the mouse cursor of the imported model on the workspace of the Zbrush for having this model here by holding the shift button of the keyboard.
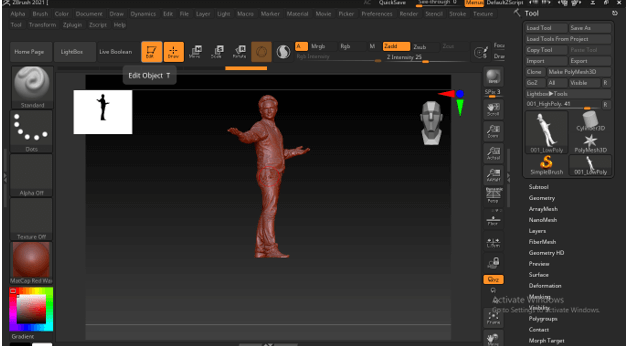
Now click on the Edit Object button of the second top bar of the user interface of this software so that we can edit this object mesh as per our requirement.
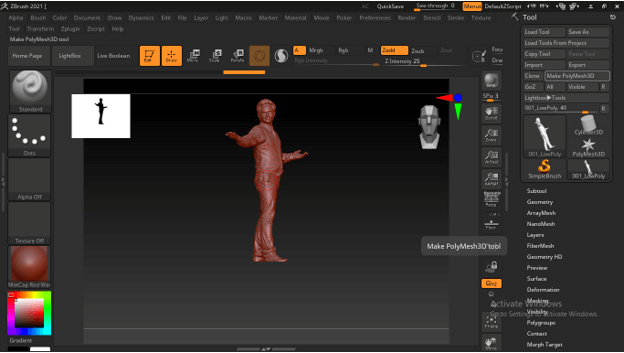
Then click on the Make Polymesh 3D button of the toolbar section at the right side of a user interface of this software.
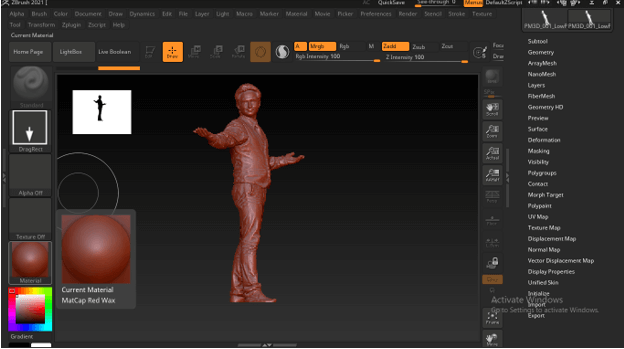
Now, this model is in red wax material which we don’t want to have. So I will change its material to Skin
Shade and for that, I will go to current material button which is at the left side bar of this software.
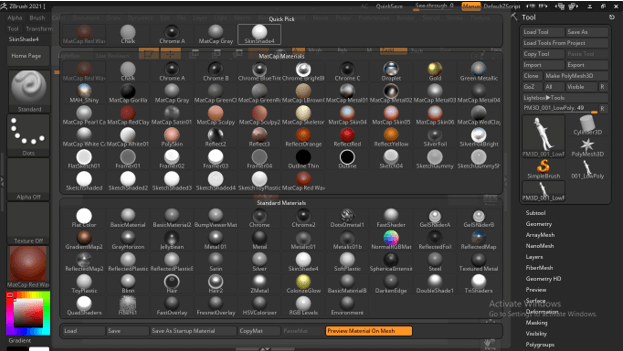
Now from the list of Quick Pick material, I will choose this SkinShade4 material by clicking on it. I have this material in Quick pick section of the Material’s panel because I have recently used it for other model. If it is not there then you can navigate it in other section of this panel.
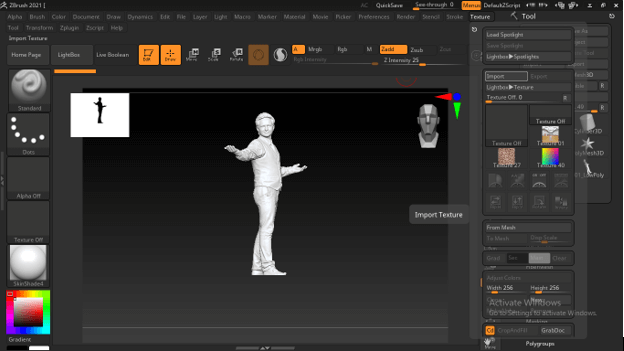
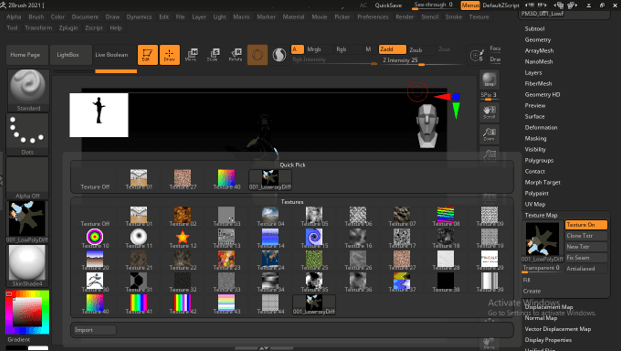
Now it is in skin shade. Let us now import texture of this object and for that go to Texture menu of menu bar and click on it. Once we click on it we will have texture panel opened here below to this texture menu. Here in this panel click on Import button of it.
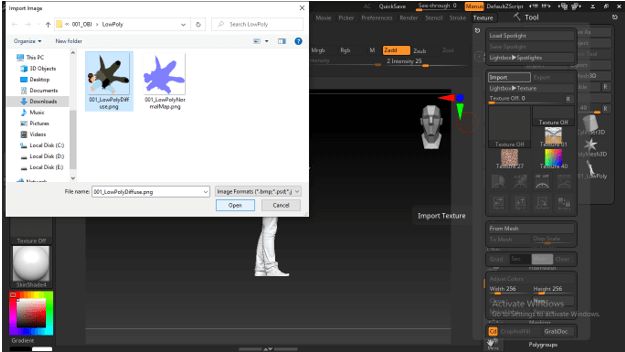
Once we click on this button a dialog box for importing texture will be open. Again navigate for the texture file of your model in your computer. I will choose only to disuse to map texture for this purpose.
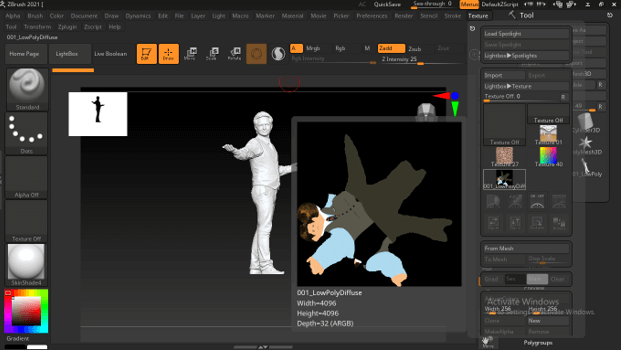
Once you import it, it will not directly apply to your model in fact it comes under the texture set of the library of this software which you can find in the Texture panel of the Texture menu.
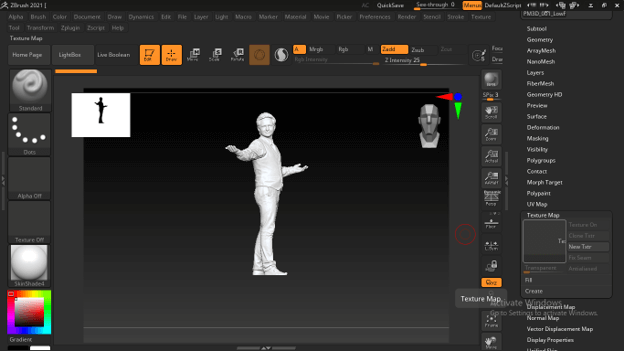
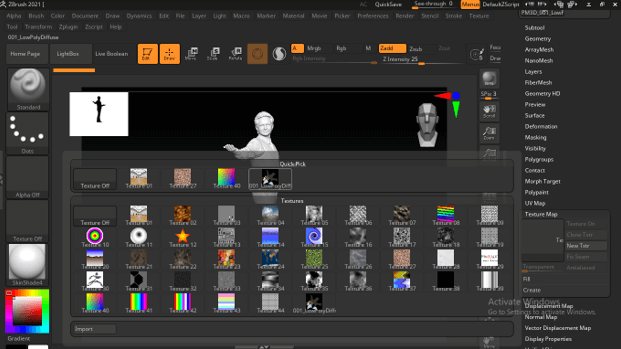
Now for applying your imported texture you have to do one thing that is going to the Texture Map panel of Toolbar section of this software so click on the Texture map tab and you will have a blank space here in this panel so clicking on this black space of the Texture Map list.
Once you click on it texture map preset list will be open. Here in the Quick Pick section of this panel you will find your imported texture so click on it.
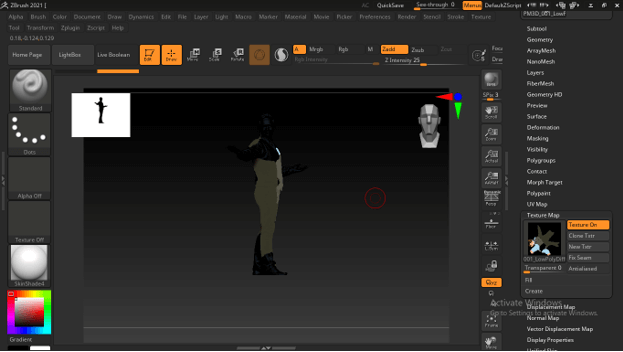
Once you click on it within a second it will apply to your imported model but you can see there is something wrong with this texture and it hasn’t been applied properly. The reason is that sometimes when we import texture in this file the imported texture has something different orientation in comparison with its model.
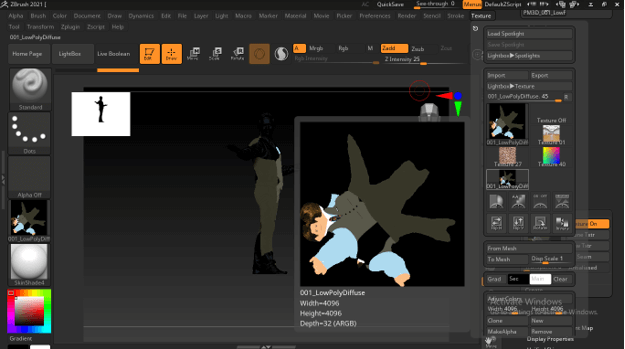
So for resolving this issue, we have to change the orientation of the imported texture and for that go to the Texture panel of the Texture menu again then select an imported texture from the list of textures shown in the panel.
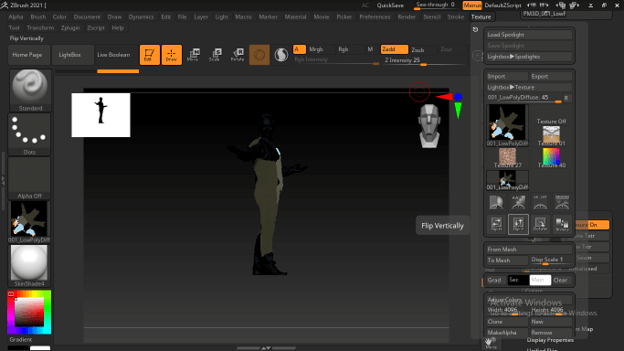
Then at the below texture list, we have some orientation buttons such as Flip H, Flip V, and so on. So click on Flip V it will flip our imported texture into a vertical direction.
Now again go to the Texture Map panel at the toolbar and click on the texture area then choose your imported texture again by clicking on it.
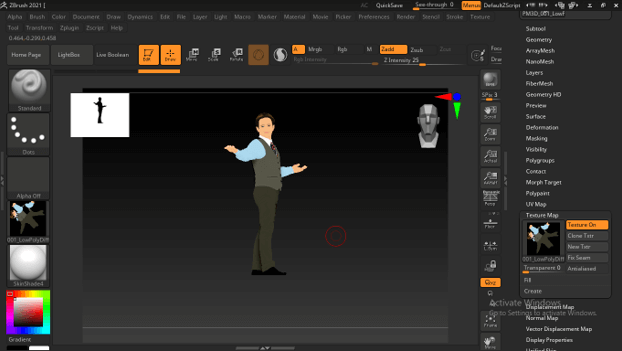
And you can see magic happened within a second. Now we have the texture of this model properly fitted with it.
This way you can import your desired model with its proper texture for using its different types of purpose. You can also do poly paint at any point of working with your project.
Conclusion
After going through this article you have analyzed the texture feature of this software and also have good knowledge about what are the things which you have to manage for importing a model with its texture in the right way with the right specification.
Recommended Articles
This is a guide to Zbrush Texture. Here we discuss the Introduction, How to Import and Apply texture in Zbrush? You may also have a look at the following articles to learn more –
