Introduction to Zbrush UI
Zbrush UI can be understood as the user interface of this software, and you can customize all the things available on its user screen. Some sections in this software’s user interface are adjusted on the user screen so that users can use each and every piece of content very smoothly. Although during working with this software, we need to have some tools or parameters on quick access mode as per our choice. So today, I will tell you all the important aspects of the UI of Zbrush so that you can handle it as per your choice.
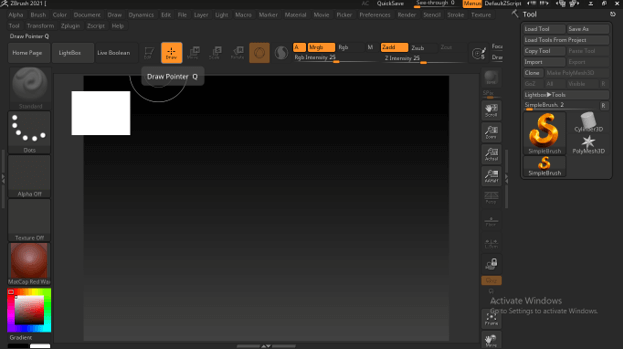
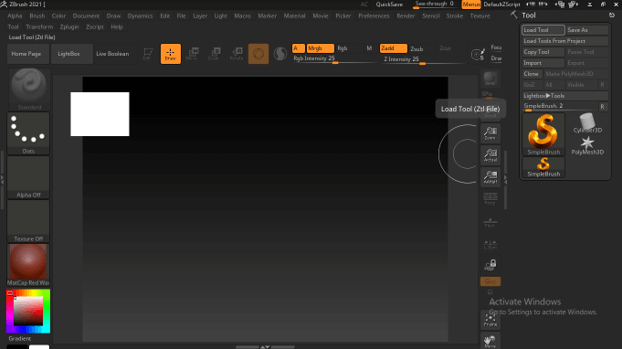
Let us go through the sections of a user interface to understand it well. Once you start Zbrush, you will have this type of User screen.
And this opened dialog box is Light Box, where you can find several pre-created models, Tools, Brushes, and so on, or you can open your desired one.
Above the bar of Light Box, there is one more bar you can call the dropdown menu bar. This bar will have several menus, such as the Alpha menu, Brush menu, and so on.
We have some tabs in the Lightbox bar that help us work with the sculpting process, such as the Draw tab, Edit tab, etc.
And the left side section, we have useful tabs such as the Brushes tab, Alpha tab, Texture tab, Materials tab, and so on.
When you move to the right side section, you will have a Toolbar panel in which we have several buttons that help us make adjustments and parametrical settings during the sculpting process.
ZBrush UI Color
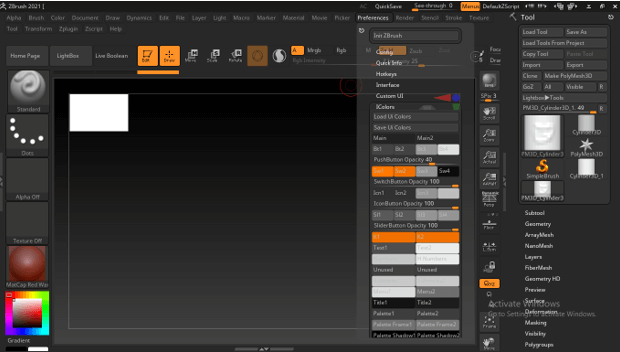
Now, if you want to change the color of the UI of Zbrush, you can do it in a few steps, and for that, go to the Preferences menu and click on the IColors tab for its parameters.
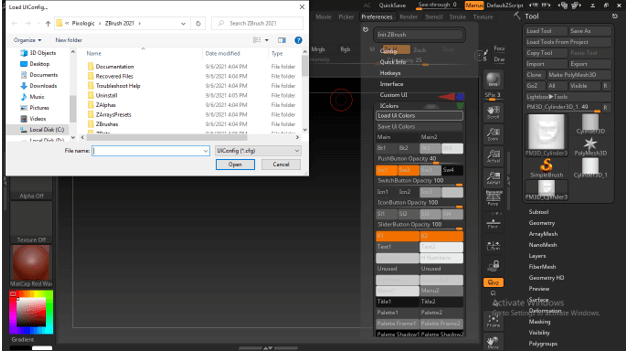
If you want to Load any file of the already saved UI color interface, click on the ‘Load UI Colors’ option and choose your desired file from the opened dialog box.
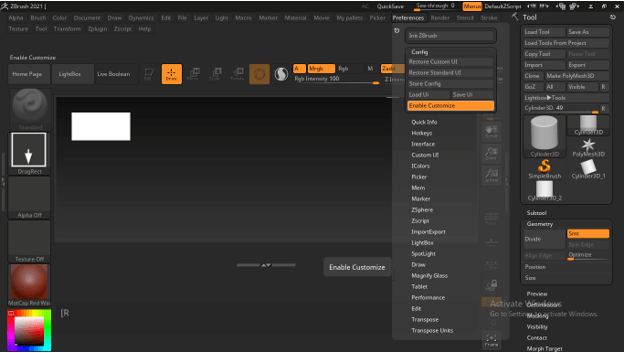
It would help if you remembered that for any custom change, you have to enable the ‘Enable Customize’ option of the Config tab of the Preferences menu.
Now you can change the color in the color pallet box and then click on the tab which color you want to change. You can change more than one tab like this.
If you want to save your color settings, click the Save button.
From the top right corner of the user screen, you can click on the ‘Load Next User Interface Colors’ button to change the user interface color according to your settings.
Zbrush Hotkeys
Now let us talk about Hotkeys. You can assign your desired shortcut key to your desired tools or option for accessing them quickly. Hold the Ctrl + Alt key for assigning Hotkeys and click on your desired tool or option. You can see it’s showing a message above the Light Box bar, according to which you must choose a combination key to assign. That means choosing a keyboard key with a combination of Shift, Ctrl, Alt, or their combination.
Now go to the Preferences menu again, and there is the Hotkeys tab.
If you want to store your assigned key, click the Store button.
If you want to save it as a text file for future use, click on the Save button.
If you already have any text files of hotkeys, then you can click on the Load button and choose it.
Zbrush UI Shortcuts
For making our work smoother and speeding up, there are several shortcut keys offered by Zbrush. Let me tell you about some of them.
Draw Mode: For enabling the Draw button to start drawing your subtools, you can press the Q button.
Edit Mode: Once you have drawn any subtool, you need to edit it, and for that, you have to switch to Edit mode by pressing the T button.
Move tool: You can press the W button to move your subtool to the floor area. Same as this, we can use shortcuts for other tools of this bar.
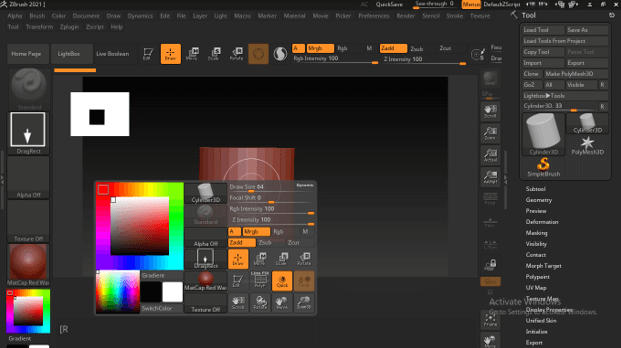
Quick Panel: If you press the spacebar and hold it, you will have this quick access panel in which you can find several tools and options.
Creating Custom Pallets
You can create your panel with your desired tool or option like a quick access panel. For this, go to the Preferences menu and Click on Custom UI, but there are no options for settings.
For that, you have to enable the ‘Enable Customize’ option.
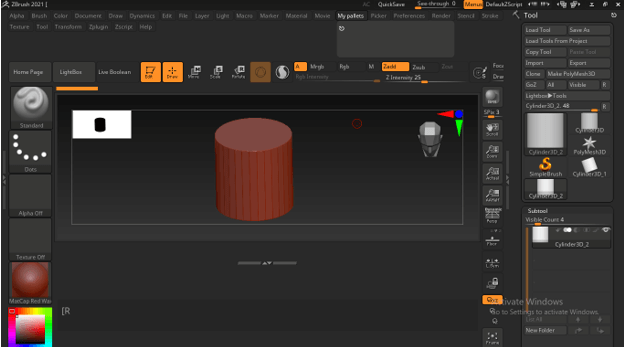
Now click on the ‘Create New Menu’ option and name it. For example, I will name it My Pallets and press enter.
You will find your created menu in the menu bar.
You can dock your created customize panel anywhere on the user screen, such as I will place at the left side section.
And for adding my desired tools or option here, I will hold my desired one, drag it to the My Pallets panel, and drop it there.
In the same way, you can add several tools or options here.
And then assign a hotkey to it for quick access. Choose the key that is not assigned to other commands.
And you will have you customize the panel by pressing your hotkey.
ZBrush UI Custom Personalizing:
You can personalize the UI of this software and enable the customizing option.
Then place your desired tools or option at your desired section of the user screen.
Once done, you can save its file by the Save button or store it by the Store Config button.
Conclusion
I am sure you have lots of information about the UI of Zbrush now, and you can use this information to create your customized UI so that you can have more and more efficiency in your work and speed up your work, saving your time. Just go with your desired settings to get the best result.
Recommended Articles
This is a guide to Zbrush UI. Here we discuss the Introduction, Zbrush hotkeys, ZBrush color, Zbrush shortcuts, and Creating Custom Pallets. You may also have a look at the following articles to learn more –


