Introduction to ZBrush Zsphere
ZBrush Zsphere is an advanced tool of Zbrush that allows us to create a basic structure of model with the help of a number of spheres. The best thing about this tool is that with it we can create basic structure in a very quick and easy way and not only this we can add joints also into the model structure from where we want to rotate or move any part of that model. After having our desired structure for a model we can skin that one and start sculpting it without any problem. There is also some option through which you can edit sphered model again if we are not satisfied with the result.
So let us discuss what are the steps through which we have to go for learning about Zsphere and how we can create a basic structure of model with this Zsphere tool of this software.
Creation of Zbrush Zsphere
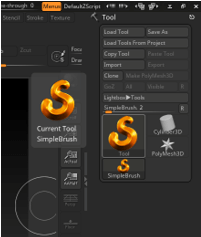
At the right side of the user screen of this software, we have a Toolbar and under this bar, we have a Tool option which is currently above to Simple Brush icon. So click on it.
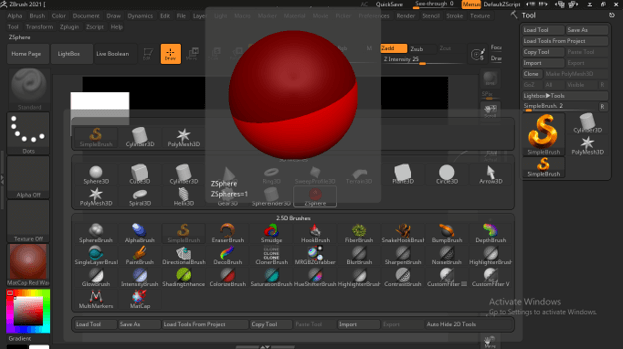
Once we click on it we will have a list of tools in the opened dialog box. Here you will find the Zsphere tool so click on it for selecting it.
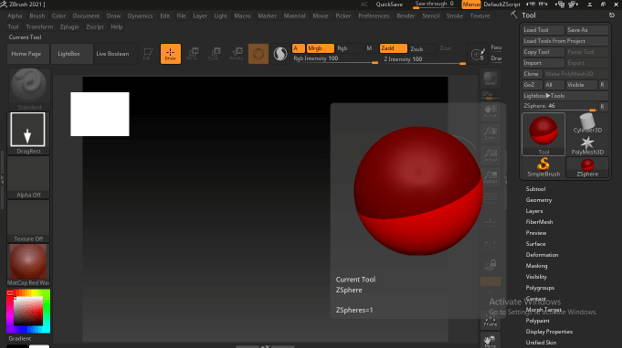
Once you choose it, it will come in the Tool’s section.
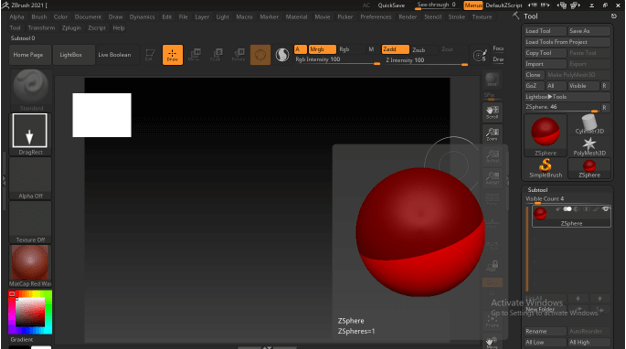
And also in Subtool panel.
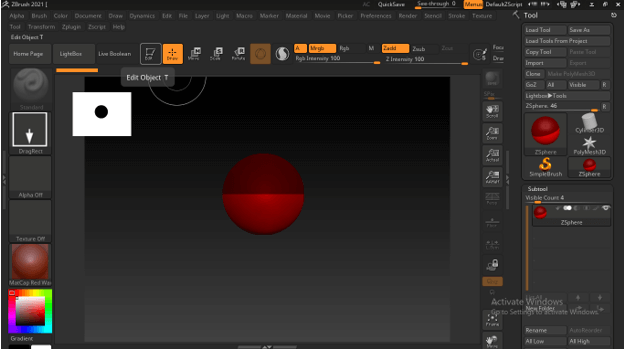
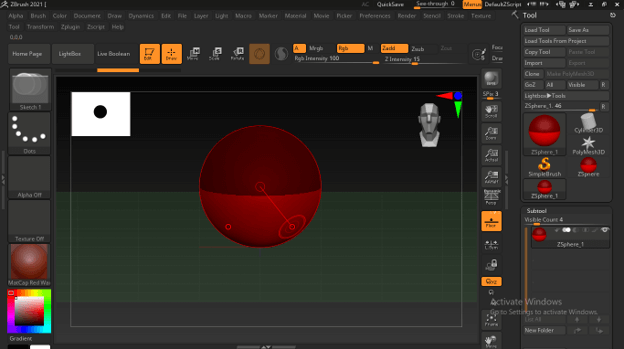
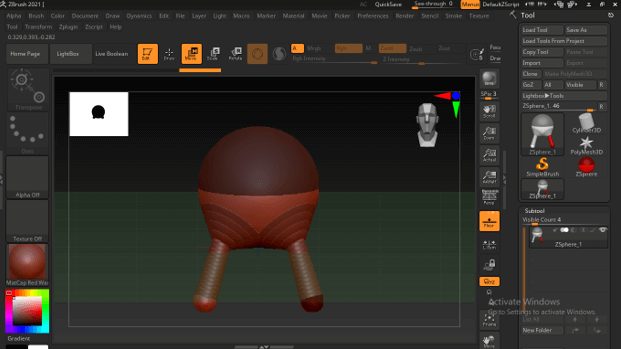
Now come to workspace area and drag the mouse cursor to draw a sphere like this.
Now go to the second top bar of a user interface for enabling the Edit mode and I will click on the Edit button of this bar.
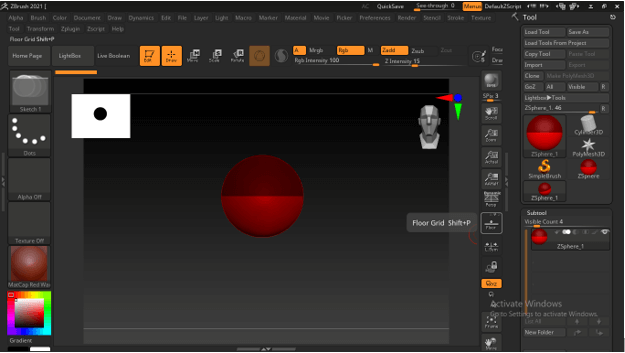
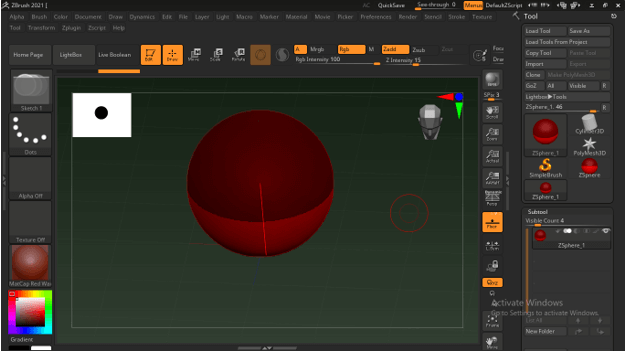
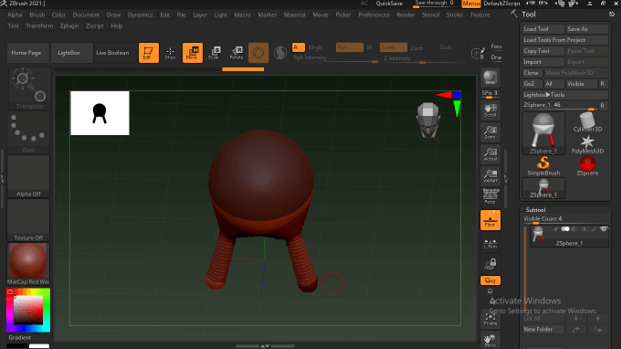
Now enable Floor gird so that we can identify the facing of the sphere for working with it properly. You can press Shift + P as short cut key for enabling the floor grid.
Make sure the axis lines are on the floor.
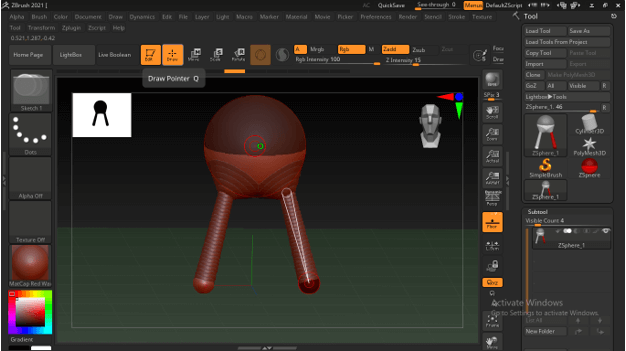
Now for working with this zsphere we have to switch between Draw, Move, Scale and Rotate tool of the second top bar of this software. For switching between these tools I will suggest you work with shortcut keys of them such as for Draw tool press Q button of the keyboard, for Move tool press W button of the keyboard, and so on.
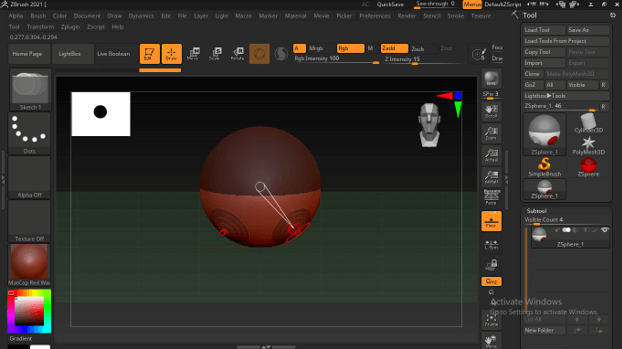
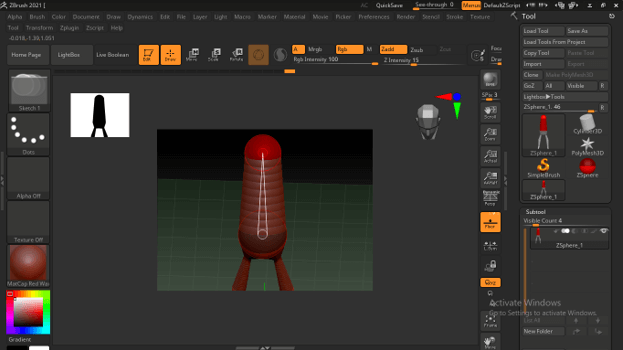
Now select the draw tool and drag it on the surface of the drawn sphere and it will add more spheres.
Adding more Zsphere
If you want to create the same structure on both sides of the sphere then make sure you are in symmetry mode. For creating legs and arms we should work in symmetry mode.
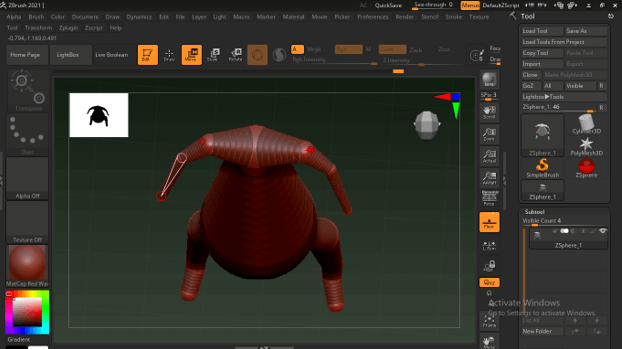
Now with the Draw tool, I will drag the mouse cursor on the surface of this sphere and it will add a joint point here. Now again draw a surface here which we will move.
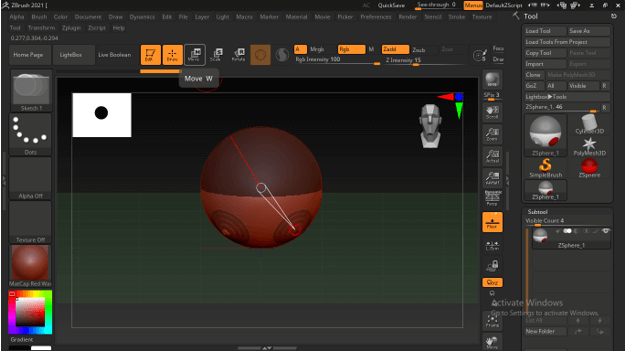
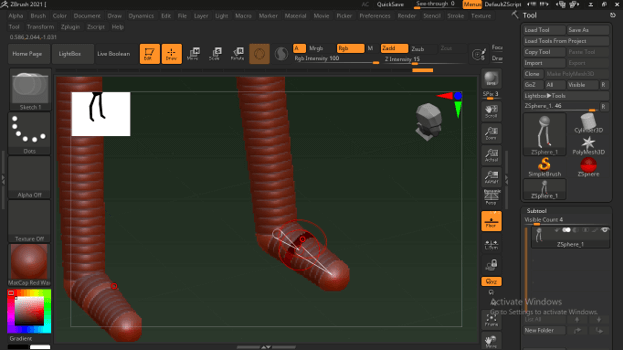
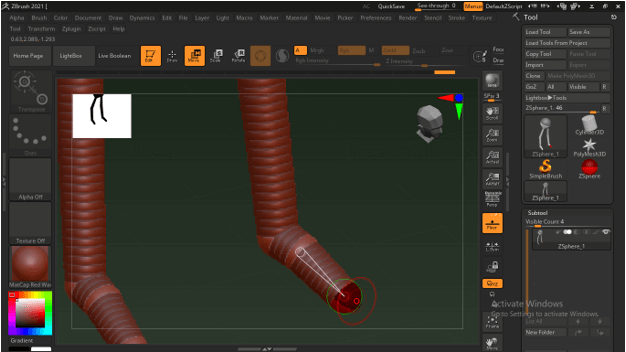
Now switch to the Move tool by clicking on its icon or using its shortcut key.
And with the move tool start dragging the last drawn point in your desired direction.
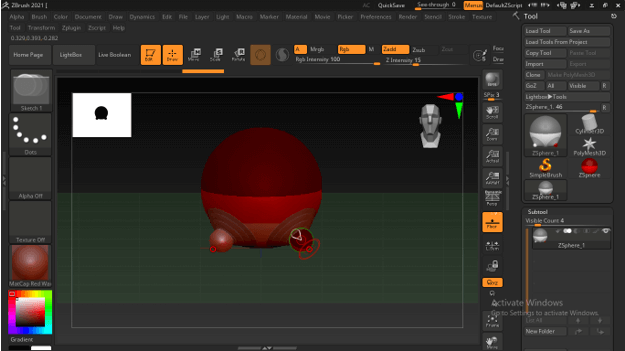
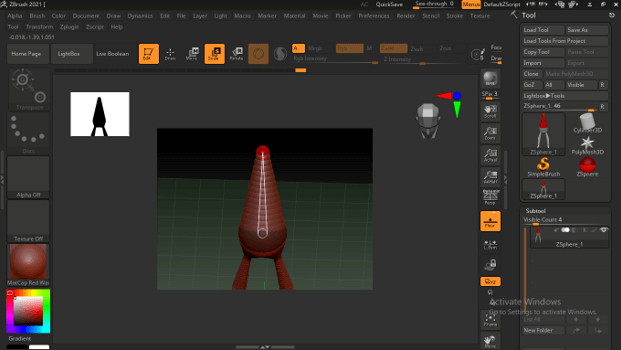
I will drag it into the downward direction for creating the legs of this model.
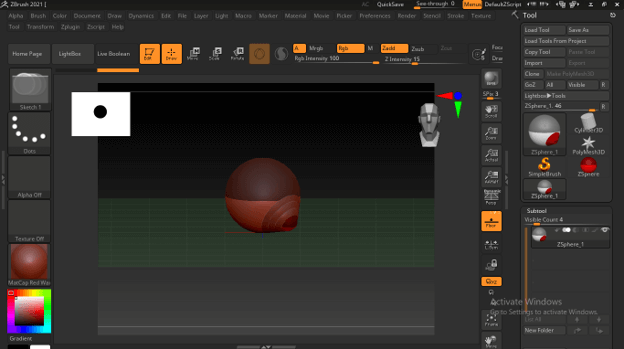
You can see when you draw any part in a downward direction the floor of the working space gets down automatically according to the drawn structure.
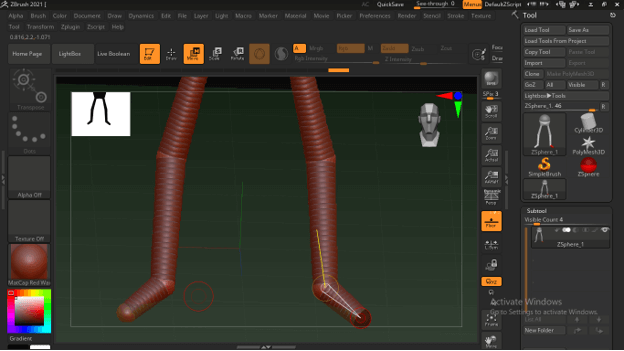
Now for adding other joints just switch to the Draw tool and again draw a sphere at the end of the last point.
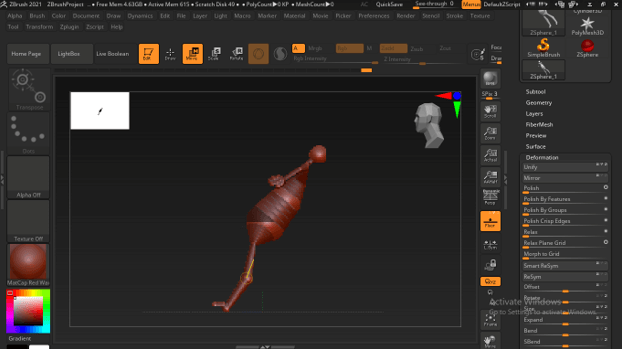
Now you can move the next added sphere in the same way. I have added foot structure here also by the same process.
If you forget to add any joint at any part of the structure then you don’t have to worry about this. Just make a click on the area of the part where you want to add a joint. Make sure the Draw tool is active for this purpose.
And now there are two parts and you can move them as per your requirement.
You can see there is a triangular indication. If you hold on the circle of this shape then you can move that sphere on which this circle is.
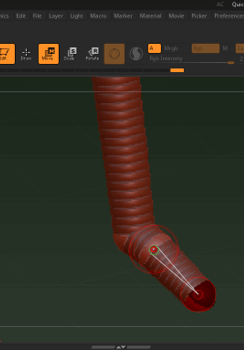
Or if you hold this triangular shape move it then the whole sphere that comes under this triangle will move.
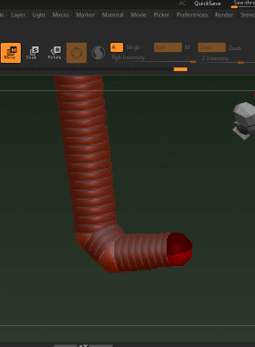
Scaling Zsphere
If you want to scale any sphere of your model then you can do it very easily, for example, I want to scale this sphere.
So I will select the Scale tool which is next to the Move tool and drag the mouse cursor to scale it like this.
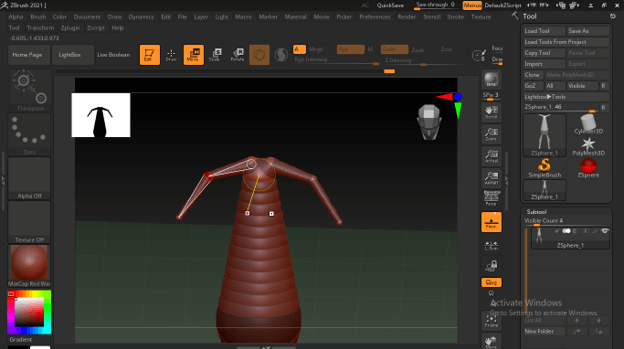
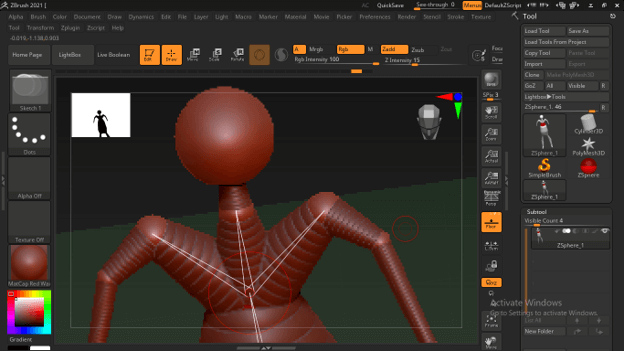
Now as we have created legs we can create arms structure also.
You can see there is no space between shoulders for adding neck area.
So for that move shoulder little bit and we will have space here.
And you can create a neck area then head on the neck.
Adding Fingers and Thumb
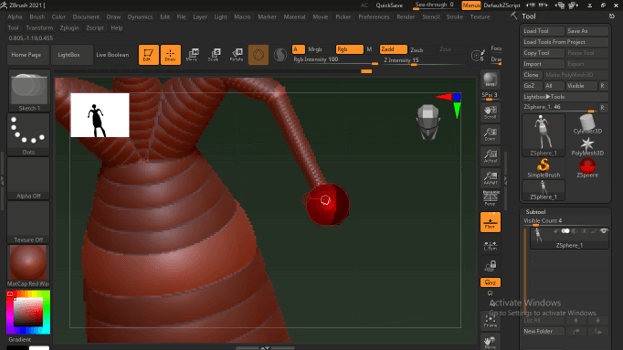
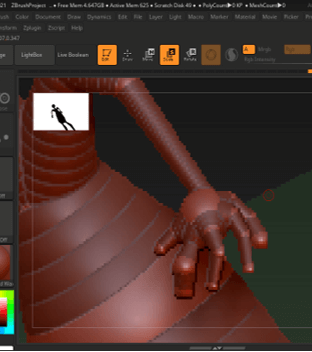
For adding fingers and thumb here we will create a sphere first for the palm area.
Then we can add more spheres for creating figures and thumb structures.
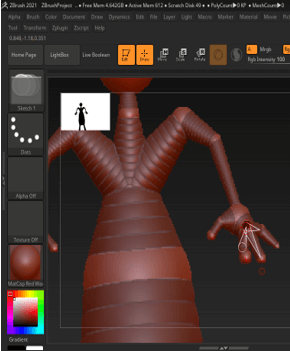
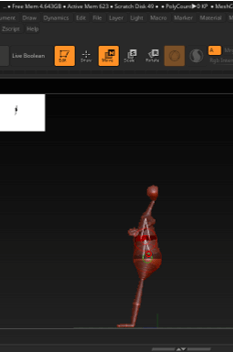
Position the sphere model:
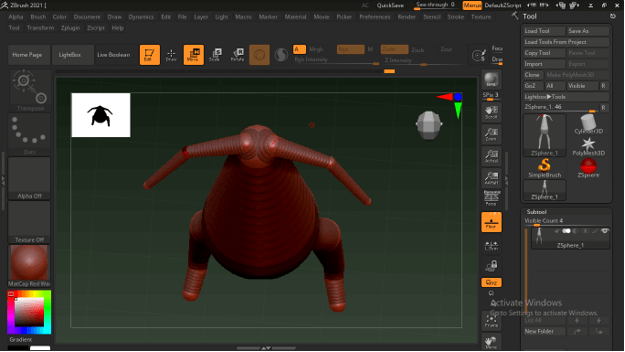
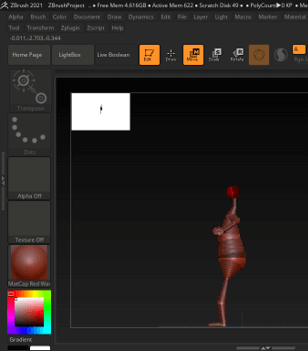
You can see it is not in the proper position on the floor.
So for that, we can use the Move tool and move the parts for having them in the proper position.
Adaptive Skin:
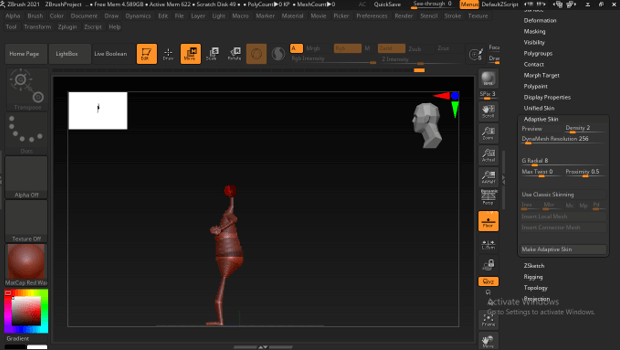
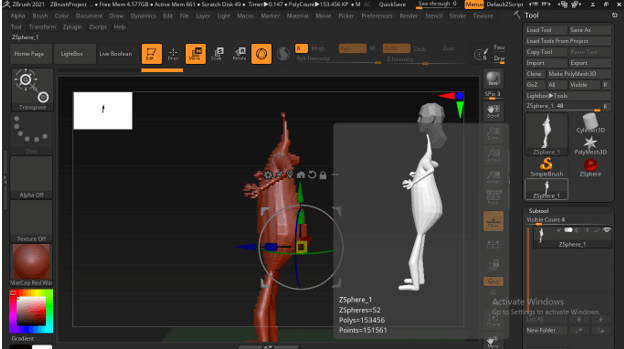
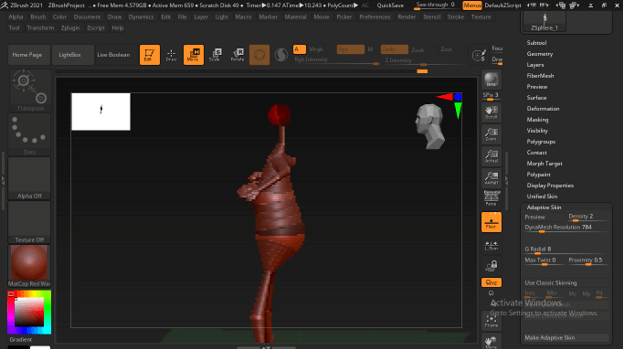
For having the skin on the sphered model go to the Toolbar section and navigate for the Adaptive Skin bar. Click on this bar for having its parameters.
And click on the Preview button for having an idea about how it will look like with skin.
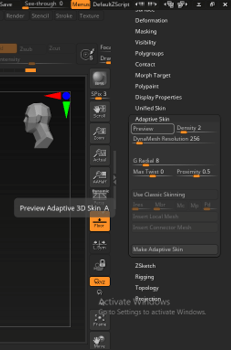
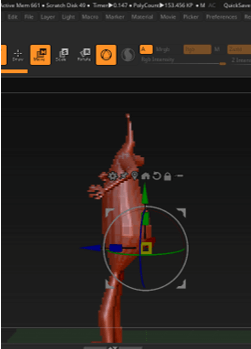
You will have your skined model structure in the tool panel section which you can use for sculpting purposes. There is a copy of this model also which you can turn into sphere structure again if you are not satisfied with the results.
And for this just go to the Adaptive skin bar again and disable the preview button.
Conclusion
Now you can work with zsphere tool of this software for creating different types of models according to your own ideas. After going through this article you can easily handle the parameters and settings of zsphere tool during working with it. So I will suggest you try this with a different structure for having more knowledge about it.
Recommended Articles
This is a guide to ZBrush Zsphere. Here we discuss the Introduction, how to create, add, the position of Zsphere, the position of sphere model. You may also have a look at the following articles to learn more –
